

This post may contain affiliate links. Please see our disclosure policy for more details.
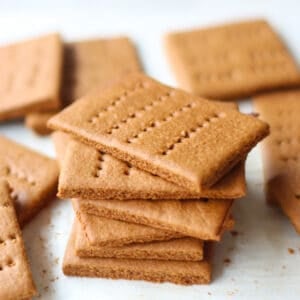
This homemade graham cracker recipe uses simple, wholesome ingredients to make crackers that are perfectly sweet, crisp, and toasty. They’re also one of the easiest baking projects to do with kids, and I’ll walk you through exactly how to adapt them for babies and toddlers too.
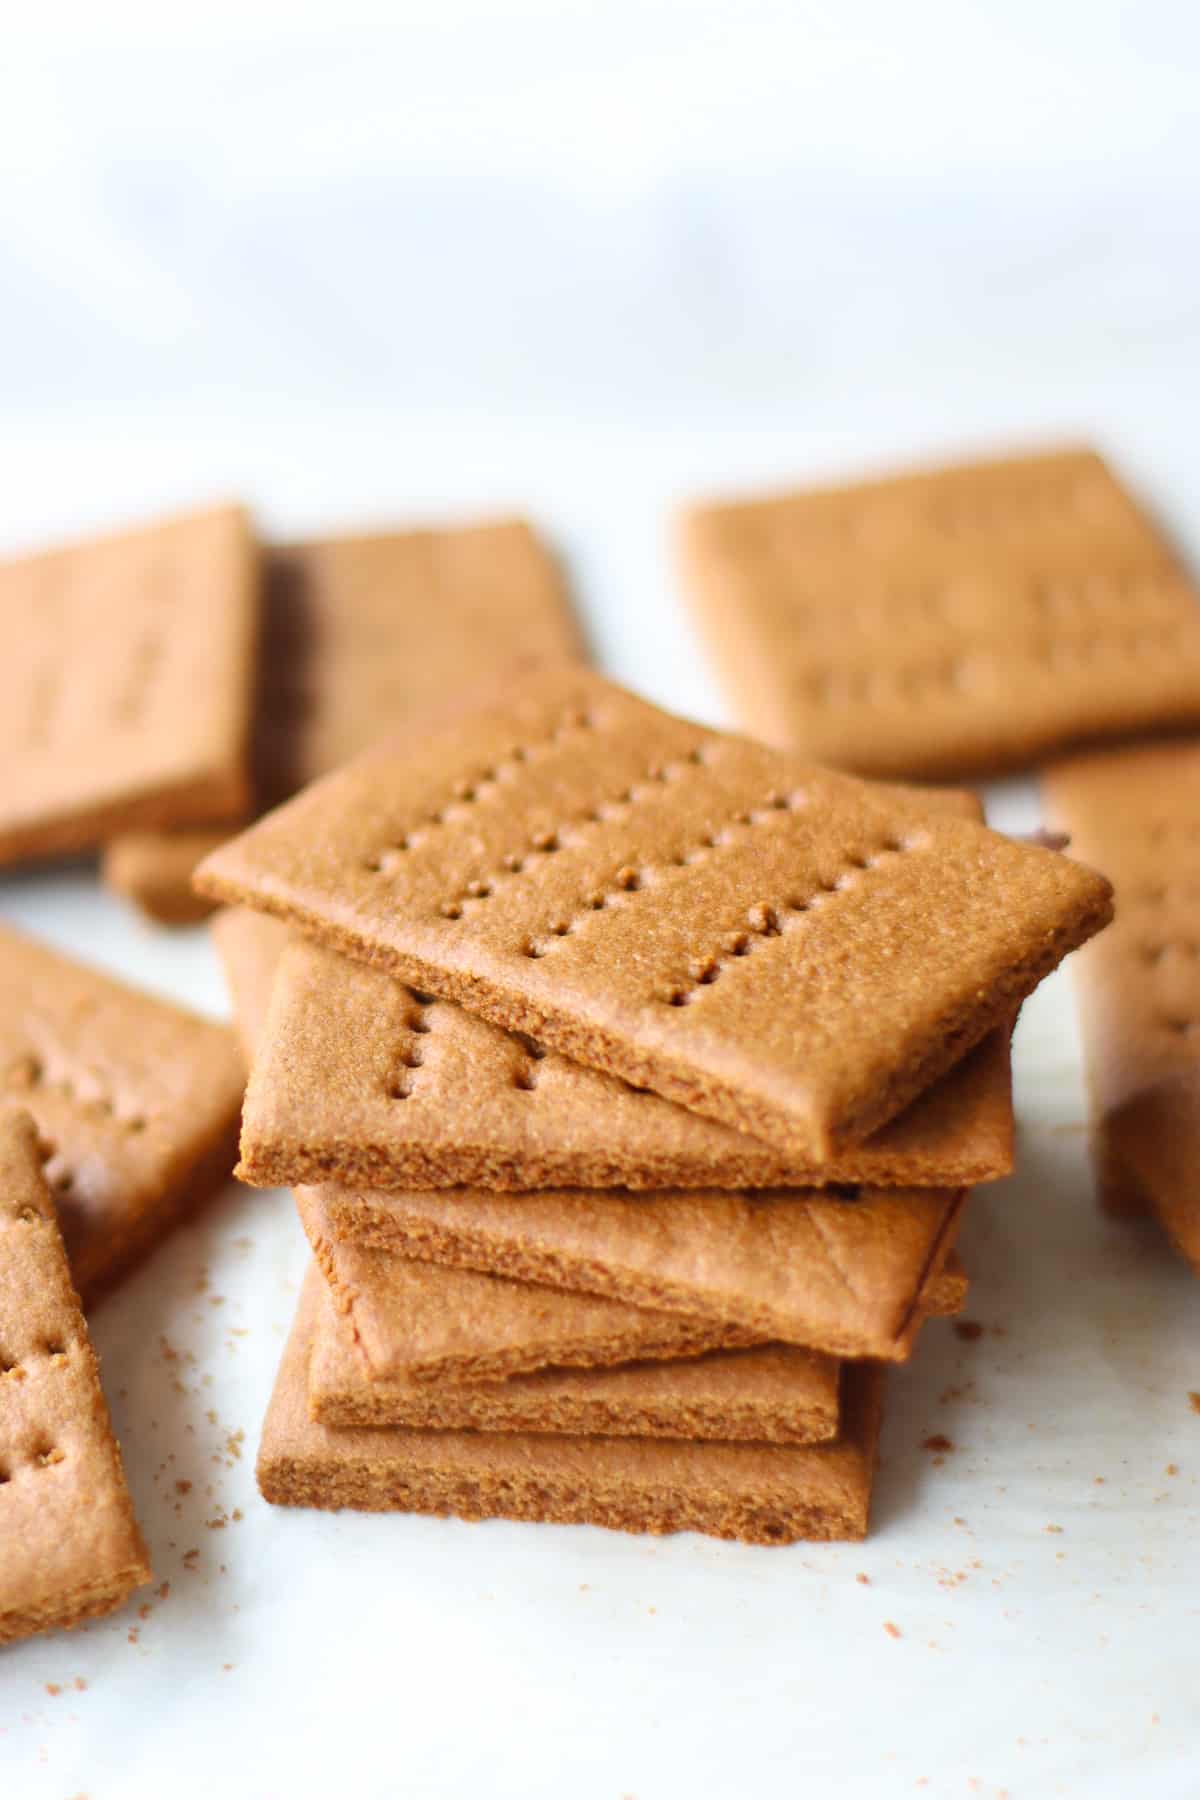
Recipe at a Glance
- Better than store-bought: No added sugars, palm oil, or preservatives, just honey, molasses, and real butter.
- No graham flour required: White whole wheat flour gives the same nutty depth, no special-order ingredient.
- Kid- and baby-friendly: Easy for little hands to help make, and easy to adapt for baby-led weaning.
- Versatile: Great plain, with nut butter or sunflower seed butter, for s’mores, crumbled into a crust, or topped with cream cheese frosting.
“Made these for my kiddos and instead of turning them into the nostalgic graham cracker rectangle (which I love) they requested we use our heart shaped cookie cutter instead. They were flawless and the kids gobbled up immediately!” – Cassie
My kids adore these graham crackers, and making them at home means I can control every ingredient while turning it into a fun baking activity. Crisp, flavorful, and honestly better than store-bought.
Looking for some more healthy cracker options for you babies and toddlers? Try these homemade sweet potato crackers and cheese crackers, or browse my dietitian-approved picks for best store bought crackers.
Struggling with Decision Fatigue?
Go ad-free and unlock all my recipes, EXCLUSIVE favorites, and weekly meal plans made just for you!
Table of Contents
Key Ingredients
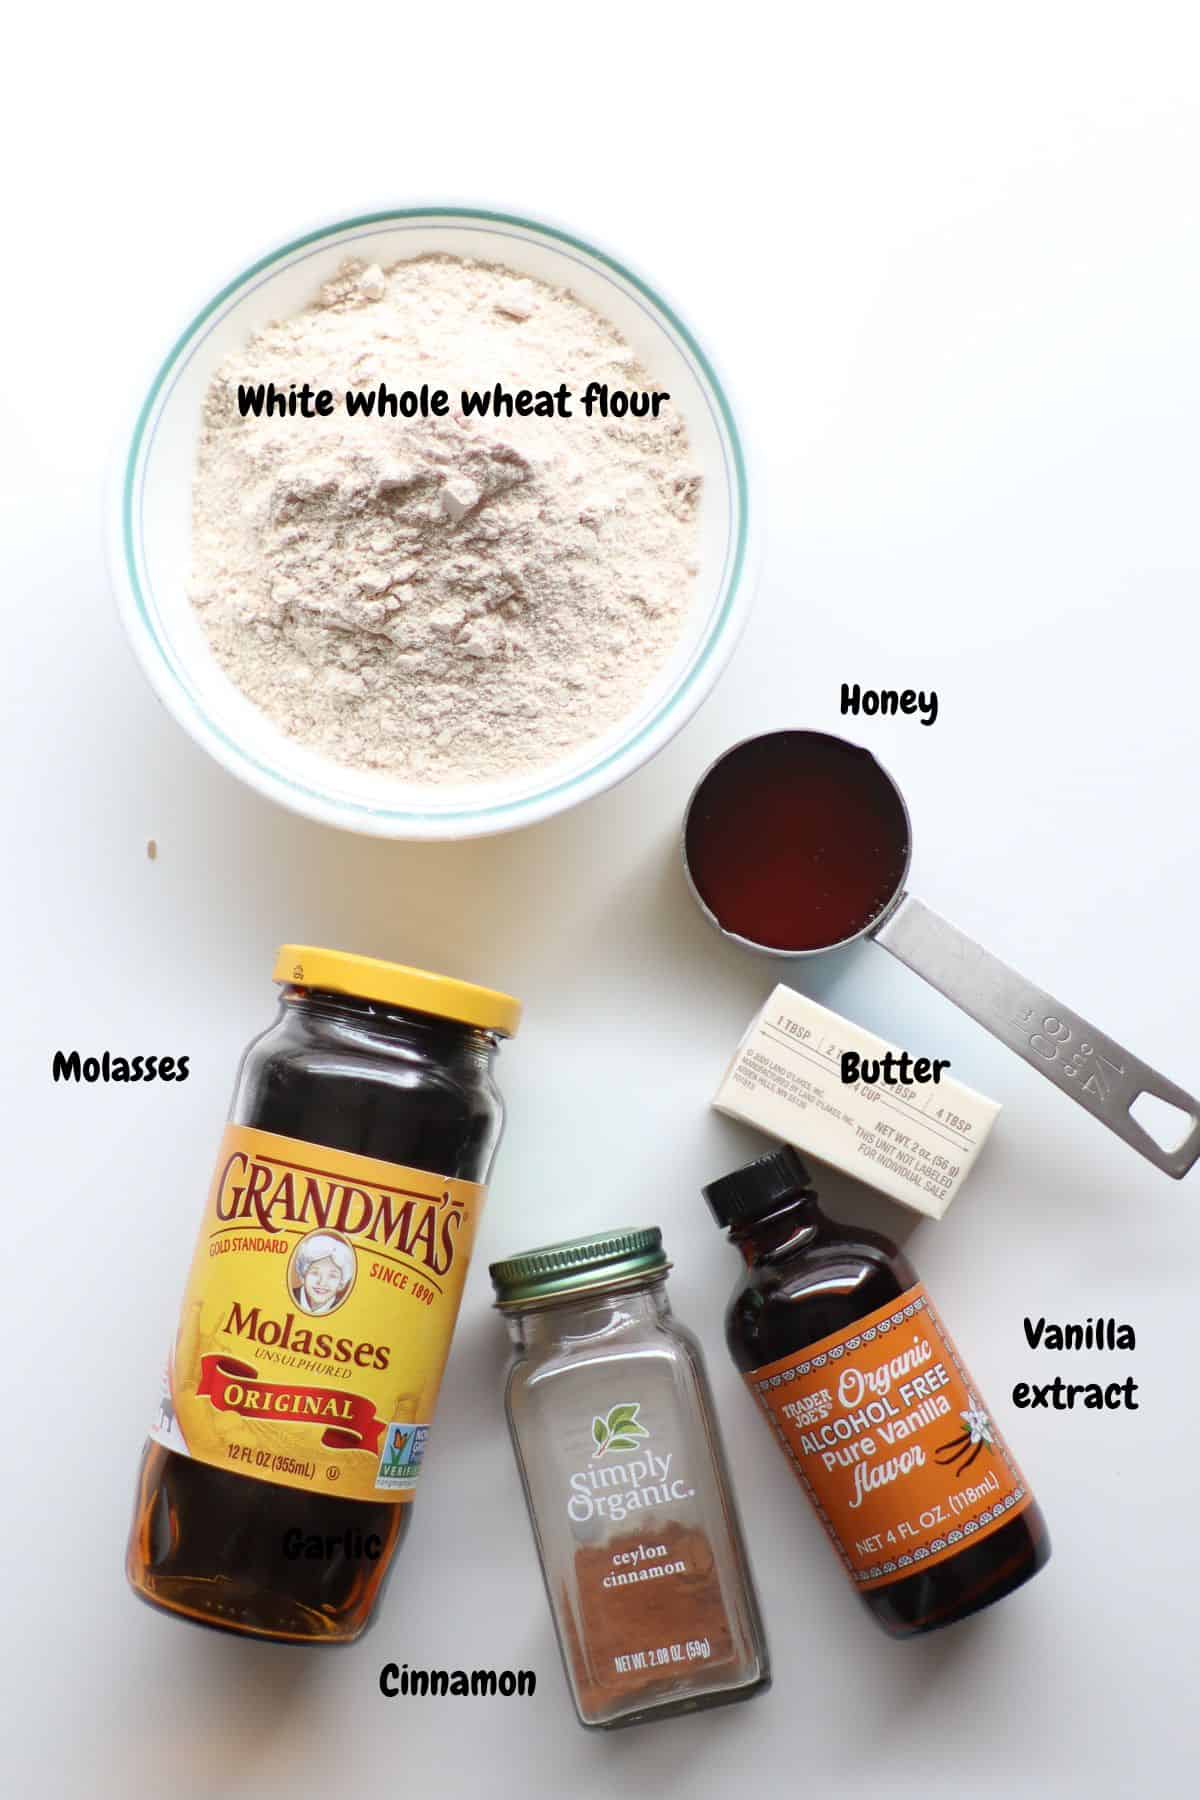
I am highlighting just the ones that need further explanation. The complete list is in the recipe card below.
- White whole wheat flour – A more accessible stand-in for traditional graham flour (which is hard to find outside specialty stores), with a similar nutty flavor and lighter texture than regular whole wheat.
- Unsalted butter, softened – Room temperature butter creams properly with the honey and molasses. Swap in coconut oil for a dairy-free version.
- Honey – Provides the classic graham flavor. Maple syrup or homemade date syrup both work as substitutes, with a slightly different flavor profile.
- Unsulphured Molasses – Adds depth and that classic toasty color. Use unsulphured, not blackstrap; blackstrap has a much more bitter, assertive flavor that will overpower the crackers. You can also skip it entirely and add a bit more honey.
Substitutions
- Flour – All-purpose flour works, or a mix of all-purpose and whole wheat. I don’t recommend 100% regular whole wheat flour; it makes the crackers noticeably denser.
- No molasses? Leave it out and add a little extra honey.
- Dairy-free – Swap the butter for coconut oil and the milk for a non-dairy option like oat or almond milk.
- Gluten-free – A 1:1 gluten-free baking blend works; just double-check your baking soda and any add-ins are certified gluten-free if that matters for your household.
How to Make Graham Crackers
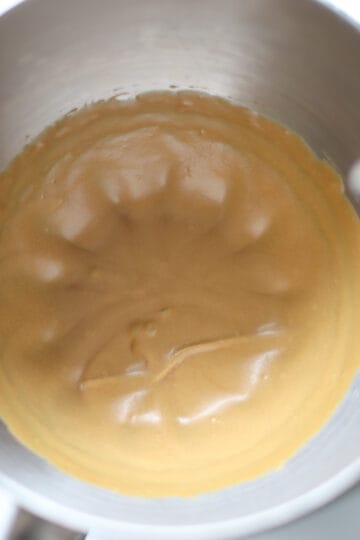
Step 1: With a hand mixer or stand mixer with paddle attachment, cream butter, honey, and molasses together. Beat on medium-high speed until light and fluffy.
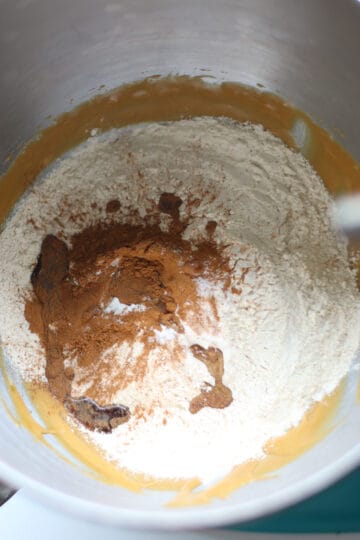
Step 2: Add the rest of the dry ingredients and mix on low speed.
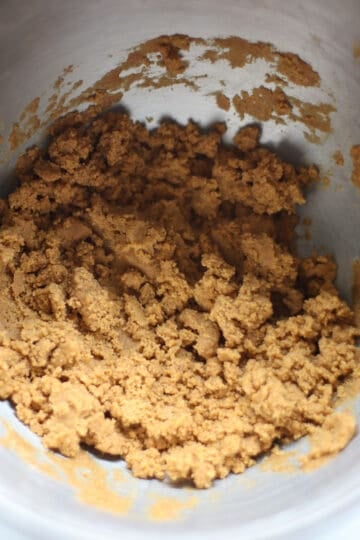
Step 3: The mixture will look crumbly at first. Add 2 tablespoons of milk and mix until. If it looks dry still, add another tablespoon of milk. The dough should hold together when pressed between two fingers. Shape into a flat disc or a log and cover with plastic wrap. Refrigerate for at least 1 hour.
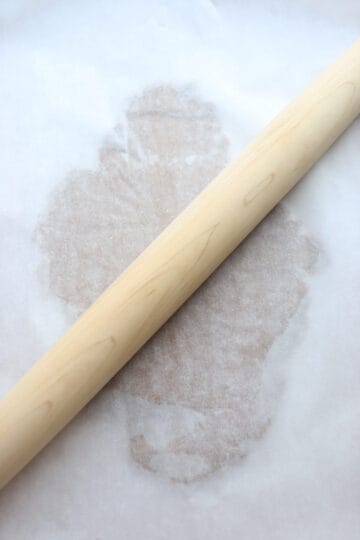
Step 4: When ready to bake, preheat oven to 350°F. Lightly sprinkle with a small amount of flour. Place dough in the center and place a second sheet of parchment paper on top. Use a rolling pin to roll from the center outwards to desired thickness, about 1/8 inch is ideal.
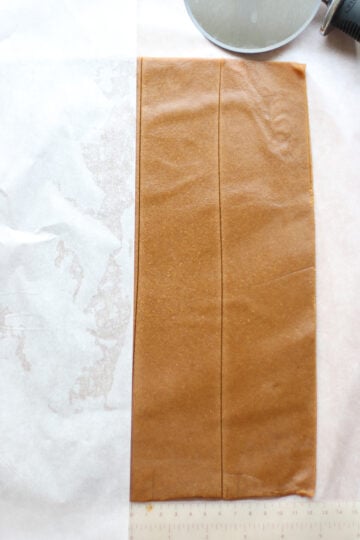
Step 5: Using a pizza cutter, trim the sides and cut into 2×3 inch rectangles. Transfer the entire parchment paper (there’s no need to separate the rectangles) to a cookie sheet.
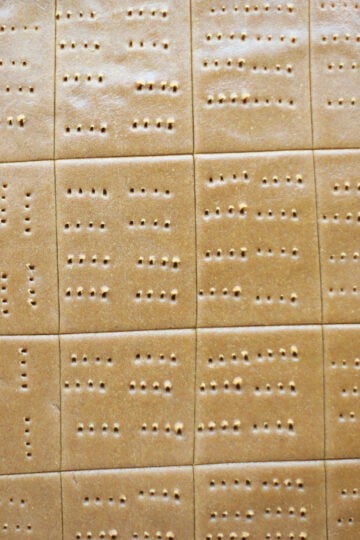
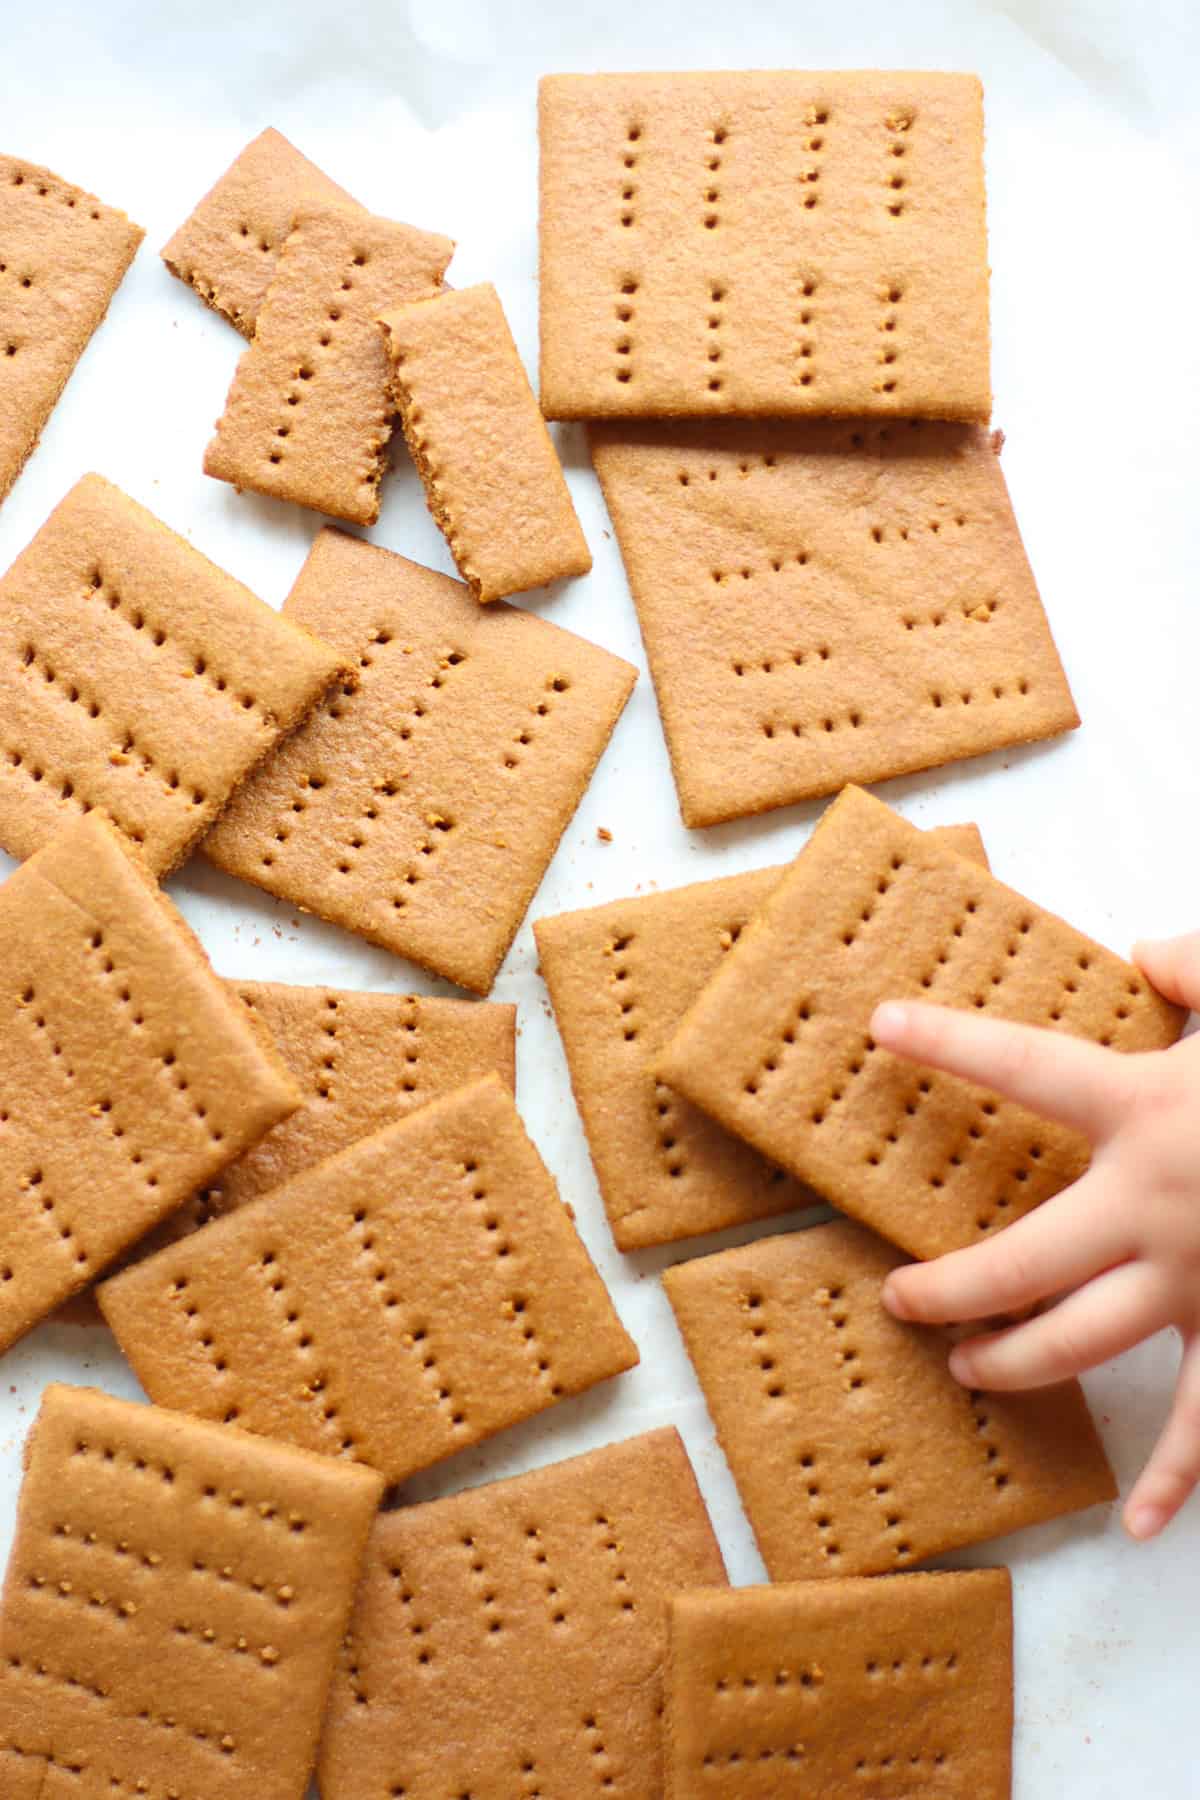
Step 6: Prick each cracker with a fork to create the signature graham cracker dotted pattern. Bake for 14-17 minutes, until golden brown. They may seem soft but will crisp up as it cools so cool completely and break them into individual crackers.
Tips for Success
- Don’t skip the chill – An hour in the fridge is the difference between dough that rolls out cleanly and dough that fights you the whole way.
- Judge by feel, not just the recipe – Too soft and sticky: add flour, 1 tablespoon at a time. Too dry and cracking: add milk, a teaspoon at a time.
- Roll evenly – Roll it out as thinly as possible, about 1/8 inch, so the crackers turn out crispy; for a softer texture, roll to about 1/4 inch instead. Whichever thickness you choose, make sure the dough is rolled out evenly; uneven thickness means uneven baking, with some crackers done and others underbaked.
- Cool completely before judging texture – Warm crackers always feel softer than they’ll end up, so it’s easy to overbake if you’re chasing crispness straight out of the oven.
Homemade Graham Crackers FAQs
Cool completely, then store in an airtight container at room temperature for up to 2 weeks.
They actually improve with a day or two as the flavors deepen; my kids like them even more on day three.
Freeze for up to 3 months using a flash-freeze method (freeze flat on a tray first, then transfer to a freezer bag).
Yes, you can! Substitute a 1:1 gluten-free flour blend for the whole wheat flour, and double-check your baking soda and any mix-ins are certified gluten-free.
Yes. Honey is sweeter and milder than molasses, so start with a slightly smaller amount and adjust to taste.
About 1/8 inch for crisp, classic graham crackers. Roll to 1/4 inch for a softer, chewier texture; this is also the better option for younger kids or babies who are newer to self-feeding.
Almost always it’s one of two things: the dough was rolled too thick, or they were pulled from the oven before fully drying out. Roll thinner, bake a couple minutes longer, and let them cool completely before judging the texture; they firm up significantly as they cool.
Yes, just make sure the dough is rolled to your desired thickness before cutting, since thickness affects bake time.
For babies under 12 months, no; this recipe contains honey, and honey should be avoided until after the first birthday due to infant botulism risk. For toddlers over 1, they’re a reasonable occasional snack; see the baby/toddler section above for texture adjustments.
More Easy Homemade Snacks

Did you make this recipe? Leave a rating below and let me know how you liked the recipe! Your feedback means so much to me!
Homemade Graham Crackers
Video
Ingredients
- 1/4 cup unsalted butter, softened
- 1/3 cup honey
- 2 tablespoons molasses (or more honey)
- 1 3/4 cups white whole wheat flour (230g), plus extra for rolling
- 1 teaspoon cinnamon
- 1 teaspoon baking soda
- 1/4 teaspoon salt
- 1 teaspoon vanilla extract
- 2-3 tablespoons milk of choice
Instructions
- With a hand mixer or stand mixer, cream butter, honey, and molasses together. Beat on medium-high speed until light and fluffy.
- Add the rest of the ingredients and mix on low speed. The mixture will look crumbly at first. Add 2 tablespoons of milk and mix until a dough forms. If it looks dry still, add another tablespoon of milk.
- Shape into a flat disc and cover with plastic wrap. Refrigerate for at least 1 hour. Chilling the dough will make it easier to roll out so do not skip this step.
- When ready to bake, preheat oven to 350°F. Take the dough out of the fridge and let it sit at room temperature for a few minutes to make it easier to work with. Place a sheet of parchment paper on your work surface.
- Lightly sprinkle with a small amount of flour. Place dough in the center and place a second sheet of parchment paper on top. Roll from the center outwards, using light, even pressure and turning the dough occasionally to maintain an even thickness, about 1/8 inch is ideal. The thinner you roll it, the crispier the crackers will be. And try your best to roll it into a rectangular shape.
- Using a pizza cutter, trim the sides and cut into 2×3 inch rectangles.
- Transfer the entire parchment paper (there's no need to separate the rectangles). Prick each cracker with a fork to create the signature graham cracker dotted pattern.
- Bake for 14-17 minutes, until golden brown. They may seem soft but will crisp up as it cools so cool completely and break them into individual crackers.
Notes
- Be sure to chill the dough for at least an hour. This will make it soooo much easier to work with when you go to roll it out.
- If the dough is too soft and sticky, add more flour, 1 tablespoon at a time. If too dry and cracks when you roll it out, add more milk.
- Be sure to cool the crackers completely as they will be soft at first but will crisp up once cooled.
- Cool the crackers completely and transfer to an airtight container. Store at room temperature for up to 2 weeks. If you prefer them crispy, I recommend refrigerating them. You can also freeze for up to 3 months using this flash-freeze method that I use to freeze muffins.



Hi the recipe looks great, however i am unable to find molasses where i live, can i use maple syrup instead? Or more of the honey
Hi! Yes I mention in the recipe you can use more honey :). Hope you enjoy!
STILL making them almost a yr. later. STILL love them!!
Love them! Have a 2 yr.-old grandson. I try to makes lots of organic home-made recipes to avoid processed foods. These are my first-ever home-made graham crackers. Parents, Joaqui & Buela find them delish!! Thank you, Min!
Oh this makes my heart sing! Thank you so much for sharing. I’m so glad you all enjoyed these homemade crackers! You should totally try my cheese crackers and sweet crackers next :).
Delicious! My kids kept asking for more!