This post may contain affiliate links. Please see our disclosure policy for more details.

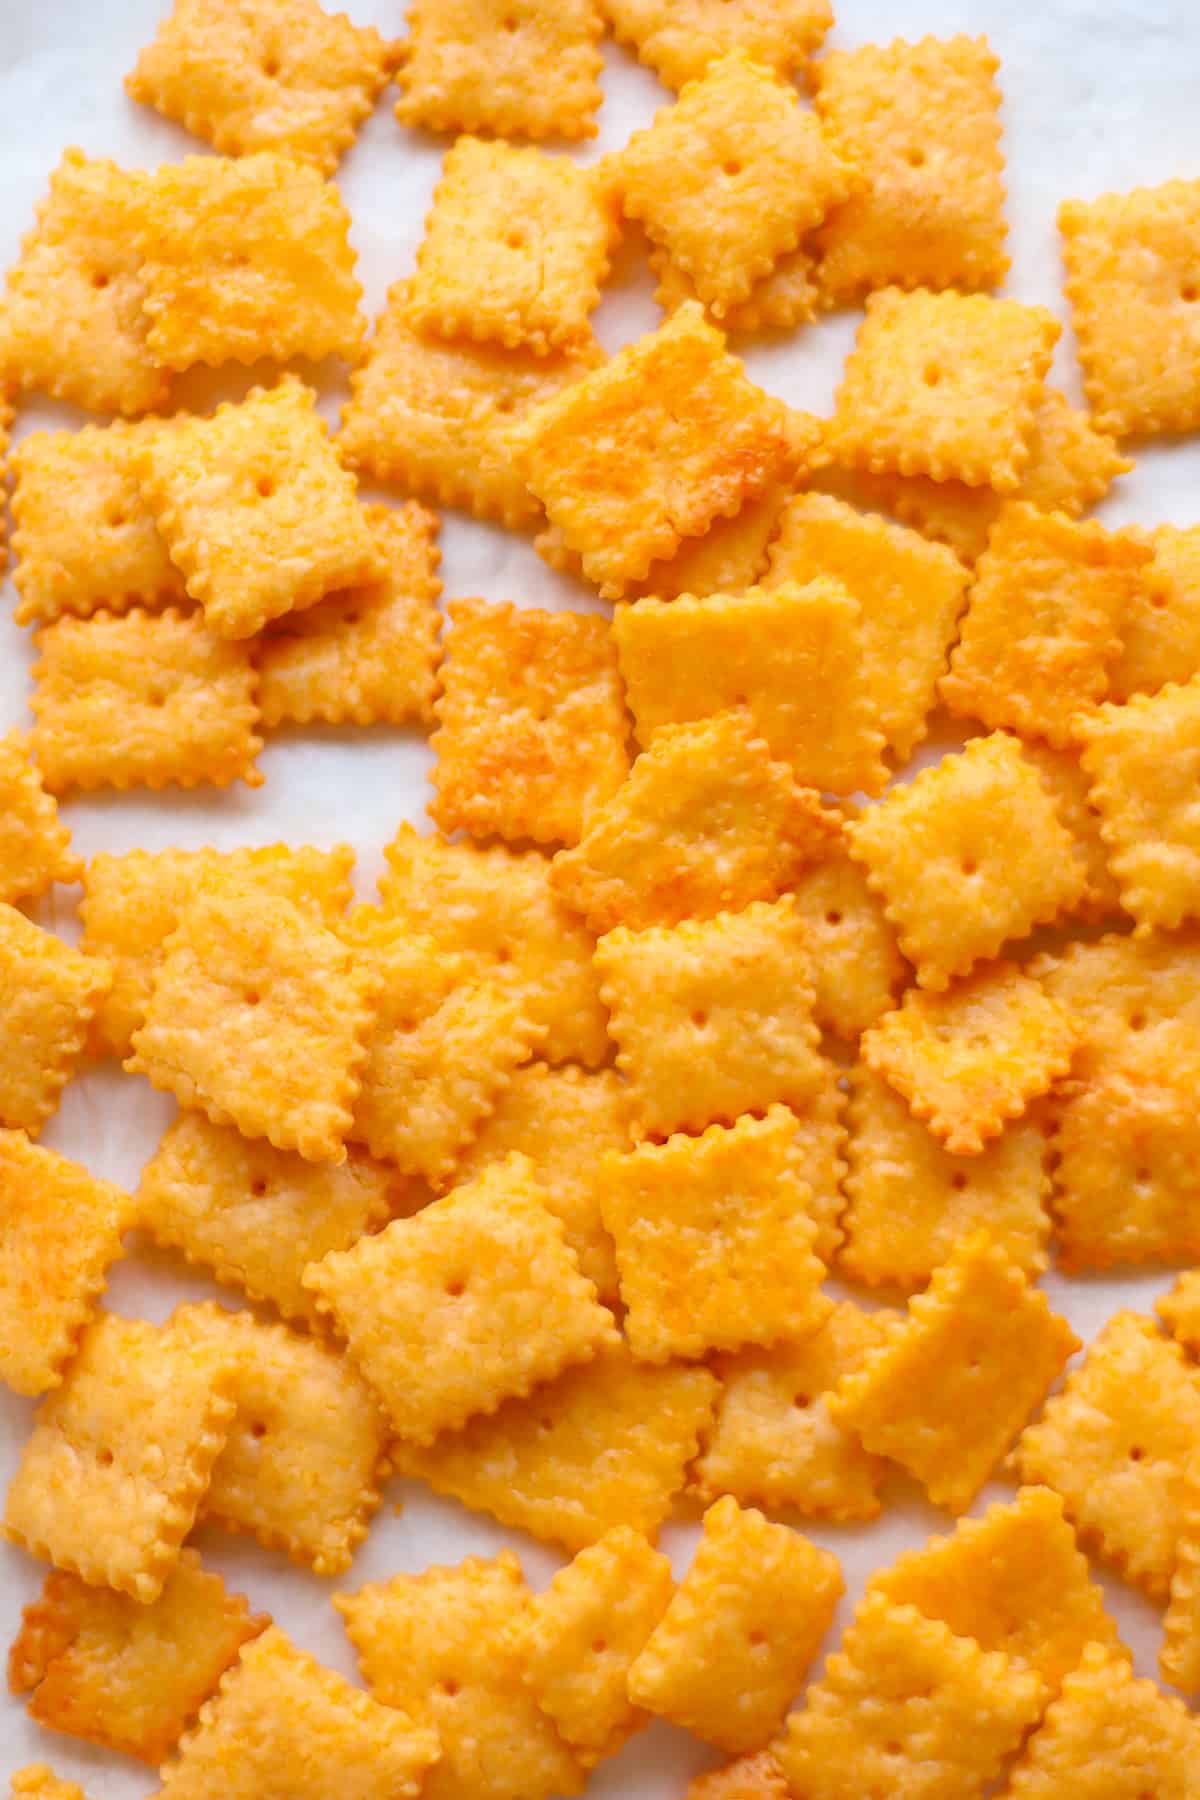
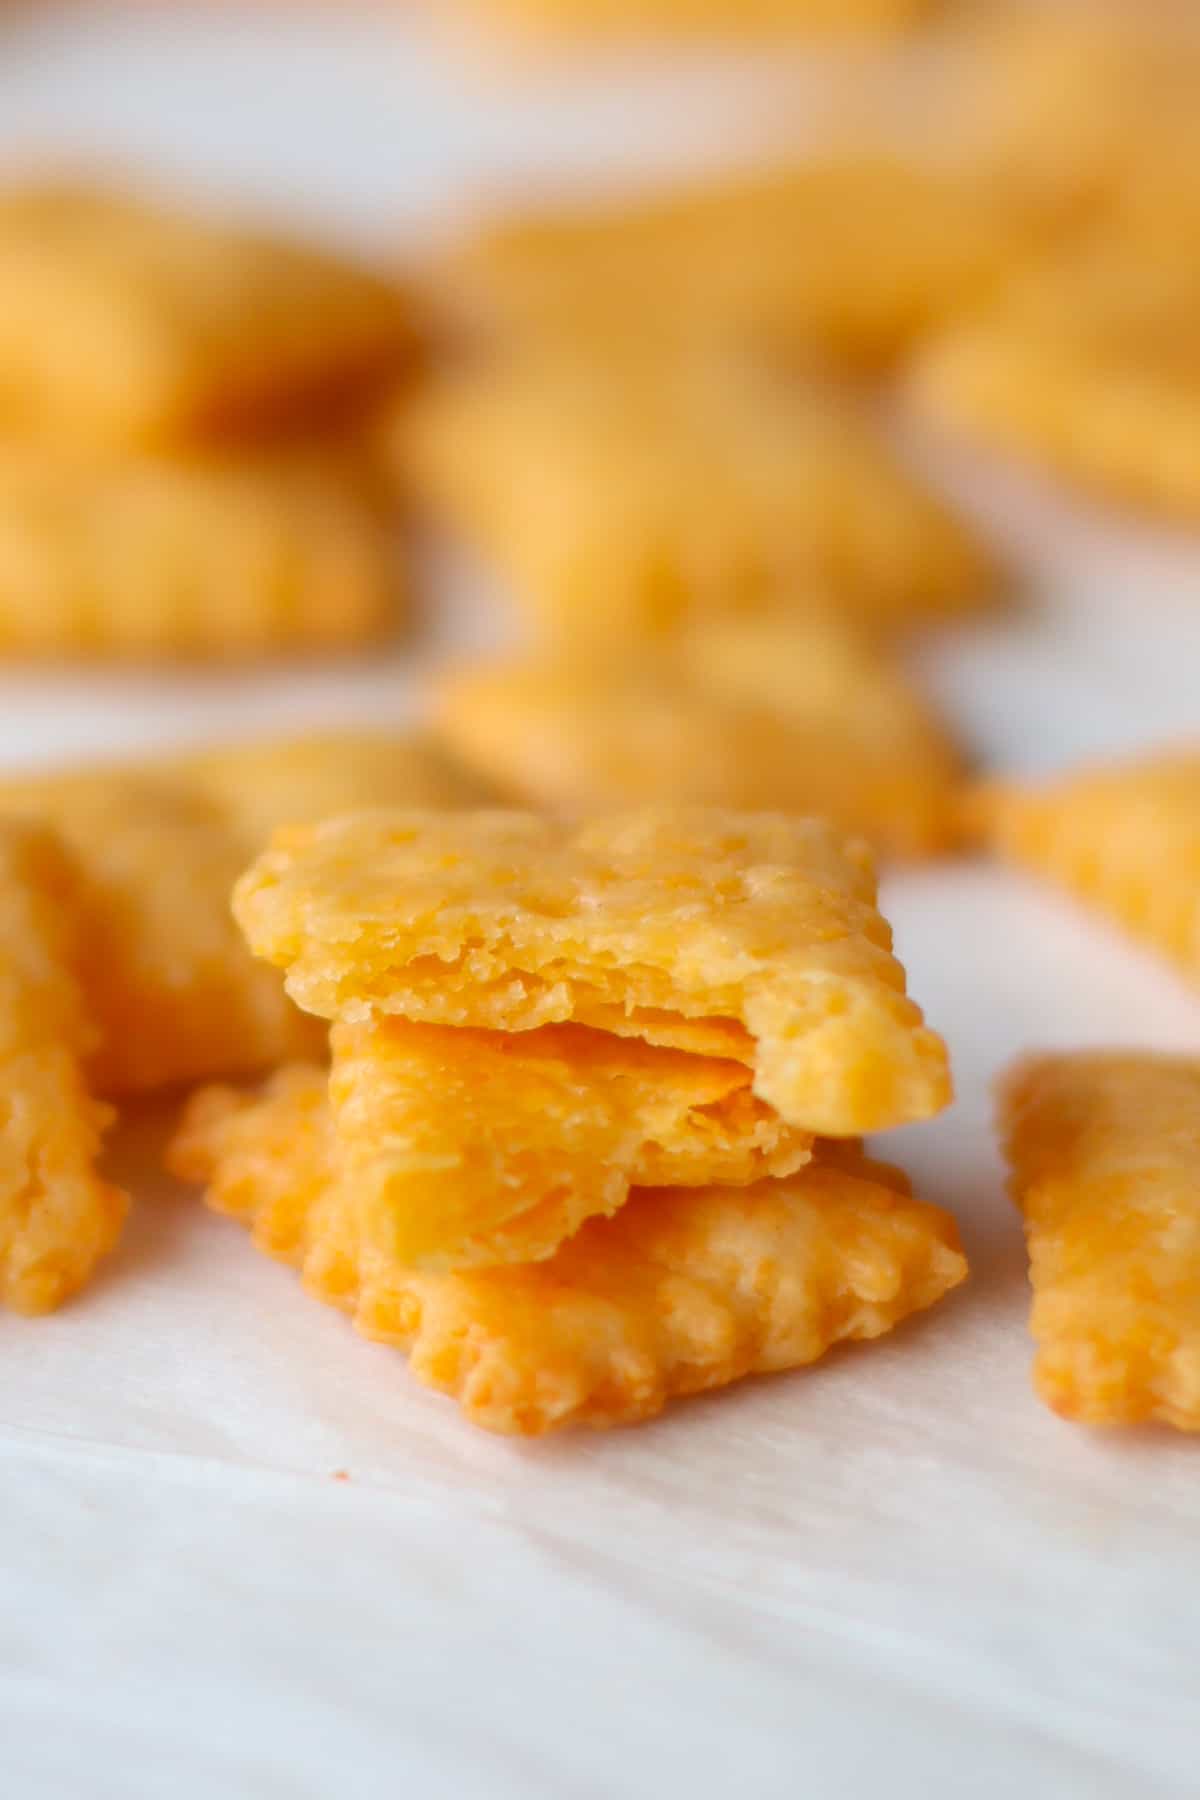
These homemade cheese crackers are crunchy, cheesy, and made with just a handful of simple ingredients you likely already have. They’re an easy, wholesome alternative to store-bought Cheez-Its without the preservatives or added sugars.
Why You’ll Love These Cheese Crackers
- Simple ingredients you can pronounce
- No added sugar
- Easy to customize for babies and toddlers
- Crispy and snackable, just like store-bought crackers
- Great for lunchboxes, snack trays, and on-the-go eating
These crackers are especially popular with families who want a homemade savory snack that still feels familiar to kids.
My kids absolutely adore cheez-its just like their mama, and while I’m all about the convenience, but there’s something satisfying about whipping up our own batch.
Plus, it’s a chance to add in a little extra goodness. These homemade cheese are like the deluxe version of the store-bought kind, thanks to using top-notch ingredients.
And the best part is they’re SO easy to make, with ingredients you likely already have in your pantry.
So don’t be shy. Let’s make some crunchy goodness together :). Or if you or your child prefer a softer cracker, you can do that too! You’ll probably find yourself making these repeatedly. They’re just that good!!
Afterwards, you should totally try these Easy Homemade Graham Crackers and sweet potato crackers too. You won’t be sorry!
While both of these homemade versions are simple to make, if you are just looking for something convenient and on the healthier side, check out the Best Crackers for Babies and Toddlers I’ve put together for you.
Here’s what others are saying about these cheese crackers:
“Just do yourself a favor and double the recipe when you make it. So so good and easy!!” – Katie
“My family loves these crackers! We make them very often with different kids of cheese ☺️ ” – Alejandra
Table of Contents
Key Ingredients
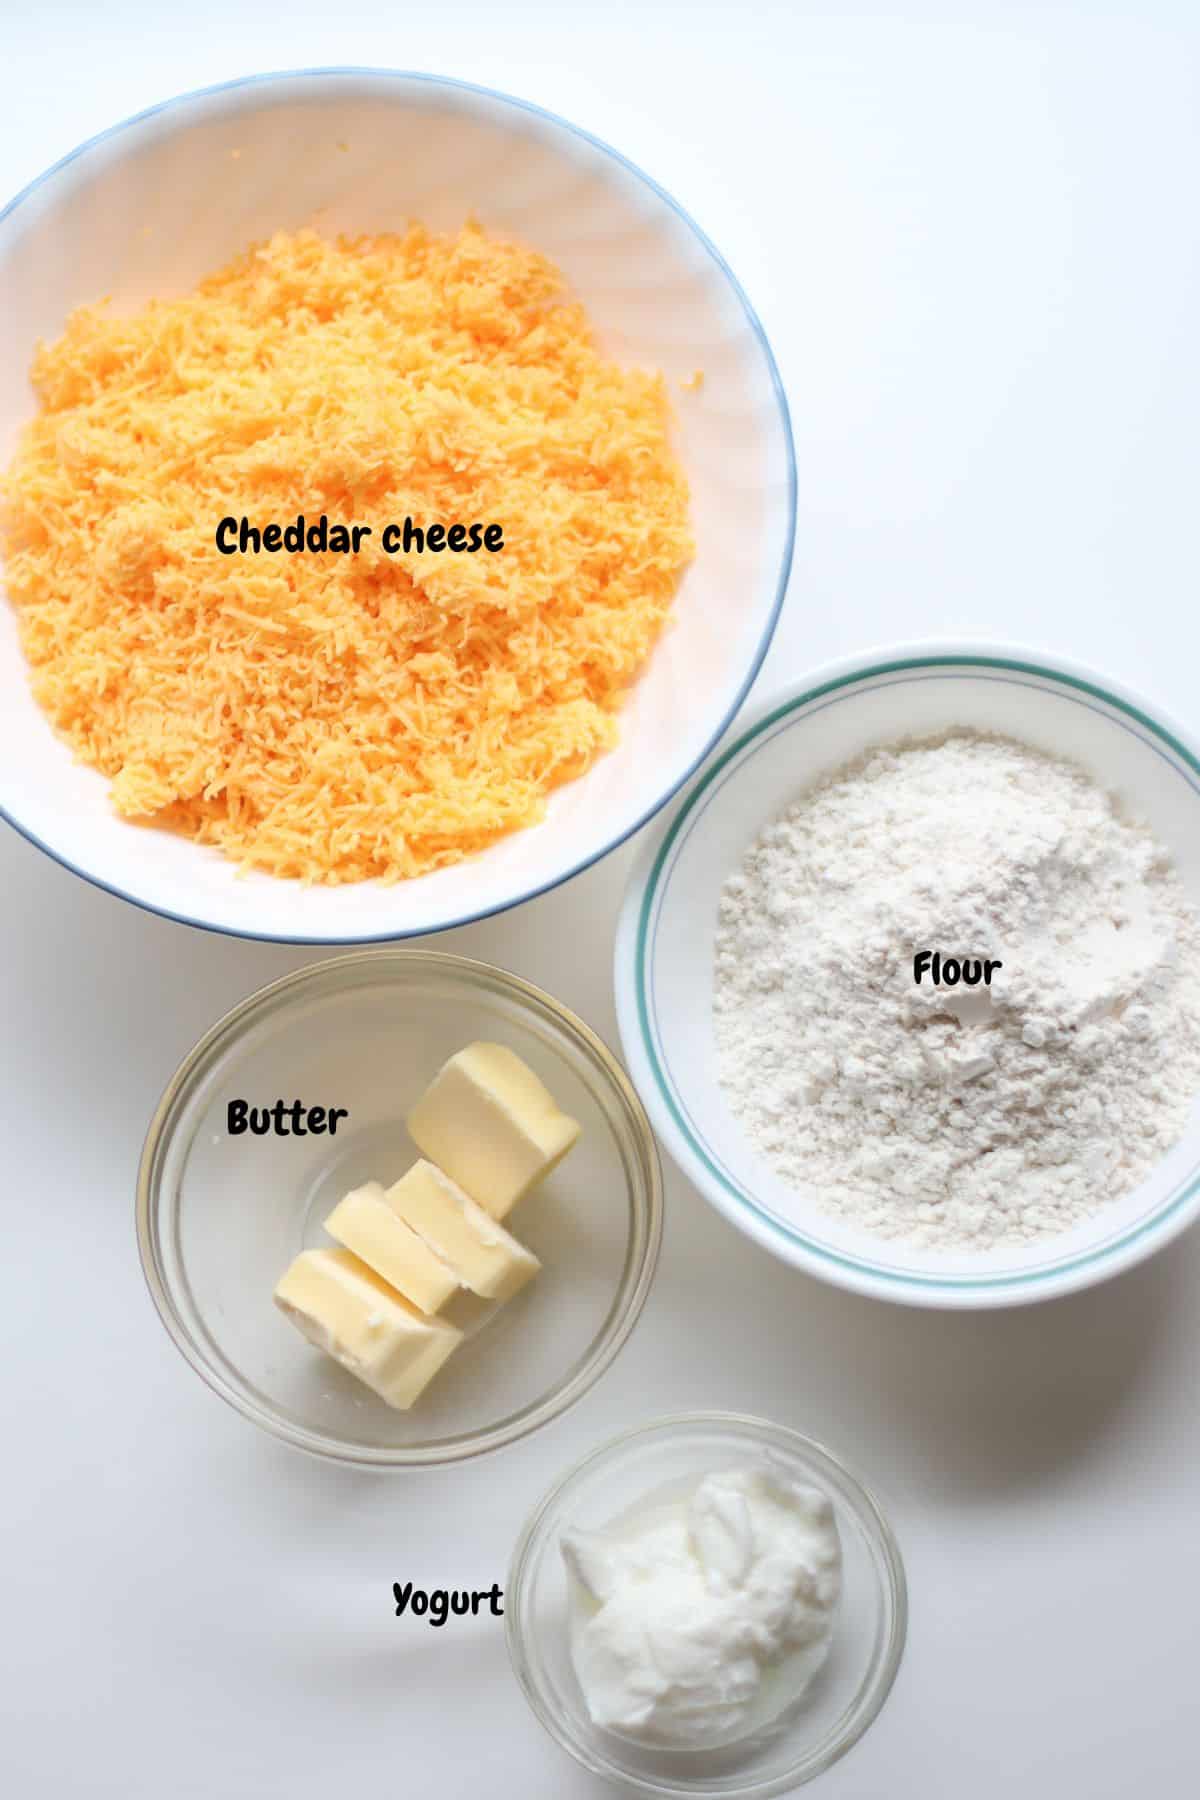
I am highlighting just the ones that need further explanation. The complete list is in the recipe card below.
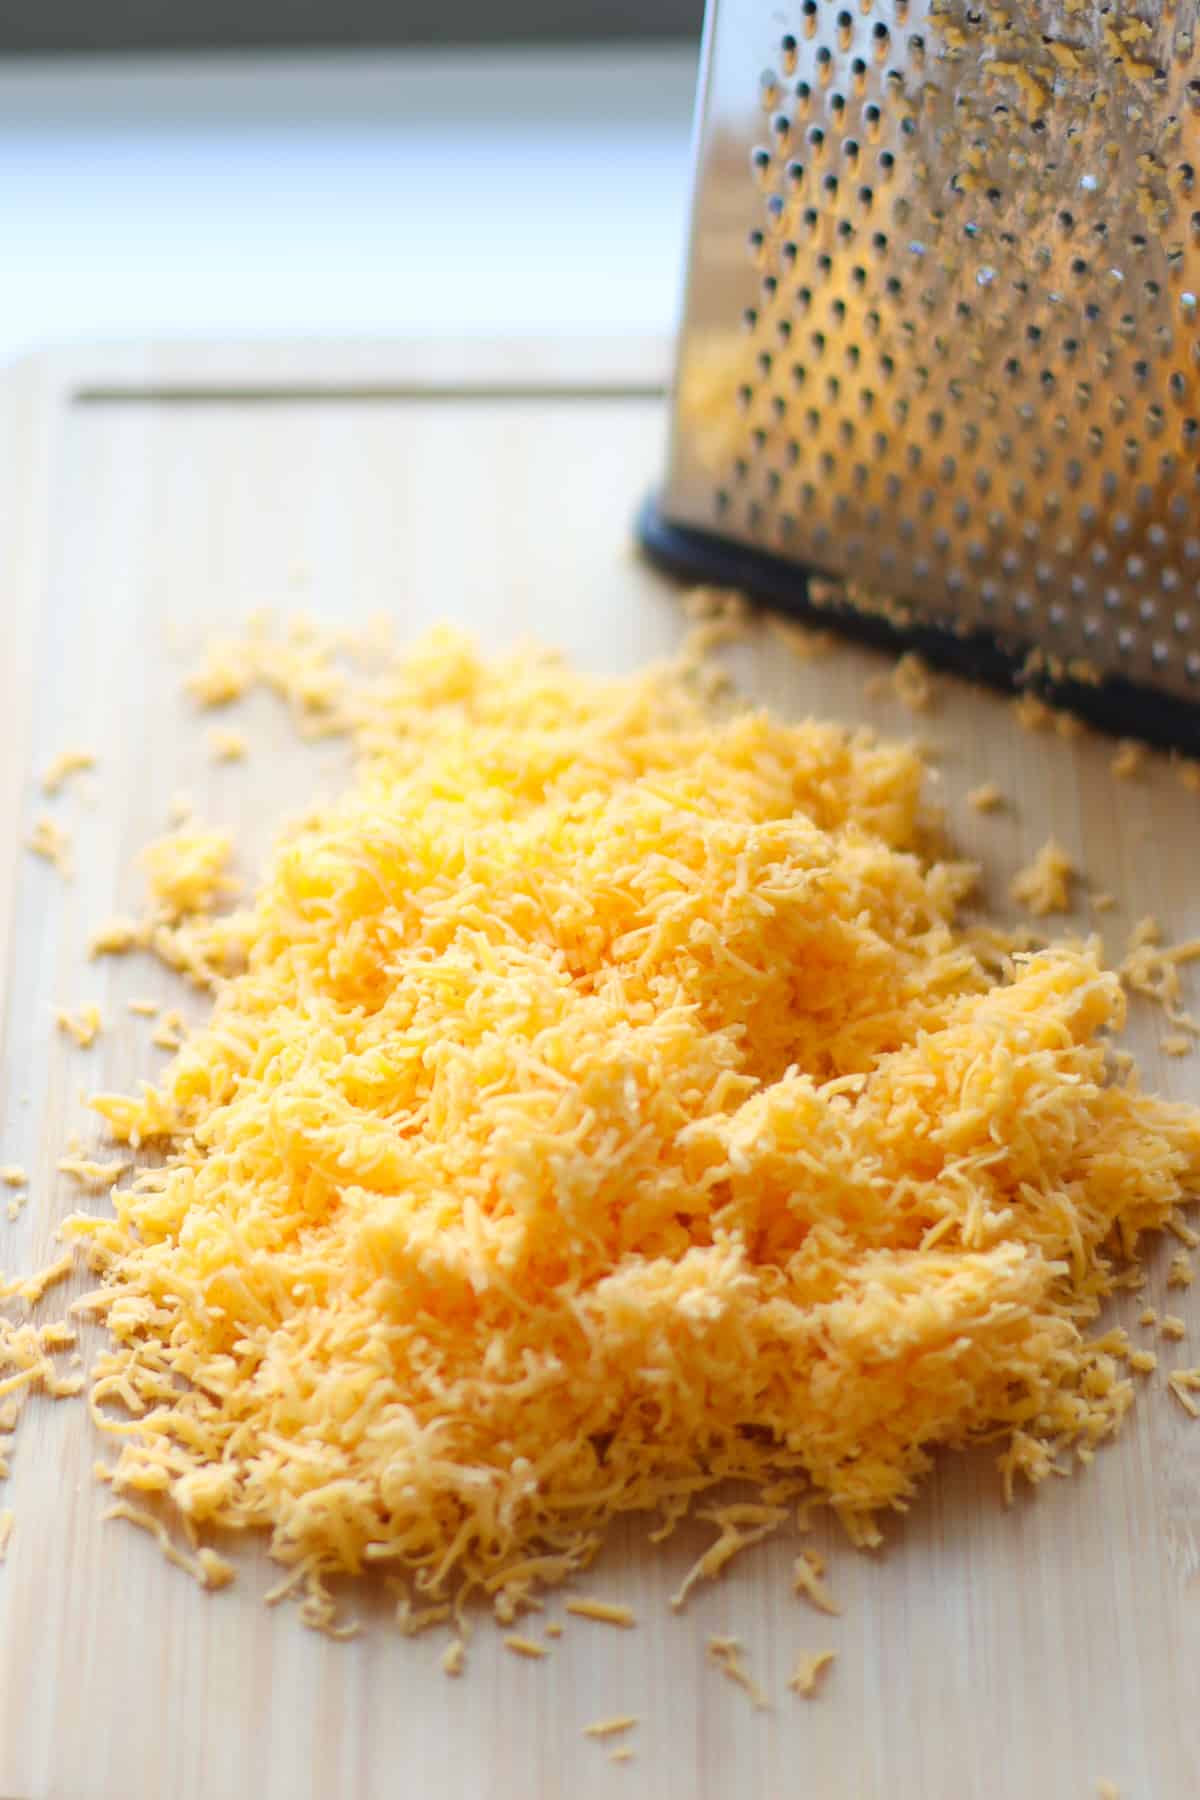
- Cheese – obviously THE most important ingredient for these homemade cheese crackers so opt for high quality sharp cheddar cheese. It makes all the difference!
- Butter – you will need COLD, unsalted butter.
- Flour – I like to use white whole wheat flour for added fiber and nutrition but feel free to use all purpose flour. I don’t recommend using whole wheat flour as the crackers will be dense, unless you prefer it.
- Plain yogurt – It adds moisture to the dough as well as a boost of protein without needing eggs. You can use Greek yogurt but note that it will impart a slightly tangy taste to your crackers.
How to Make Homemade Cheese Crackers
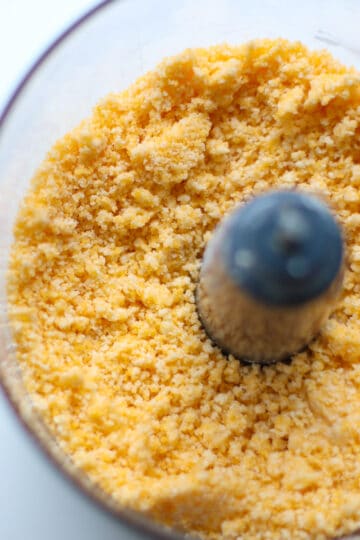
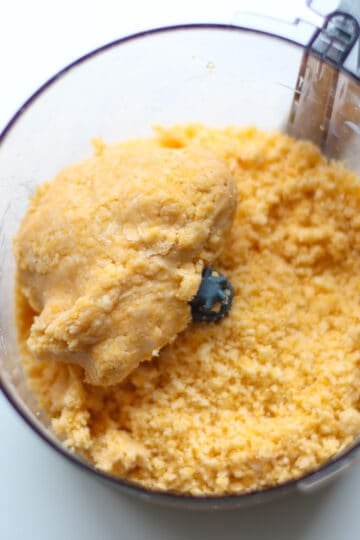
Step 1: Pulse the cheddar, flour, and butter in the food processor several times until it resembles coarse crumbs.
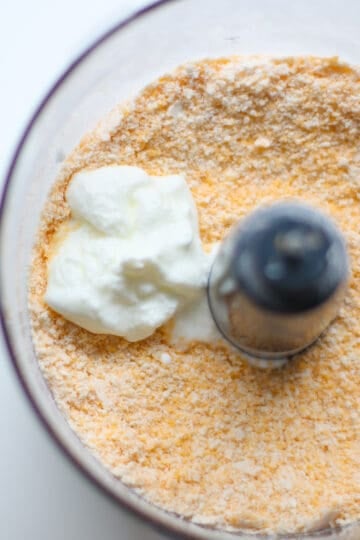
Step 2: Add the Yogurt, and pulse again for a minute or so. The dough will be crumbly still but should hold together when pressed with your fingers.
Step 3: Remove from the food processor, shape into log. Wrap in plastic wrap (you can divide in half) and refrigerate for at least 30 minutes. Chilling the dough will make it easier to roll out and slice.
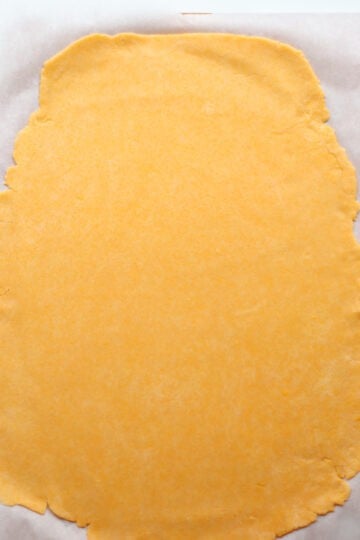
Step 4: Preheat oven to 350°F. Place a sheet of parchment paper on your work surface. Lightly sprinkle with a small amount of flour. Place the dough in the center and roll from the center outwards and turning the dough occasionally to main an even thickness, about 1/8-1/4 inch is ideal.
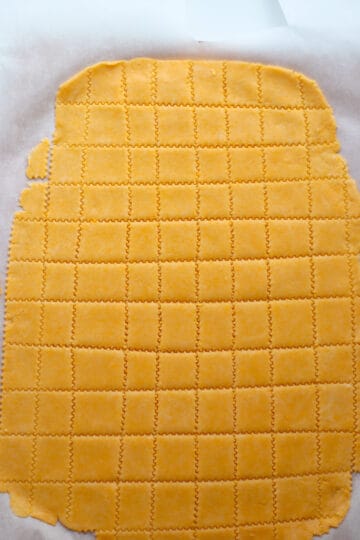
Step 5: Using a pizza cutter or fluted pastry wheel, cut into one inch squares. Trim off any edges to have perfect squares. Transfer the entire parchment paper with the cut dough to the cookie sheet. Spread them out slightly so they’re not touching.
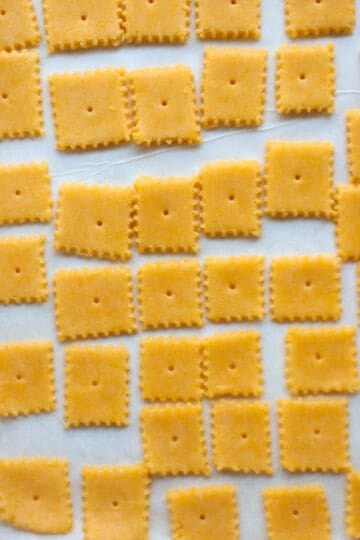
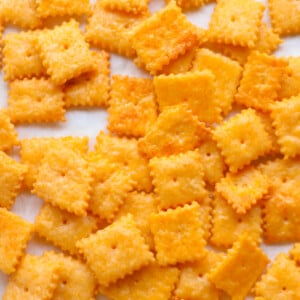
Step 6: Using the tip of a skewer or chopstick, poke a hole in the middle of each cracker. Bake for 17-20 minutes, or until lightly golden and puffy. Cool completely and enjoy!
Tips for making the BEST homemade cheese crackers
- Start with freshly grated cheese for the freshest and most flavorful homemade cheese crackers. Use a box grater or a food processor with a shredding disc.
- Adjust the yogurt amount as needed – Depending on the brand of yogurt you use as they vary in moisture levels, you may need to add another tablespoon of yogurt if your dough is too dry. It should feel solid, not sticky! If you need some direction, here are my favorite yogurts for babies.
- The thickness of the dough matters! The thinner you roll out the dough, the crispier the crackers will get so adjust to your liking. One of my kids like crispy crackers while the other one prefers them soft and doughy. So I divide the dough in half. One batch I roll out super thin, while the other I roll out to about 1/4-1/2 inch thickness.
- Keep an eye on the crackers while they bake to prevent them from burning. They can go from golden brown to burnt quickly.
- Allow the crackers to cool completely before storing them to maintain crispiness.
Variations
Here are some fun variations you can try to customize your homemade cheese crackers:
- Spicy Kick: Add a pinch of cayenne pepper or a sprinkle of chili powder to the dough for a spicy twist. You can also mix in some diced jalapeños for an extra kick.
- Herb Infusion: add dried herbs like thyme, rosemary, or oregano into the dough. You can also brush the crackers with melted butter mixed with garlic powder and parsley before baking.
- Cheese Blend: Experiment with different cheese combinations to create unique flavors. Try mixing cheddar with smoked Gouda, or Parmesan with asiago for a bold taste.
- Seeds and Nuts: Add some crunch and texture by mixing in toasted sesame seeds, finely chopped nuts like pecans or almonds, or even pumpkin seeds to the dough.
- Everything Bagel Seasoning: Sprinkle homemade Cheez-Its with everything bagel seasoning before baking.
- Sweet and Savory: For a sweet and savory option, sprinkle the crackers with a little bit of brown sugar and sea salt before baking. It adds a delicious contrast of flavors.
- Garlic Crackers: Add ⅛ teaspoon garlic powder for a mild, savory garlic flavor that complements the cheese without overpowering it.
Serving Suggestions
- Pair with fruit slices and yogurt for a balanced snack.
- Add to a snack plate with hummus and veggies. Try with this broccoli hummus dip.
- Pack in school lunches as a homemade savory option. For more inspiration, see my collection of easy school lunch ideas for toddlers.
- Serve alongside soup for easy dipping. Check out these healthy soups for babies and kids.
Equipment
You will need a food processor to mix the cheese with other ingredients to form the dough for the crackers. It will create a uniform dough without overworking it. I am absolutely in love with this food processor. It’s the perfect size, powerful, and super versatile.
For cutting into squares, grab a pizza cutter or add a special touch with this fluted pastry wheel (which is what I’m using here).
Cheese Cracker FAQs
You can try a 1:1 gluten-free flour blend, though the texture may vary slightly. Rolling the dough thinner usually helps improve crispness.
Yes. These crackers are made with simple ingredients and no added sugar. For babies and younger toddlers, break the crackers into small pieces and supervise closely during eating.
If the dough is rolled too thick or the crackers are underbaked, they may be soft. You can re-crisp them in a 300°F oven for a few minutes if needed.
Roll the dough very thin and bake until the edges are lightly golden. The crackers will continue to crisp as they cool, so allow them to cool completely before storing.
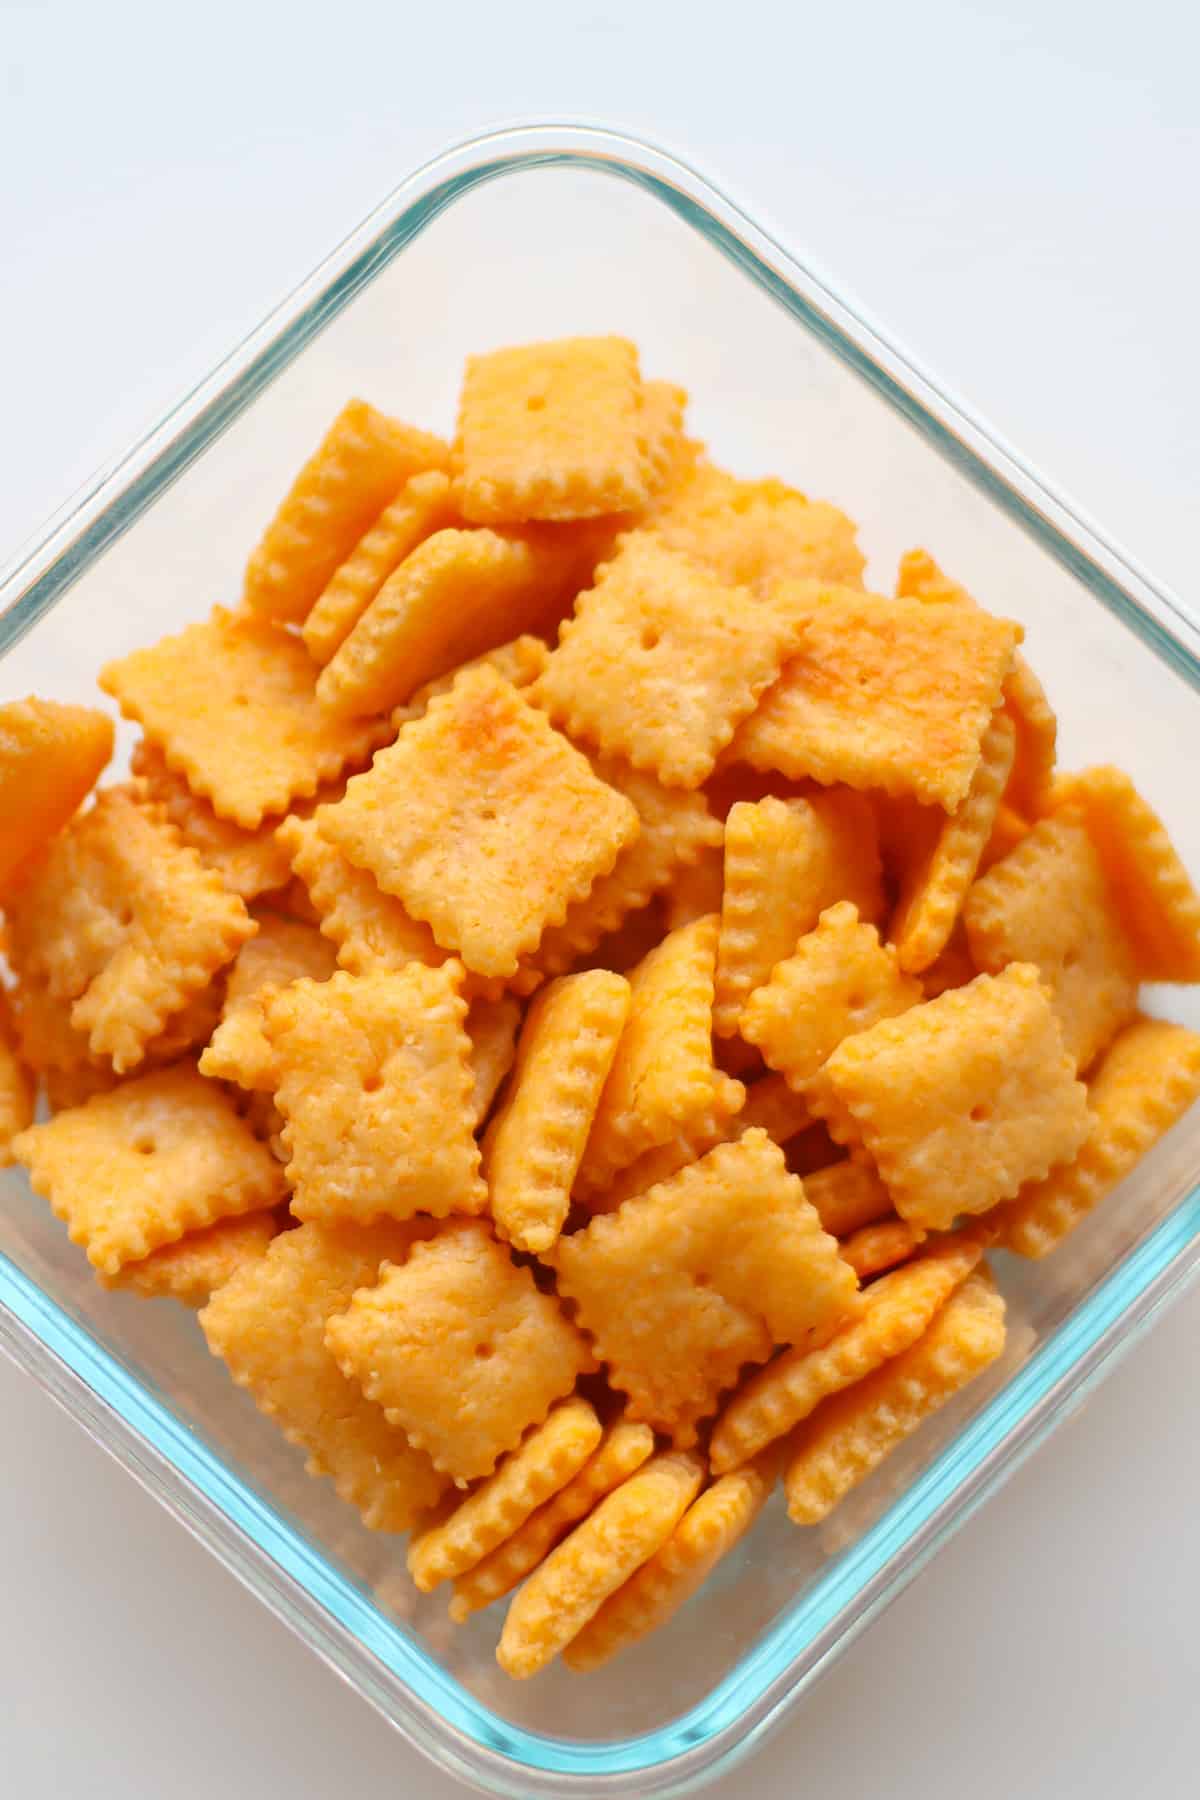
Store fully cooled leftover crackers in an airtight container at room temperature for up to 5 days or in the refrigerator, or freeze them for longer storage for up to one month. For the best crunch, let the crackers cool completely before storing. If they soften, you can re-crisp them in a 300°F oven for a few minutes.
More Healthy Homemade Snacks


Did you make this recipe? Leave a rating below and let me know how you liked the recipe! Your feedback means so much to me!
Homemade Cheese Crackers (Cheez-Its)
Video
Ingredients
- 8 ounces finely grated sharp cheddar cheese
- 1 1/4 cups all purpose flour (160g)
- 4 tablespoons cold unsalted butter, cut into small pieces
- 1/4 cup plain yogurt (see note)
Instructions
- Pulse the cheddar, flour, and butter in the food processor several times until it resembles coarse crumbs.
- Add the Yogurt, and pulse again for a minute or so. The dough will be crumbly still but should hold together when pressed with your fingers.
- Remove from the food processor, shape into log. Wrap in plastic wrap and refrigerate for at least 30 minutes. Chilling the dough will make it easier to roll out and slice. If storing in the fridge for a long period of time, take it out of the fridge and let it sit at room temperature for a few minutes.
- Preheat oven to 350°F. Place a sheet of parchment paper on your work surface. Lightly sprinkle with a small amount of flour. Place the dough in the center and roll from the center outwards and turning the dough occasionally to main an even thickness, about 1/8-1/4 inch is ideal.
- Using a pizza cutter or fluted pastry wheel, cut into one inch squares. Trim off any edges to have perfect squares. Transfer the entire parchment paper with the cut dough to the cookie sheet. Spread them out slightly so they're not touching.
- Using the tip of a skewer or chopstick, poke a hole in the middle of each cracker. Bake for 17-20 minutes, or until lightly golden and puffy. Cool completely and enjoy!
Notes
- Adjust the yogurt amount as needed – Depending on the brand of yogurt you use as they vary in moisture levels, you may need to add another tablespoon of yogurt if your dough is too dry.
- The thickness of the dough matters! The thinner you roll out the dough, the crispier the crackers will get so adjust to your liking. One of my child prefers these soft and dough so I divide the dough in half. One batch I roll out super thin, while the other I roll out to about 1/4-1/2 inch thickness.
-


Needed a snack to put into my kids snack box that changes from cookies, cakes, etc. We live in Europe and cheesits are not available.
I replaced the yogurt by skyr because that’s what we had sitting around, and put some Parmesan in as well. They are exactly like Cheesits!
He absolutely loves these and we will be making again for Apéro!
yummy
Do you think I can put oat flour or almond flour instead?
I haven’t tried so can’t say for certain but I think oat flour will work!
They cam out so perfect and my toddler loved it 😍
my 9 month old loves these!
Question – can we change wholemeal flour instead of AP flour?
You can! The texture will change a bit but still delicious!
These crackers are delicious! My three-year-old helped me make them and we gobbled them up very quickly. These will definitely be in our snack rotation. Thank you so much for this recipe!
Wow! Didn’t expect these to be so good. Recipe was easy enough. I probably should have added a bit more yogurt, but I could roll the dough out smooth. This snack will be a repeat in my house! Thank you!
Makes me so happy to hear that!!
So much fun to make these with my son. Thanks!
I halved the recipe and made it exactly like the instructions. They came out wonderful and delicious. I think maybe just a sprinkle of sea salt was needed during cooling brought out a stronger cheese flavor.
Came out perfect with such good cheddar flavor. I mixed all purpose flour with whole wheat white flour and worked really well. May try all whole wheat flour next time! Will be making these again for sure!