This post may contain affiliate links. Please see our disclosure policy for more details.

These healthy sugar cookies are soft, buttery in flavor, and perfectly sweetened with natural ingredients. Simple enough for everyday baking, special enough for the holidays.

What makes these sugar cookies healthier?
If you’re looking for classic sugar cookies with a little more nourishment behind each bite, here’s what sets this recipe apart:
- No refined sugar — sweetened with maple syrup instead of white granulated sugar.
- Whole grain flour — made with white whole wheat flour, which has the nutrition of regular whole wheat but a softer, more kid-friendly texture.
- Less butter than traditional recipes — still soft and tender, just lighter.
- Simple, pantry-friendly ingredients — no artificial dyes in the cookie itself, and plenty of options for natural decorating if you want to keep things on the cleaner side.
- Balanced sweetness — gently sweet without being overpowering, so the icing and sprinkles don’t take it over the top.
As a pediatric dietitian mom, I’ve tested my share of “healthy” sugar cookies, but most were either dry, crumbly, or just didn’t have that soft, buttery bite that makes sugar cookies so special.
These are different! I’ve been making these cookies (and these healthy gingerbread cookies) for years with my kids and have now become our go-to for holidays, playdates, or those afternoons when everyone just wants something homemade and cozy.
Made with just a touch of butter (way less than most recipes), naturally sweetened with maple syrup or honey, and enriched with whole wheat flour, this version keeps all the soft, slightly chewy texture you love in a classic sugar cookie, just with a more wholesome, feel-good spin.
But don’t just take my word for it. Here’s what others are saying:
“These cookies were a hit with my family!! I made them with maple syrup and the whole house smelled so yummy after I baked these! My son kept asking for more and didn’t want to save any for Santa 😅🤣🤣 great recipe!!” – Sarah
“I made these for the first time this week with my 16 month old. I used maple syrup and they turned out delicious! The dough was easy to work with and I can’t believe how good they taste. This will probably be our main sugar cookie recipe now.” – Katie
Table of Contents
- What makes these sugar cookies healthier?
- Key Ingredients
- Substitutions and Variations
- How to Make the Best Healthy Sugar Cookies
- Expert Tips
- How thick do I Roll Healthy Sugar Cookies?
- Simple Healthy Sugar Cookie Icing
- Decorating Sugar Cookies with Kids
- Storage Suggestions (In the Fridge and Freezer)
- Healthy Sugar Cookies FAQs
- More Healthy Cookies
- Healthy Sugar Cookies Recipe
Key Ingredients
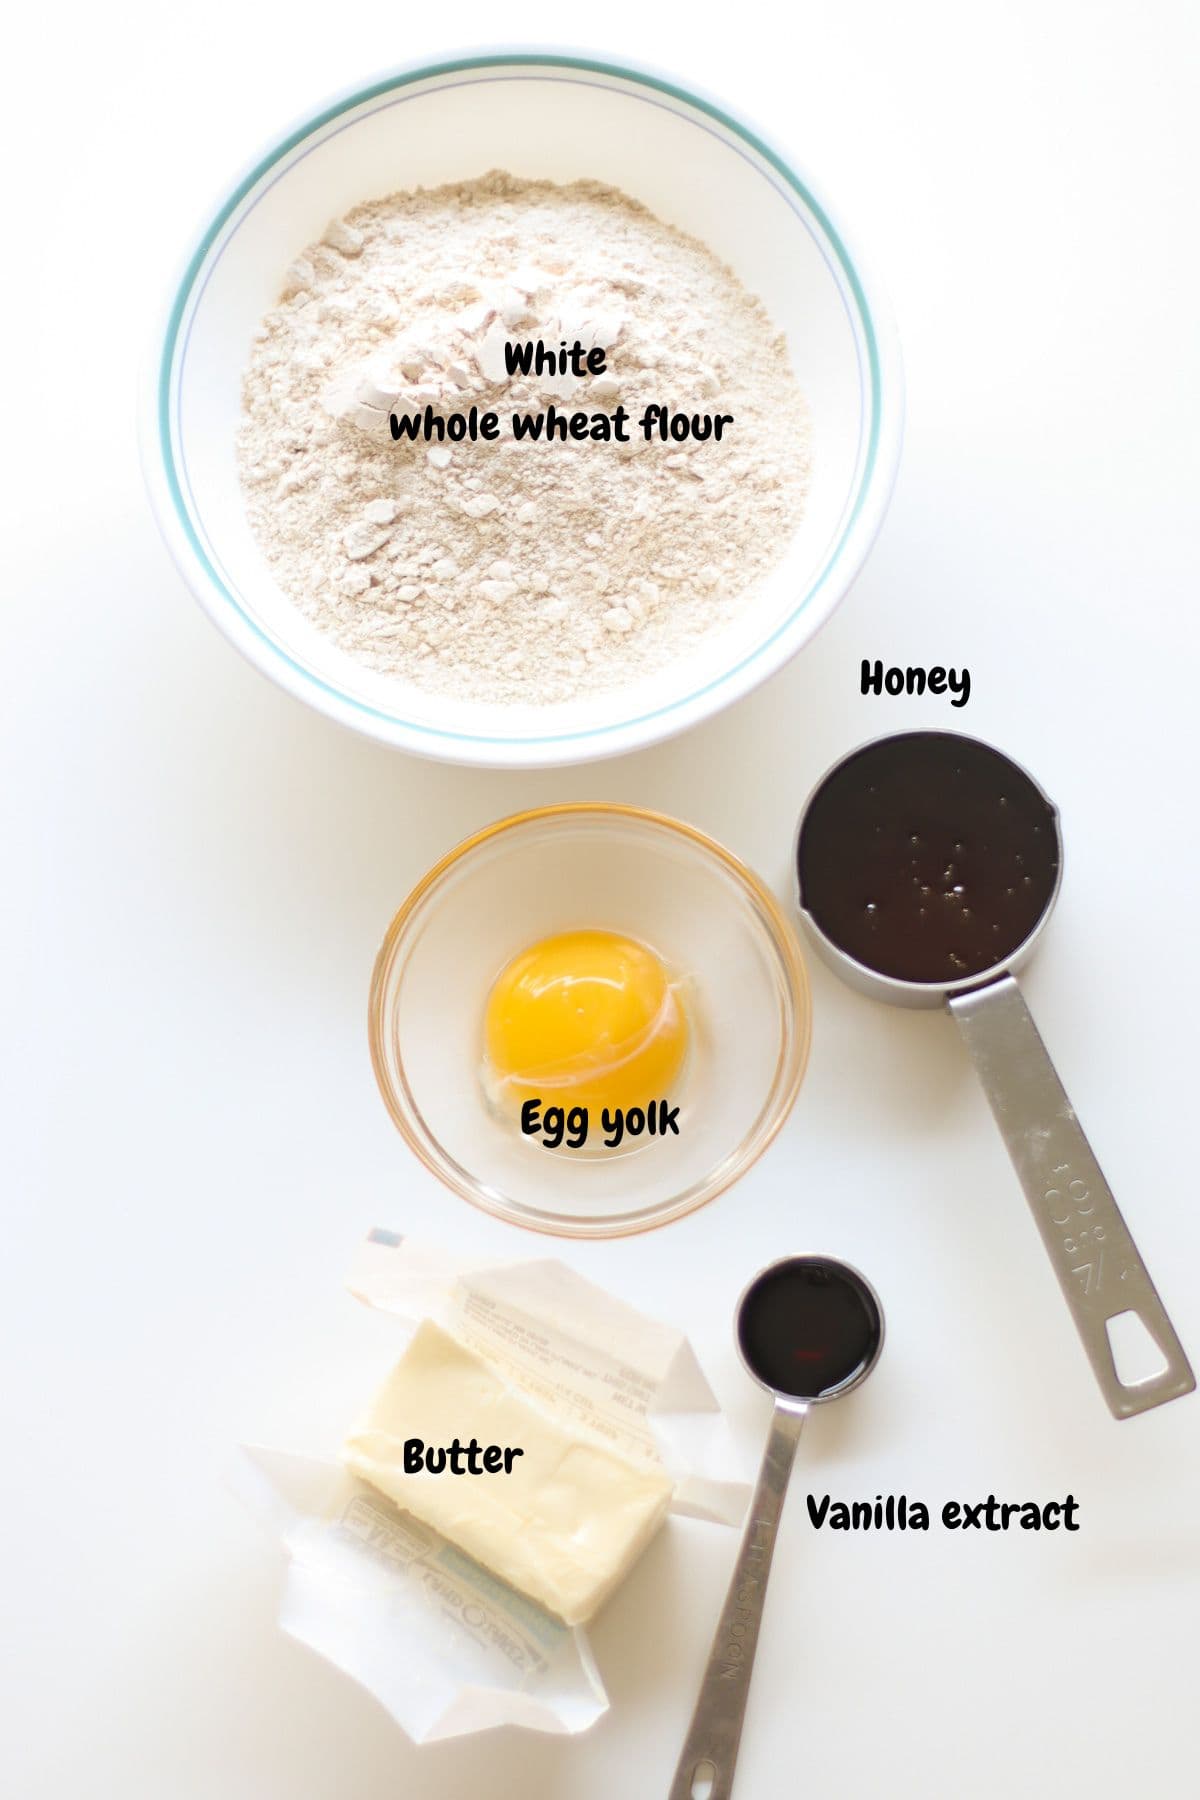
I am highlighting just the ones that need further explanation. The complete list is in the recipe card below.
- White whole wheat flour – I love baking with this flour because it’s the same nutritionally as whole wheat flour but is lighter in texture and a little sweeter in flavor. You can also use all purpose flour or whole wheat pastry flour.
- Unsalted butter – helps make the cookies light and prevents them from becoming too dry or crumbly.
- Maple syrup or honey – great unrefined sugar alternatives!
- Egg yolk – makes the dough easier to work with and produces rich, soft, and chewy cookies.
- Icing – you can use homemade or store-bought. Details below.
Substitutions and Variations
- All-purpose flour:
Works beautifully if you want a lighter, more classic sugar cookie texture. - Whole wheat pastry flour:
A great in-between option — tender, soft, and still offers whole grain benefits. - Gluten-free flour:
Several readers have reported success using a gluten-free 1:1 baking blend. Because formulas vary, you may need to chill the dough slightly longer or roll gently. - Sweeteners:
Maple syrup gives a deeper, more caramel-like flavor. Honey makes the dough slightly stickier and bakes softer. While I prefer maple syrup, both will work. - Icing:
You can use a simple powdered sugar icing, yogurt-based icing, or keep things extra gentle by skipping icing altogether and using sanding sugar or naturally colored sprinkles. You can delete yogurt icing if you prefer not to mention it, totally optional.
How to Make the Best Healthy Sugar Cookies
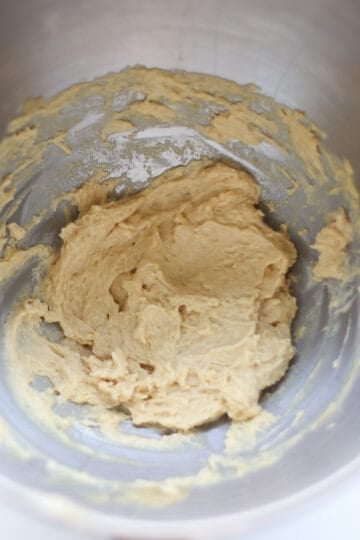
Step 1: With a hand mixer or stand mixer, cream butter and honey. Beat on medium-high speed for a couple of minutes until light and fluffy. Add the egg yolk and vanilla extract and beat until combined.
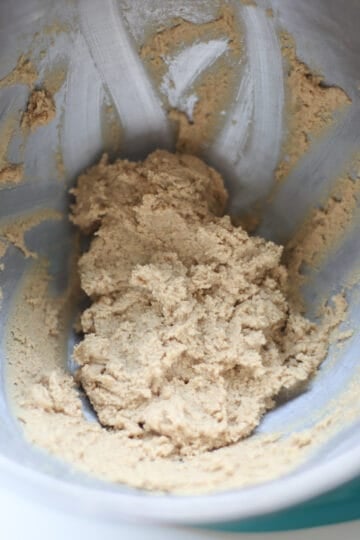
Step 2: Add the dry ingredients to the wet ingredients and mix on low speed until combined. Do NOT overmix.
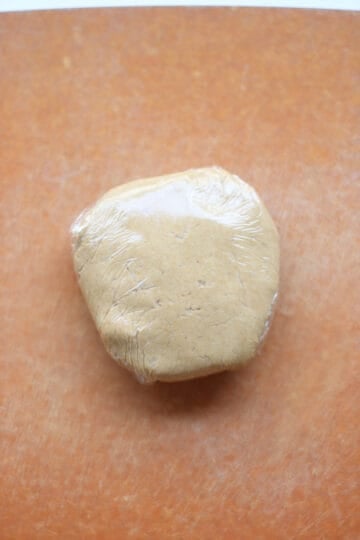
Step 3: Shape the dough into a flat disc and cover with a plastic wrap. Refrigerate for at least 1 hour, or until the dough is firm. Chilling the dough will make it easier to roll out and cut into shapes so do NOT skip this step.
Step 4: When ready to bake, preheat oven to 350°F. Take the dough out of the fridge and let it sit at room temperature for a few minutes to make it easier to work with. Place a sheet of parchment paper on your work surface. Lightly sprinkle with a small amount of flour. Place the dough in the center and place a second sheet of parchment paper on top. Gently roll from the center outwards, using light, even pressure and turning the dough occasionally to maintain an even thickness, about 1/4-1/3 inch is ideal.

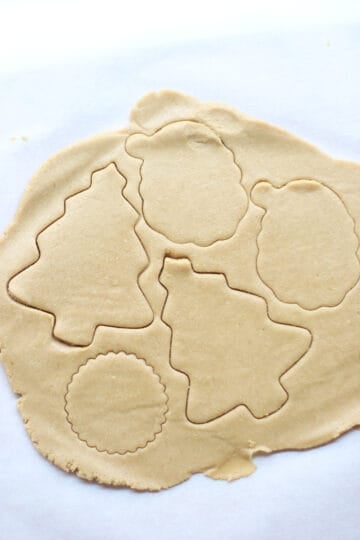
Step 5: Use your favorite cookie cutters to cut out shapes and position them closely together on the dough to minimize waste. Peel away the unused dough from around the shapes, and then transfer the entire parchment paper with the cut-out shapes to the cookie sheet.

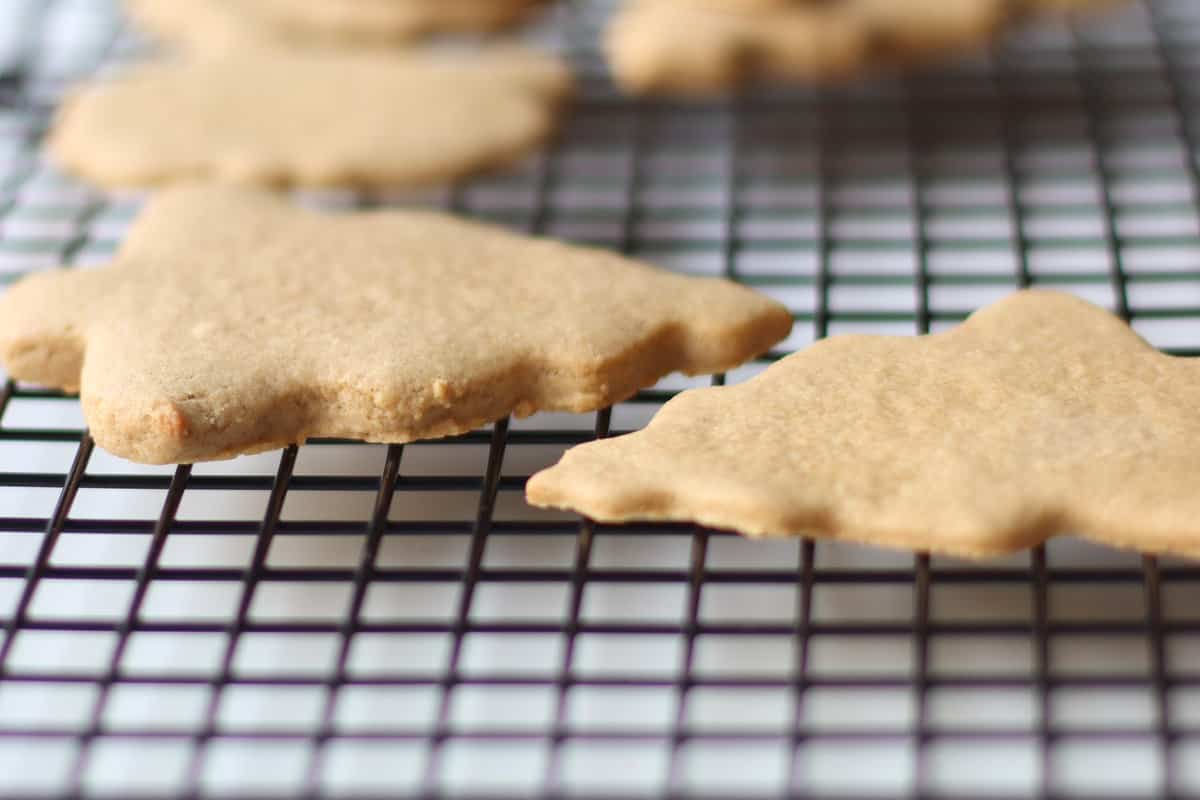
Step 6: Bake for 8-10 minutes, until the edges are lightly golden brown. In the meantime, you can re-roll the leftover dough scraps (may need to refrigerate again if too soft) and cut out more shapes. Repeat until you’ve used up all the dough. Remove from the oven (they might seem under-baked but they’re not!) and cool for several minutes before transferring to a wire rack to cool completely. Enjoy as is or have fun decorating!
Expert Tips
- If the dough is too soft and sticky, add more flour, up to 1 tablespoon.
- Cut as close together so you will get as many cookies out of your dough as possible.
- Peel away the unused dough from around the shapes rather than lifting them from the parchment paper and onto the baking sheet. This prevents the shapes from getting distorted.
- Icing – if too thin, add more powdered sugar. If too thick, add more milk.
- Work quickly – immediately after icing, add sprinkles over the wet icing.
How thick do I Roll Healthy Sugar Cookies?
It depends on your texture preference. If you prefer soft and chewy sugar cookies, roll out the dough to about 1/3 inch thickness.
If you are a lover of crisp and crunchy sugar cookies, 1/4 inch thickness will be perfect. Start monitoring around 6 minutes as they can brown quickly, especially around the edges.
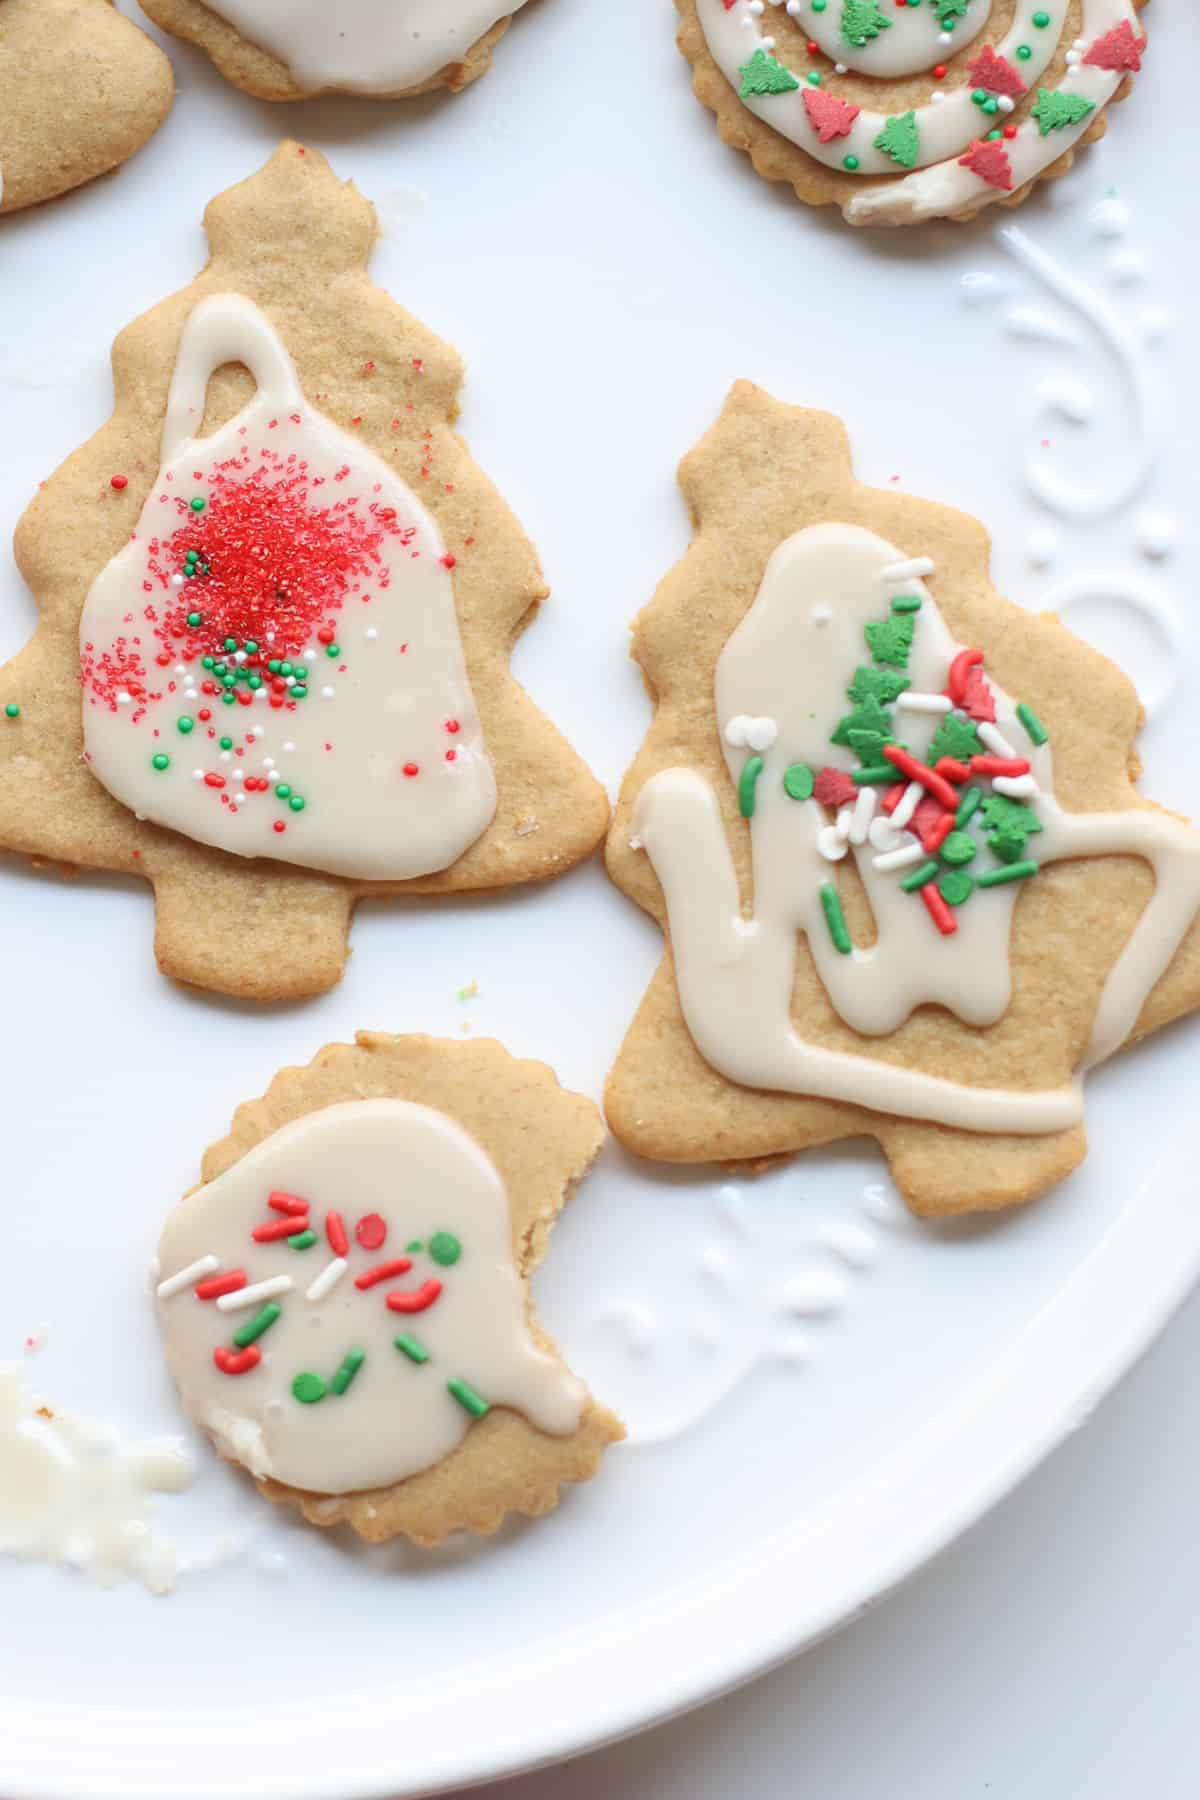
Simple Healthy Sugar Cookie Icing
All you need are powdered sugar, vanilla, a little bit of milk, and food coloring (optional). This is my favorite natural gel food coloring.
Alternatively, you can grab any of your favorite royal icing from the store for convenience, which I totally get! Even though this icing recipe is easy, you’ll still need to gather the ingredients and dirty dishes, which can feel like a lot especially when you’ve had a long day.
You can also skip the icing and sprinkle colorful sanding sugar or sprinkles before baking.
Decorating Sugar Cookies with Kids
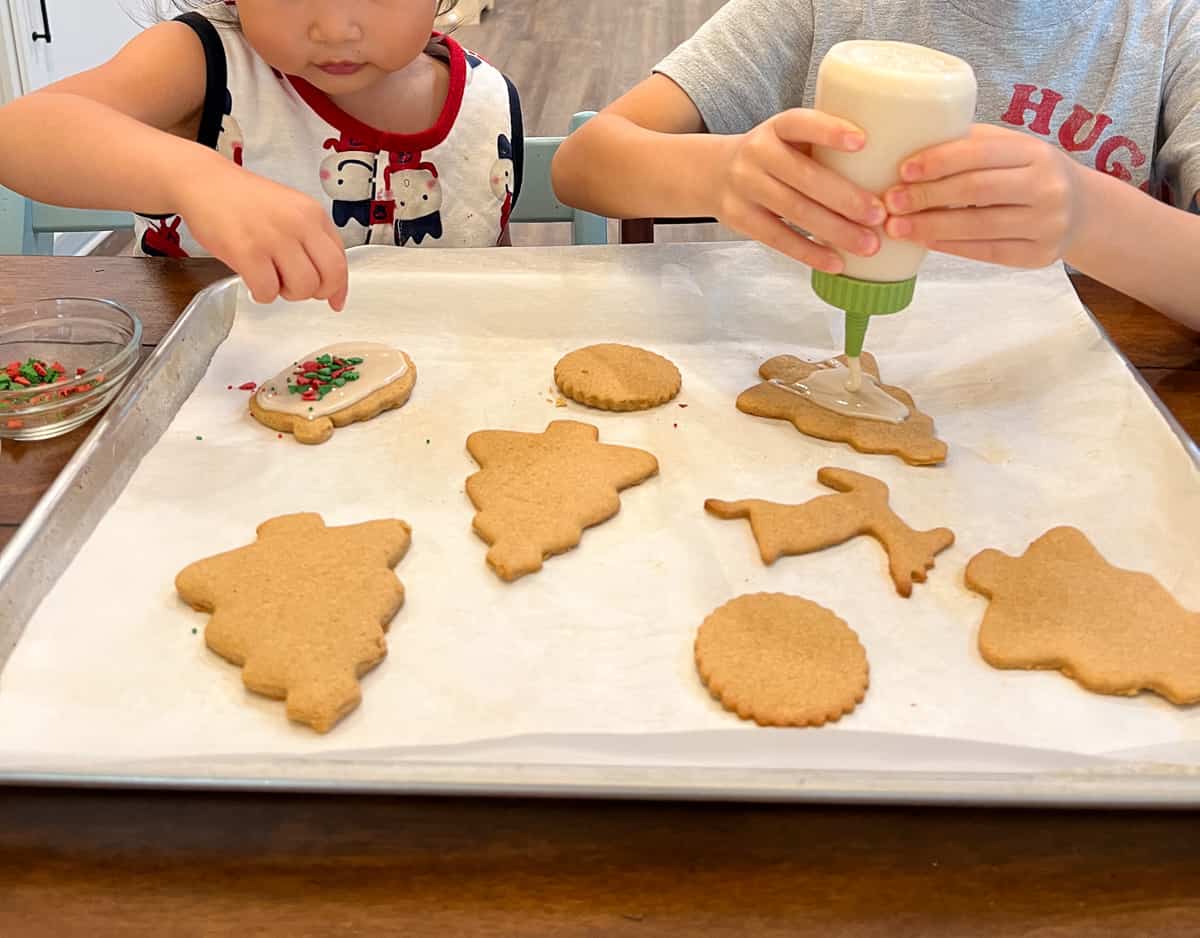
Set up your decorating station with all the necessary supplies beforehand. Use disposable tablecloths or placemats to make cleaning up easier.
Instead of spreading icing with a knife, consider using small squeeze bottles and paintbrushes. Place sprinkles in small bowls to prevent spills. Place a baking sheet pans or trays under the cookies as kids decorate so they can catch any stray sprinkles or icing drips.
Also limit the number of icing colors (if using). A few well-chosen colors are all you need.
And most importantly, keep it fun! Remember, it’s okay to embrace the mess a little. Let the kids enjoy the process, an don’t worry too much about perfection. The fun and creativity are what make the experience memorable.
Storage Suggestions (In the Fridge and Freezer)
In the refrigerator:
You can store both decorated and non-decorated cookies in an airtight container for 3-5 days at room temperature or a week in the refrigerator.
For decorated cookies, place them in a single layer in an airtight container, separating layers with parchment paper.
In the freezer:
You can either freeze the dough by shaping into a flat disc and wrapping in plastic wrap. Transfer to a freezer-safe bag. Thaw in the refrigerator overnight and then bring to room temperature for at least an hour.
OR
freeze baked cookies. While you can freeze both decorated and non-decorated, I recommend the latter. Flash freezing method will work best, just like when freezing muffins, as it prevent the cookies from sticking together and allows you to grab only the amount you need.
Healthy Sugar Cookies FAQs
They’re gently sweet and lighter than traditional versions, especially since the dough uses less butter and no refined sugar. If you add icing or sprinkles, you can adjust the amount to your preference.
This dough naturally runs softer because it uses liquid sweetener. If it feels too sticky, simply chill for another 15–20 minutes or dust your hands and rolling pin lightly with flour. It should roll out smoothly once it firms up.
Roll the dough slightly thinner (about ⅛ inch) and add 1–2 extra minutes of bake time. Keep an eye on the edges — once they’re golden, they’ll crisp as they cool.
You can use freeze-dried fruit powders (like strawberry or blueberry), natural food coloring brands, or a simple lemon-powdered sugar glaze. They all give beautiful color without the artificial stuff.
More Healthy Cookies


Did you make this recipe? Leave a rating below and let me know how you liked the recipe! Your feedback means so much to me!

Healthy Sugar Cookies
Video
Equipment
Ingredients
- 1/4 cup unsalted butter, softened
- 1/4 cup maple syrup (or honey), see note
- 1 egg yolk, room temperature
- 1 teaspoon vanilla extract
- 1 cup white whole wheat flour (130g)
- 1/2 teaspoon baking powder
- 1/4 teaspoon salt
Icing
- 1 cup powdered sugar
- 1/2 teaspoon vanilla extract
- 2-3 tablespoons milk of choice
Instructions
- With a hand mixer or stand mixer, cream butter and maple syrup. Beat on medium-high speed for a couple of minutes until light and fluffy. Add the egg yolk and vanilla and beat until combined.
- Add the dry ingredients to the wet ingredients and mix on low speed until combined. Do NOT overmix.
- Shape the dough into a flat disc and cover with a plastic wrap. Refrigerate for at least 1 hour, or until the dough is firm. Chilling the dough will make it easier to roll out and cut into shapes so do NOT skip this step.
- When ready to bake, preheat oven to 350°F. Take the dough out of the fridge and let it sit at room temperature for a few minutes to make it easier to work with.
- Place a sheet of parchment paper on your work surface. Lightly sprinkle with a small amount of flour. Place the dough in the center and place a second sheet of parchment paper on top. Gently roll from the center outwards, using light, even pressure and turning the dough occasionally to maintain an even thickness, about 1/4-1/3 inch is ideal.
- Use your favorite cookie cutters to cut out shapes and position them closely together on the dough to minimize waste. Peel away the unused dough from around the shapes, and then transfer the entire parchment paper with the cut-out shapes to the cookie sheet.
- Bake for 8-10 minutes, until the edges are lightly golden brown. In the meantime, you can re-roll the leftover dough scraps (may need to refrigerate again if too soft) and cut out more shapes. Repeat until you've used up all the dough.
- Remove from the oven (they might seem under-baked but they're not!) and cool for several minutes before transferring to a wire rack to cool completely.
- Enjoy as is or have fun decorating!
Icing
- In a bowl or liquid measuring cup, combine all the ingredients. Stir well to combine. If the icing is too thick, add an additional teaspoon of milk one at a time until you reach your desired consistency. If too thin, add more powdered sugar.
Notes
- My family prefers maple syrup over honey but you can experiment and see!
- If the dough is too soft and sticky, add more flour, up to 1 tablespoon.
- Cut as close together so you will get as many cookies out of your dough as possible.
- Peel away the unused dough from around the shapes rather than lifting them from the parchment paper and onto the baking sheet. This prevents the shapes from getting distorted.
- You can store both decorated and non-decorated cookies in an airtight container for 3-5 days at room temperature or a week in the refrigerator.


I’ve made these cookies a few times with my grandkids and for my grandkids’ school holiday celebrations and they turned out fantastic! They’re easy to handle, taste fantastic and are refined sugar free. I didn’t make the icing sugar but we may try it in the future.
Thank you so much for sharing. ❤️
Made these this past weekend in two versions, one with whole wheat flour and one with all purpose flour. Both were excellent and the bunny cut outs I had held up great during baking. Actually skipped icing the majority of them as they had a perfect light sweetness. Parent and toddler approved!
Amazing!! Thanks for sharing!!
I think this is the first time I’ve ever left a recipe review. I often end up on your page just by fluke when searching for recipes because you seem to cook the way I like. Most of my favourite foods are from your site so thank you! This recipe far exceeded my expectations. We made them without icing for my 3-year-old to try out his new cookie cutters and wow. They have the perfect amount of sweetness and they held together perfectly even with tiny little cookie cutters and big ones as well. I had low expectations just thought it would be a fun project but they turned out literally perfect.
This makes my heart sing! Thank you Chelsey for taking the time to share such a heartwarming feedback. We end up baking these cookies for just about every occasion, and next up is Easter… can’t wait to use bunny and egg cutters 🐰🥚
Delicious recipe! Using these for my son’s birthday party 😍
I made these with honey this holiday season! Absolutely delicious & I feel a little bit better about letting my kids have a few cookies as we enjoy the holiday break.
Great recipe! Kids and adults both liked. Not too sweet. Made about 8 large cookies!
Magic perfect THANK YOU
Love the addition of white whole wheat. We added crushed up freeze dried raspberries for our decoration. Bright and fun and great flavor too. Thanks for another recipe that will be a go-to!
Thank you for this wonderful recipe! The cookies came out great, my toddler loves them without icing too!