This post may contain affiliate links. Please see our disclosure policy for more details.
Follow these refrigerator and freezer storage tips to save money, reduce food waste, keep food safe, and retain the quality, nutrients, and flavor of your leftovers!
This post contains affiliate links, meaning I earn a small commission (from the company, not by you) if you purchase the products through these links. I only promote products that I use in my own kitchen from companies I trust!
Temperature
Keep food out of the Danger Zone – between 40°F and 140°F!
Did you know that when food is left at room temperature, the number of bacteria that cause foodborne illness can double every 20 minutes? That’s why it’s so important to store in the fridge or the freezer as chilling foods to proper temperatures is one of the best ways to slow down the growth of these unfriendly bacteria.
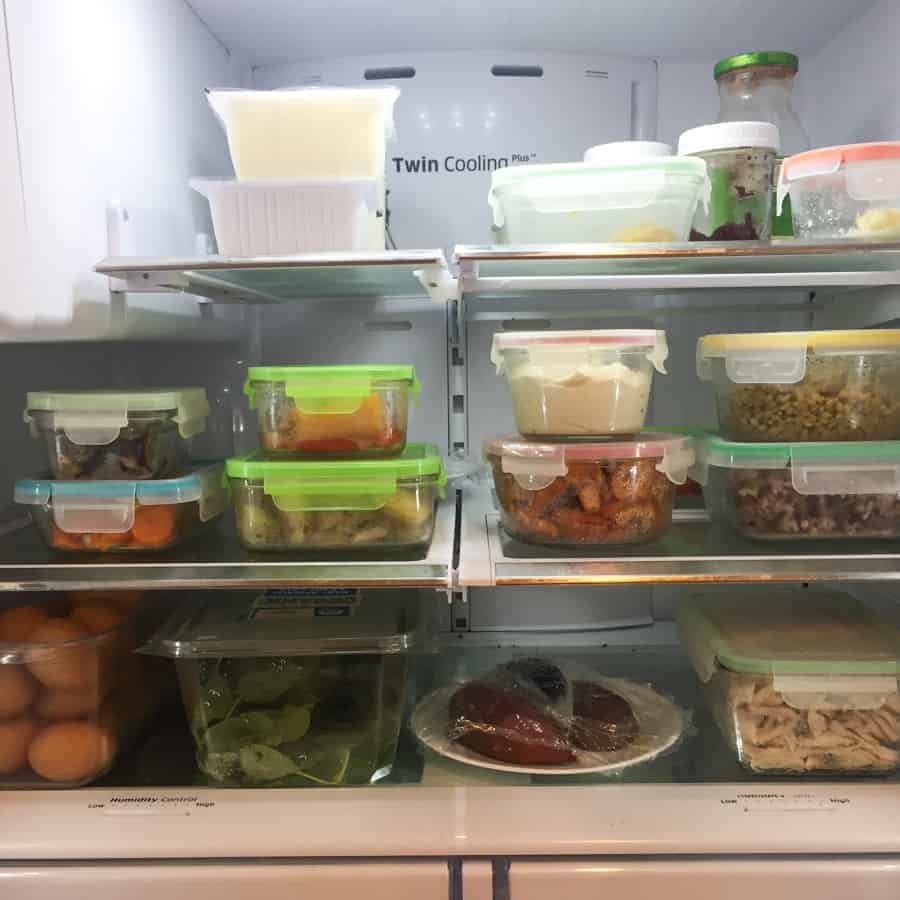
First thing, make sure your refrigerator temperature is set at 40°F or below, ideally between 36-38°F. Your freezer should be at 0°F. If your fridge doesn’t monitor temperature, purchase an appliance thermometer (doesn’t have to be expensive) for both the fridge and the freezer. And check often!
Additionally, you must allow for the cold air to circulate around refrigerated foods to ensure that they’re properly chilled. That means no more overfilling your fridge. Spread the containers out as much as you can and clean the fridge out frequently.
Timing – the 2-hour rule
It’s super important to get foods into the fridge or freezer as quickly as possible! If the prepared food or leftovers have been left out at room temperature for more than 2 hours, you need to discard.
Now, if you’re at an outdoor birthday party or picnic when the temperature is 90°F or higher, throw away any food you can’t refrigerate within 1 hour.
I know we’re focusing on leftovers in this post, but I want to briefly mention groceries. You want to put your refrigerated items in the fridge as soon as you get home from the store, and don’t leave them in your car longer than absolutely necessary. Again, you must refrigerate within 2 hours, or 1 hour on a hot day.
If you’re getting take-out or bringing leftovers from a restaurant, again, the 2-hour rule applies! If you’re not able to return home within 2 hours, don’t even bother asking for a to-go box.
Storage
The Basics
I used to think I had to wait until the cooked food cooled down a bit before putting it in the fridge. This is a big no no! If you let food sit in a large pot or containers at room temperature to cool, it will take too long. And it’s during that time that bacteria will grow and multiply.
Instead, divide food into smaller, shallow containers and place in the refrigerator for rapid cooling. The sooner the better. You can also place hot foods directly in the refrigerator. Just be sure to leave some space at the top.
Storing in smaller containers also makes it easier when you’re reheating them. It’ll also lead to less food waste as it will allow you to thaw only what you need.
Don’t forget to label and date the containers! I like to use masking tape. You can either mark with the date you threw it into the fridge or the date you need to enjoy it by. If you skip this part, it’s likely that the food will sit in the fridge for too long.
Labeling also helps with organization. Remember the First in First out (FIFO) rule. Be sure to place the older food in front and the newer food behind it.
A side note: the refrigerator door is the warmest spot in the fridge. So don’t store milk here! It should be used only for non-perishable drinks and condiments.
Meal Prep
I love to meal prep, but this wasn’t always the case. Meal prepping can be super intimidating when first starting out. I remember the time when washing vegetables as soon as I brought them home from the store was quite a feat. But then I started picking up steam and doing a lil’ more and then a lil’ more. My biggest advice is to just start somewhere!
For more helpful tips and meal prep inspirations, check out my series – Meal Prep Friday
Here’s how I like to store my prepped foods:
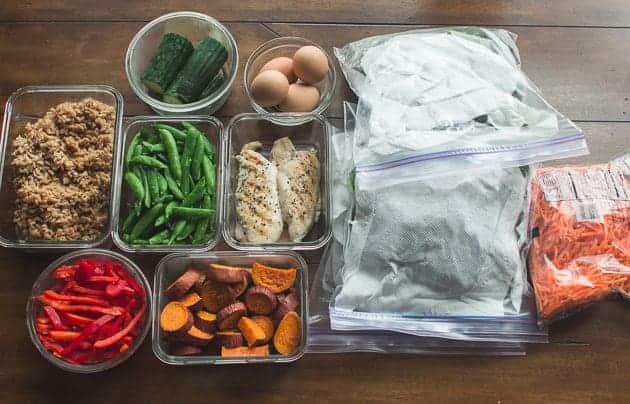
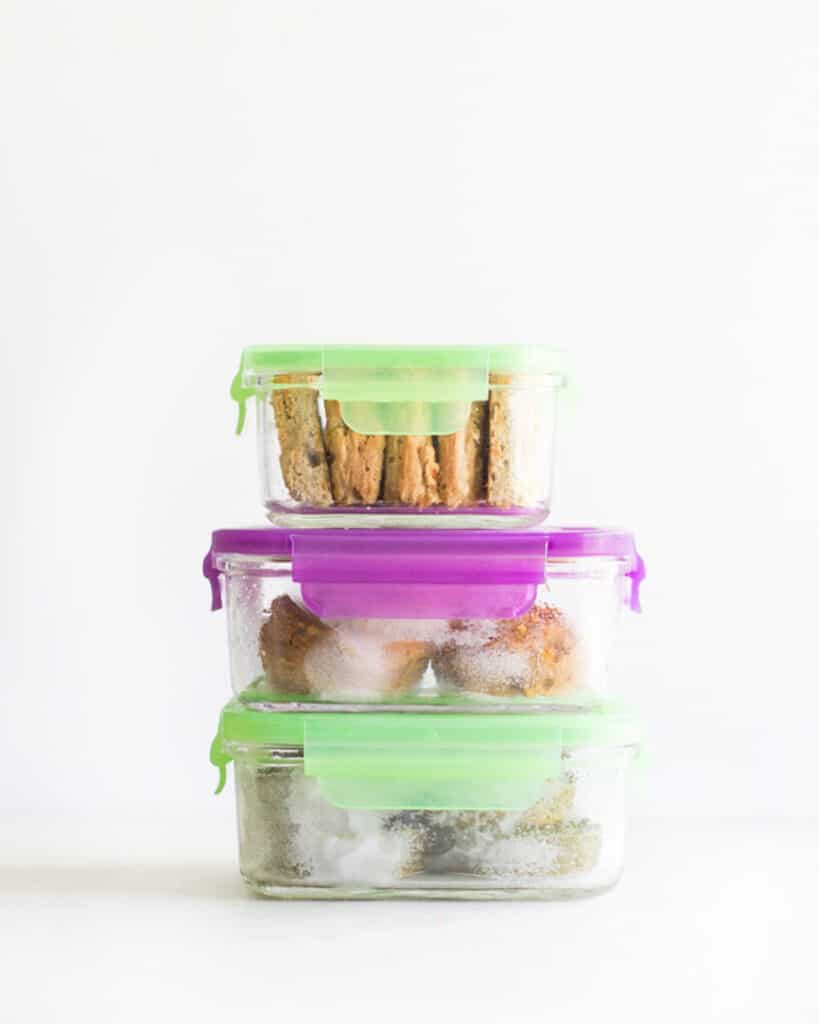
I personally love to store food in glass containers because you can easily see the contents. They are also microwavable and environmentally friendly. If using plastic containers, make sure they’re BPA-free by looking at the recycling icon. If it has the number 7, then it contains BPA.
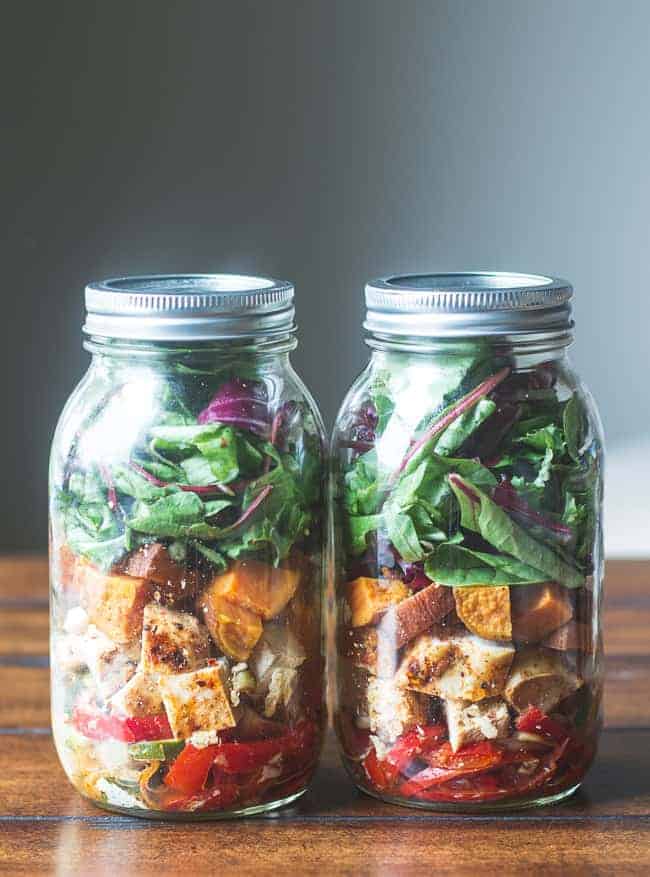
I also love making mason jar salads during the summer, especially. If you’re curious, here’s a post on how to build the perfect mason jar salad.
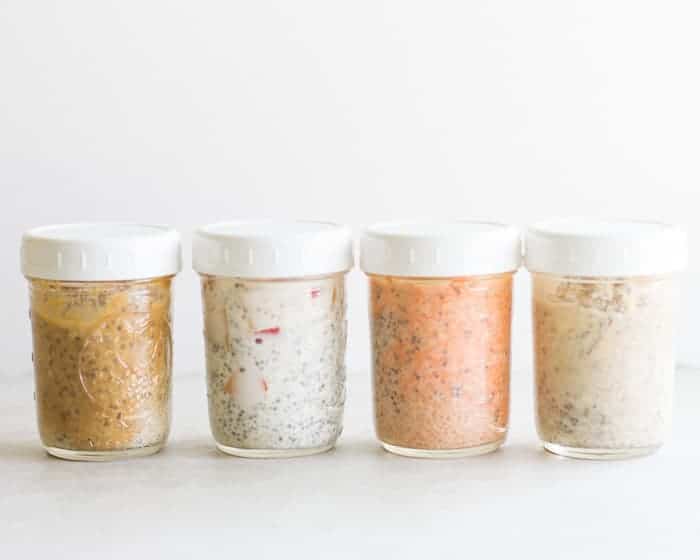
Mini mason jars for overnight oats or quinoa
Freezing
Let food cool completely before freezing. What I like to do is store cooked food in the fridge within the two-hour window as discussed above and then transfer to the freezer once cooled. Keep in mind, you need to freeze leftovers within 3-4 days.
Flash Freezing
With baked goods, like muffins, bread, etc., I like to flash freeze first! By doing so, more nutrients will be preserved and it prevents the food from sticking together. That way you can just pull out whatever you need rather than thawing everything all together.
I’ve also learned that it reduces the size of the ice crystals that get formed over time, which will help retain more moisture once thawed.
Step-By-Step Instructions
- Once cooled, place your baked goods in a single layer on a cookie sheet or tray. Make sure the edges of the food don’t touch to prevent the pieces from fusing together
- Place the tray in the freezer for at least an hour, until they’re solid
- Remove and place in freezer bags or airtight containers for storage!
You can also use this flash freeze method for berries, vegetables, individual portions of meats (e.g. chicken breast, steak), meatballs, etc.
To see a video of this process, I’ve created an Instagram reel which you can check out @kidfriendly.meals.
How to Store
This will depend on how much room you have in the freezer and how you want to reheat the food in the future.
Here are the options:
- Baked goods: wrap in plastic freezer wrap and heavy-duty aluminum foil for extra protection, or transfer to resealable freezer bags, or freezer-safe containers with tight-fitting lids
- A note about aluminum foil – don’t use it to wrap foods with acidic ingredients, like tomatoes or lemon juice. The acid will react with foil.
- Main meals: I personally like to use airtight containers or mason jars. You can also use freezer bags. The jars are especially great for liquids, like soups and broths. Keep in mind, they will expand as they turn into solids so be sure to leave at least an inch at the top.
Freezer Burn
This happens when food is exposed to air. Therefore, do your best to remove as much air as possible. If using storage bags, stick a straw into a little opening and suck all the air out.
For containers, press some plastic wrap or foil onto the surface of the food to prevent it from coming in contact with air.
Note: Freezer burn does not make food unsafe.
Thawing
Never thaw at room temperature as bacteria can multiply so so quickly. When unrefrigerated, some organisms create toxins and even if the bacteria themselves get killed from cooking, these toxins will still survive.
Therefore ALWAYS thaw either:
- in the refrigerator
- in cold water – change out the water every 30 minutes or so to make sure the food stays cold. I always like to add ice too
- in the microwave – must cook immediately after thawing)
If you’re using glass containers, be sure to thaw and/or reheat slowly! Glass is much more sensitive to temperature change than plastic and can break under extreme temperature variations. Be sure to let it come to room temperature first before reheating. I always like to thaw in the fridge overnight.
Reheating
- You can reheat on the stove, in the oven, or in the microwave. You want the temperature of the food to reach 165°F. But I have to be honest with you. I know I should be doing this, but it’s one of those things that gets overlooked
- Do not reheat leftovers in slow cookers. It heats food too slowly and during that time, harmful bacteria can grow.
- Once thawed, food should be reheated just once. The more times you cool and reheat food, the higher the risk for foodborne illness
- Once the food is thawed in the refrigerator, it is safe to refreeze it without cooking. However, there will likely be a loss of quality due to the moisture lost through thawing.
- Do not refreeze any foods left outside the refrigerator for longer than 2 hours ( 1 hour in temperatures above 90°F).
Best By
In general, use refrigerated leftovers within 3-4 days. Be sure to freeze quantities that can’t be used by then. Now, you can’t always tell when food is contaminated with bacteria just by looking or smelling.
If even for a second, you suspect your leftovers may have been sitting out or been in the fridge for too long, it’s better to throw them away then take the chance of getting sick.
As for freezing, bacteria can’t grow at freezer temperatures. Thus, food is generally safe, if stored continually at temperatures of 0°F or below. However, frozen food will lose flavor, texture, and overall quality over time, so you will want to use it within a reasonable amount of time, which is generally 3 months or so.
In need of freezer-friendly snack/meal recipes?
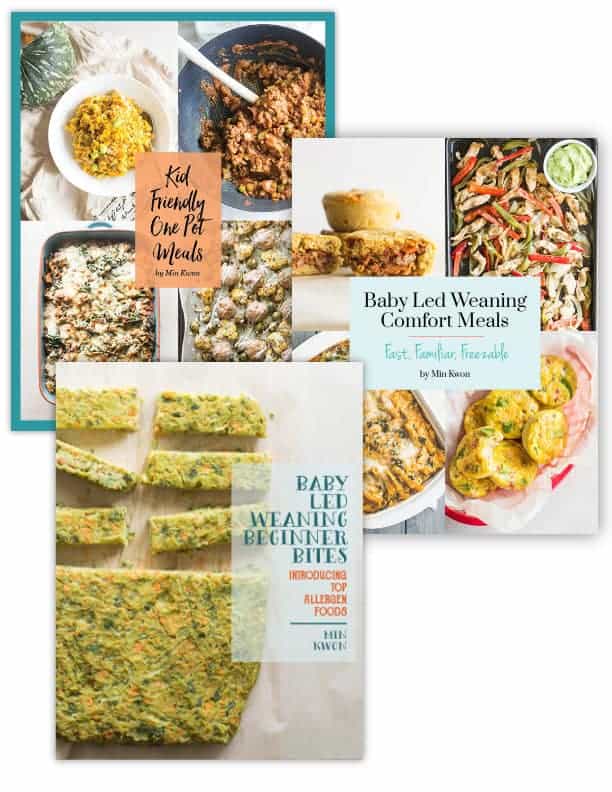
Be sure to check out my 3 ecookbooks! All of my recipes are veggie-forward, well-balanced, quick and easy, and are packed with flavor while using minimal salt.
- Baby Led Weaning Beginner Bites – 30 recipes that are finger-friendly, soft-textured, and suitable for 6 months and up
- Baby Led Weaning Comfort Meals – 30 recipes, contains both baked goods, main dishes, and sauces. Suitable for 9 months and up
- Kid Friendly One Pot Meals – 27 main dishes that you can whip up even on the busiest days. Suitable for 9 months and up
If you’d like to learn more about these cookbooks as well as watch cooking demos, I’ve saved them to my Instagram highlights.
Hope this post was helpful! As always, let me know if you have any questions.


Hi Min, is it safe to reheat leftovers in the steamer? Thank you.
sure!
Hi Min is it ok not to reheat thawed food, if its thawed in the fridge ?
Hi! Yes, I do this all the time esp. with baked goods, like muffins, breads, etc. But like you mentioned, def thaw in the fridge.
Love this post! Thank you for writing it – it is so useful!
You’re very welcome!