This post may contain affiliate links. Please see our disclosure policy for more details.
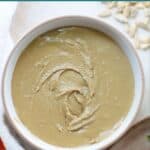
This homemade sunflower seed butter is creamy, delicious, and a versatile alternative to peanut butter and other nut butters. It’s so easy to make too!
Sunflower Seed Butter
Perhaps you are here because you or your child has a peanut or tree nut allergy or sensitivity. Or you are looking for an allergy-friendly option for school lunches and school snacks.
You may be wanting to incorporate this nutritious seed easily into your toddler’s snack or breakfast.
This creamy sunflower seed butter will satisfy all of your needs!
Sure you can buy sunflower seed butter at the store BUT it’s so much more expensive and may not be readily available where you are. Making it at home allows you to control the ingredients and customize to your taste.
Let’s get started!
Table of Contents
Ingredients
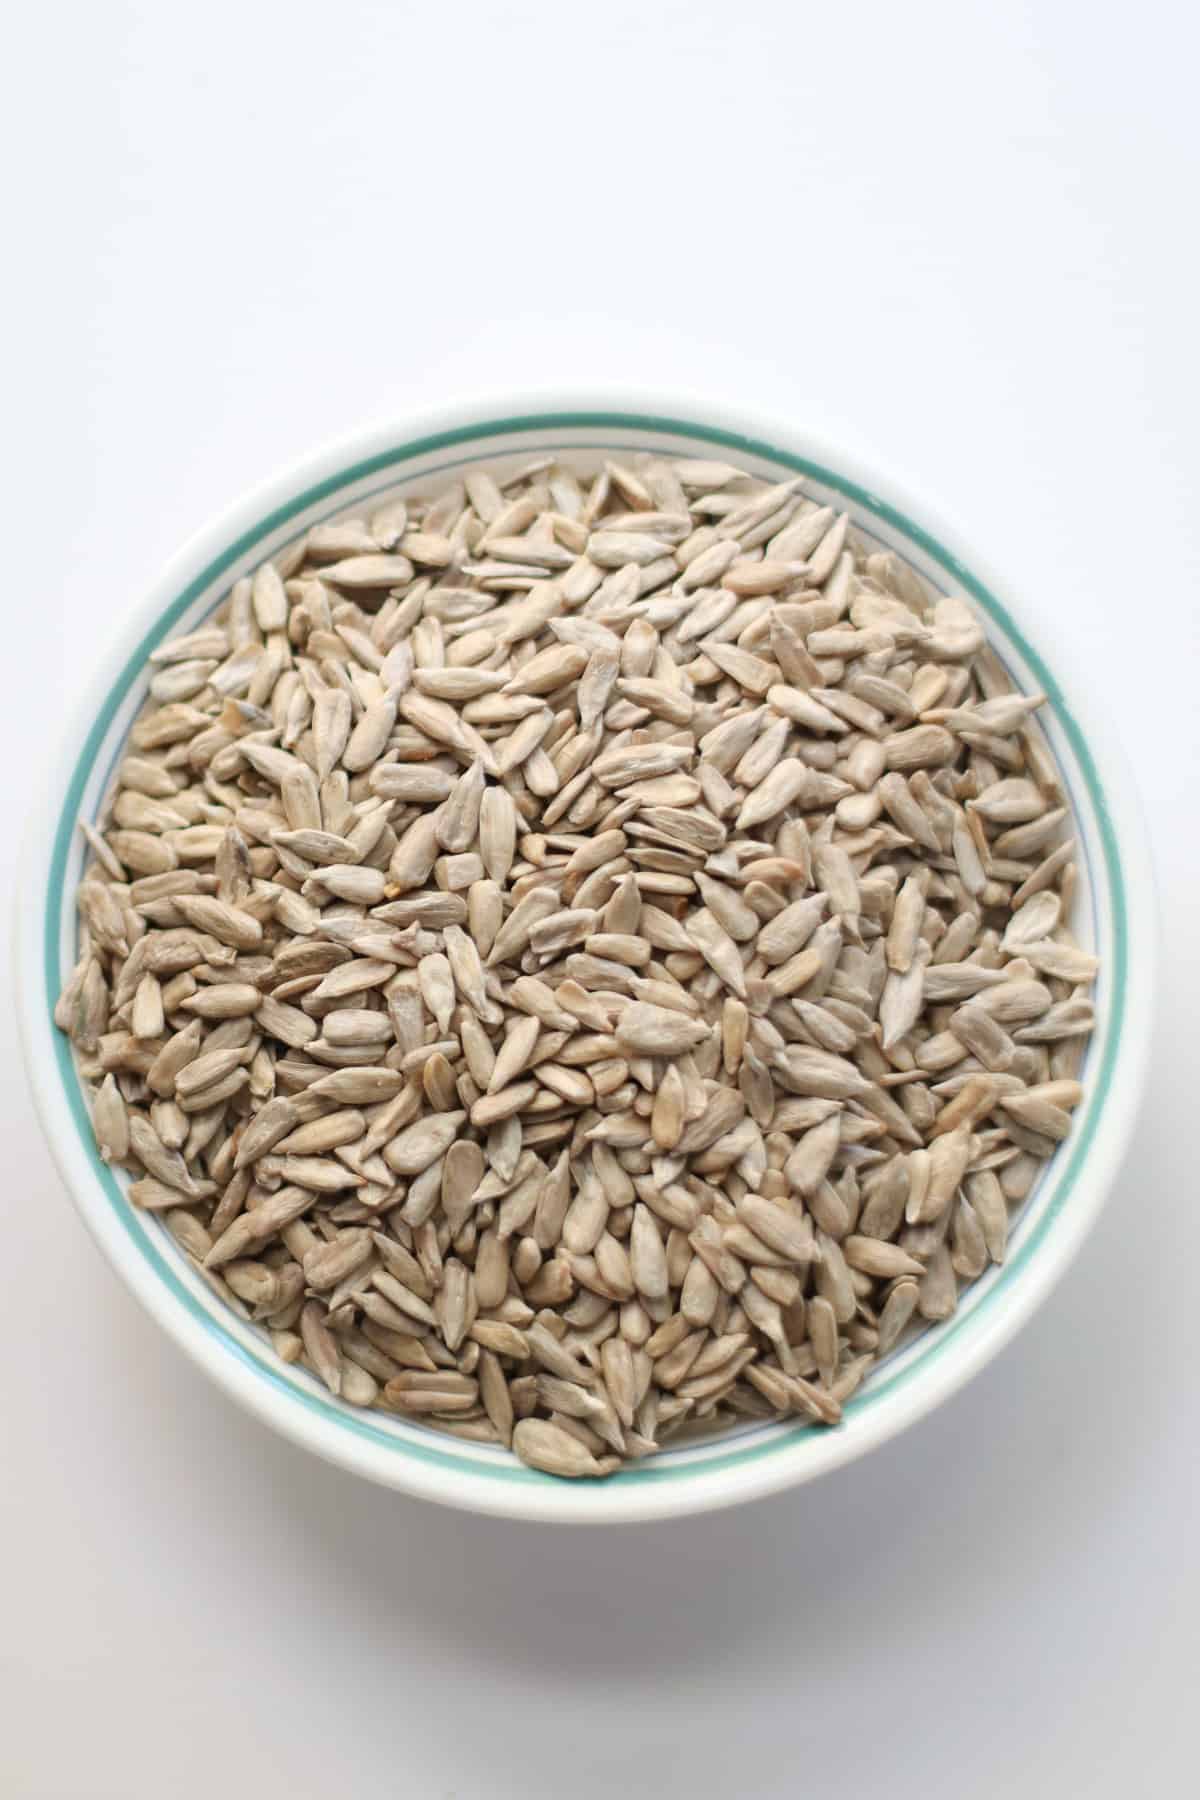
Shelled raw sunflower seeds – Look for raw but I highly recommend roasting them as it will enhance the nutty flavor as well as make them easier to blend. You can also purchase roasted, unsalted sunflower seeds, but the process will take slightly longer.
Salt – The finished seed butter will taste bitter without it. Start with 1/4 teaspoon and add more to taste.
Optional Ingredients (add to taste):
- Neutral oil – depending on your food processor, you may need to add a little to achieve the creamy, drippy consistency. You can use avocado oil or mild olive oil.
- Sweetener – my favorites are maple syrup, honey, or date syrup. If you find that the seed butter is a bit bitter tasting, adding one of these will help!
- Cinnamon – adds a lovely warmth
- Vanilla extract
- Cocoa powder
How to Roast Sunflower Seeds
While you can purchase pre-roasted seeds from the grocery store, they are not as readily available, especially unsalted ones.
Also, a benefit to roasting them at home is that the residual heat from roasting the seeds will help release the oils more readily and thus break them down quicker in the food processor. The result? Thinner and smoother consistency
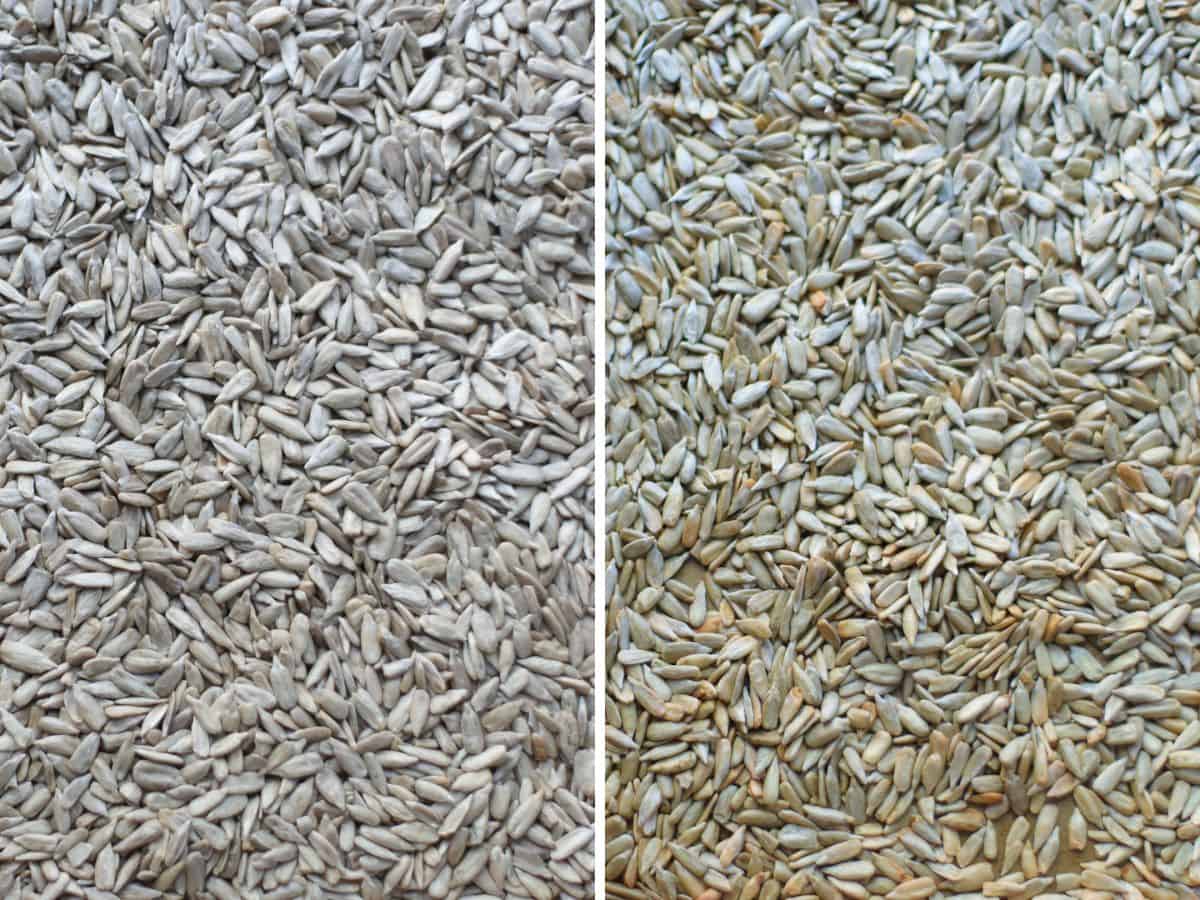
Luckily, roasting sunflower seeds at home is SUPER easy! Grab a rimmed baking sheet, spread the raw seeds out into a single layer and bake in the oven at 350°F for 8-10 minutes.
Stir occasionally to ensure even roasting. Remove from the oven and let the seeds cool for 5 minutes or so.
Keep a close eye on the seeds as they can quickly go from nicely roasted to burnt. Lightly browned, golden, and fragrant are what you’re looking for.
Step-by-Step Instructions
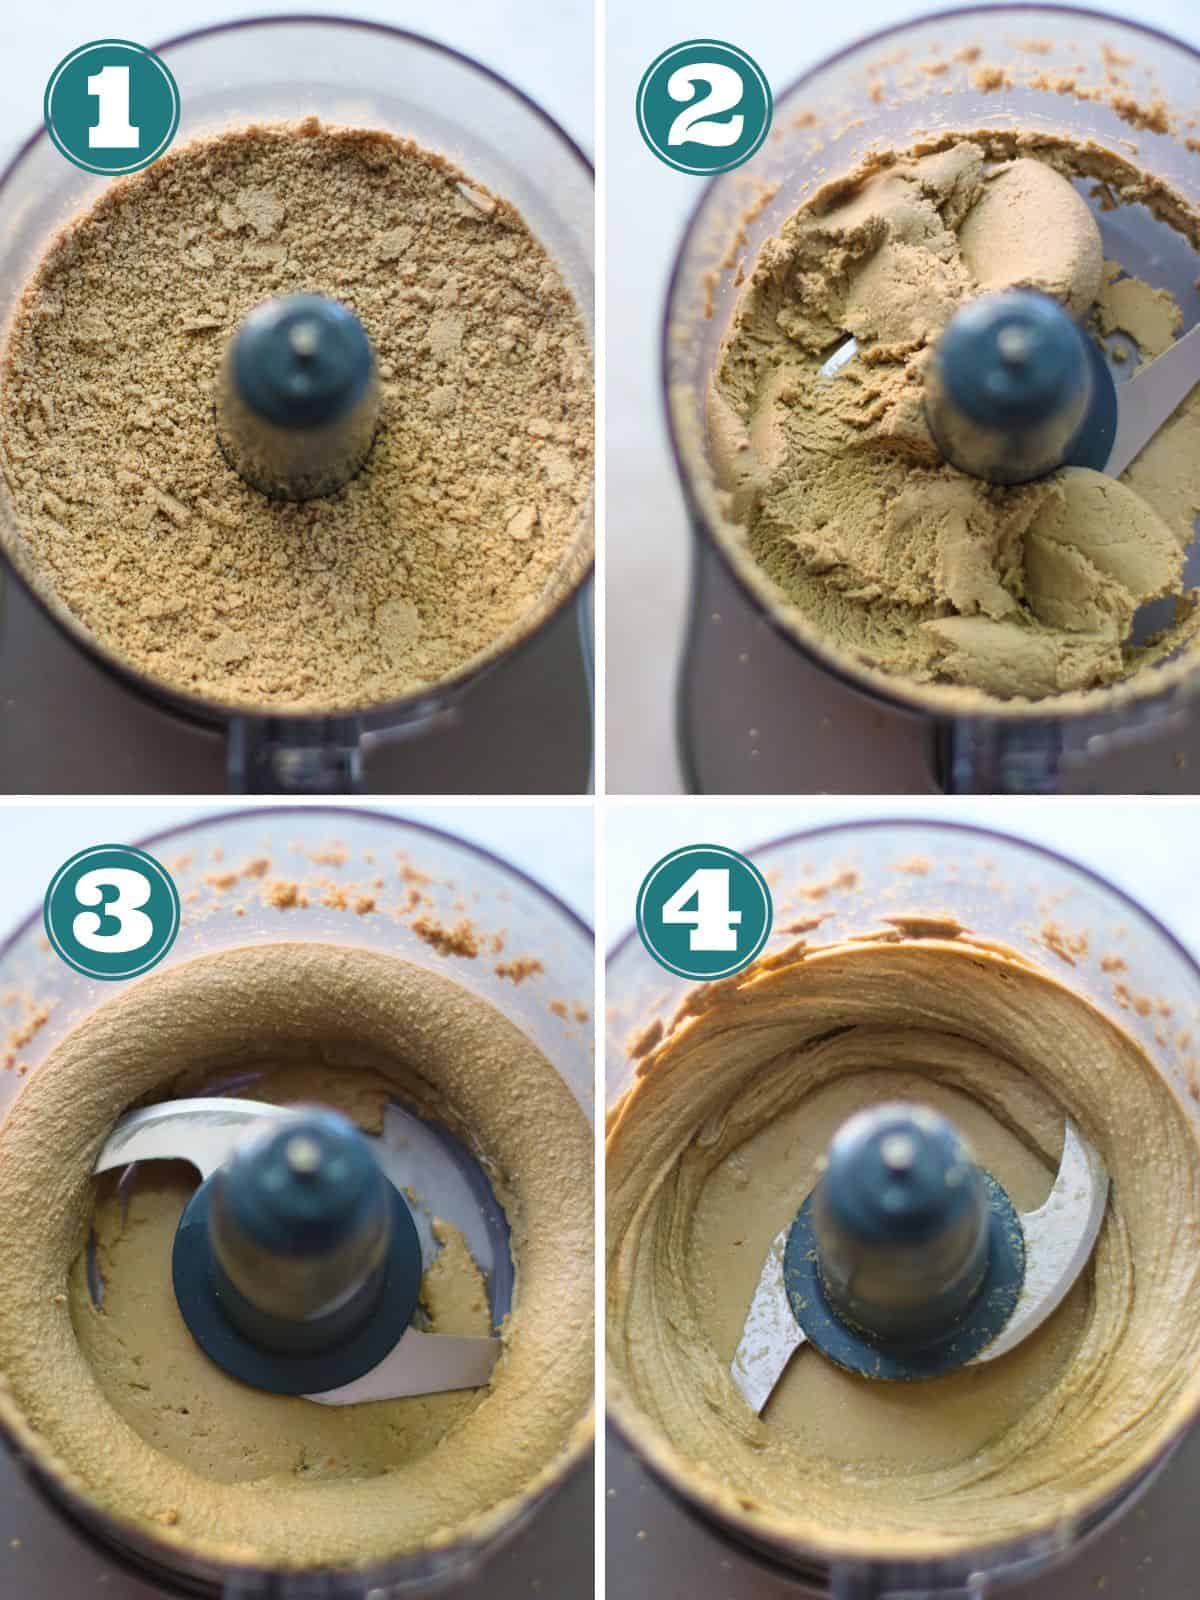
Add the roasted sunflower seeds into the food processor and blend at 2-3 minute intervals, stopping to scrape down the sides. The process will take anywhere from 8 to 20 minutes depending on the power of your machine. The longer you blend, the smoother the consistency will be.
The seeds will first look like a fine powder (similar to almond meal), then a crumbly-paste, a thick paste (don’t be alarmed as it will ball up against the blade), and finally a smooth, drippy seed butter. Add a tablespoon of oil, if necessary.
Once it’s almost done, add your optional add-ins and blend one last time until combined. And ta-da! Homemade sunflower butter.
The total time will vary depending on your machine. It takes about 10-12 minutes using my food processor.
Tips for Success
- Use a high-powered food processor for best results. While a high-speed blender, like this Vitamix will work, it’s harder to scrape down the sides and get out every last bit of the seed butter once it’s finished.
- Do NOT use any mini food processor. The motor will most likely burn out.
- Be patient! Getting the seeds into a smooth, buttery texture takes time. Blend at 2-3 minute intervals, scraping down the sides each time to help speed things along.
Uses for Sunflower Seed Butter
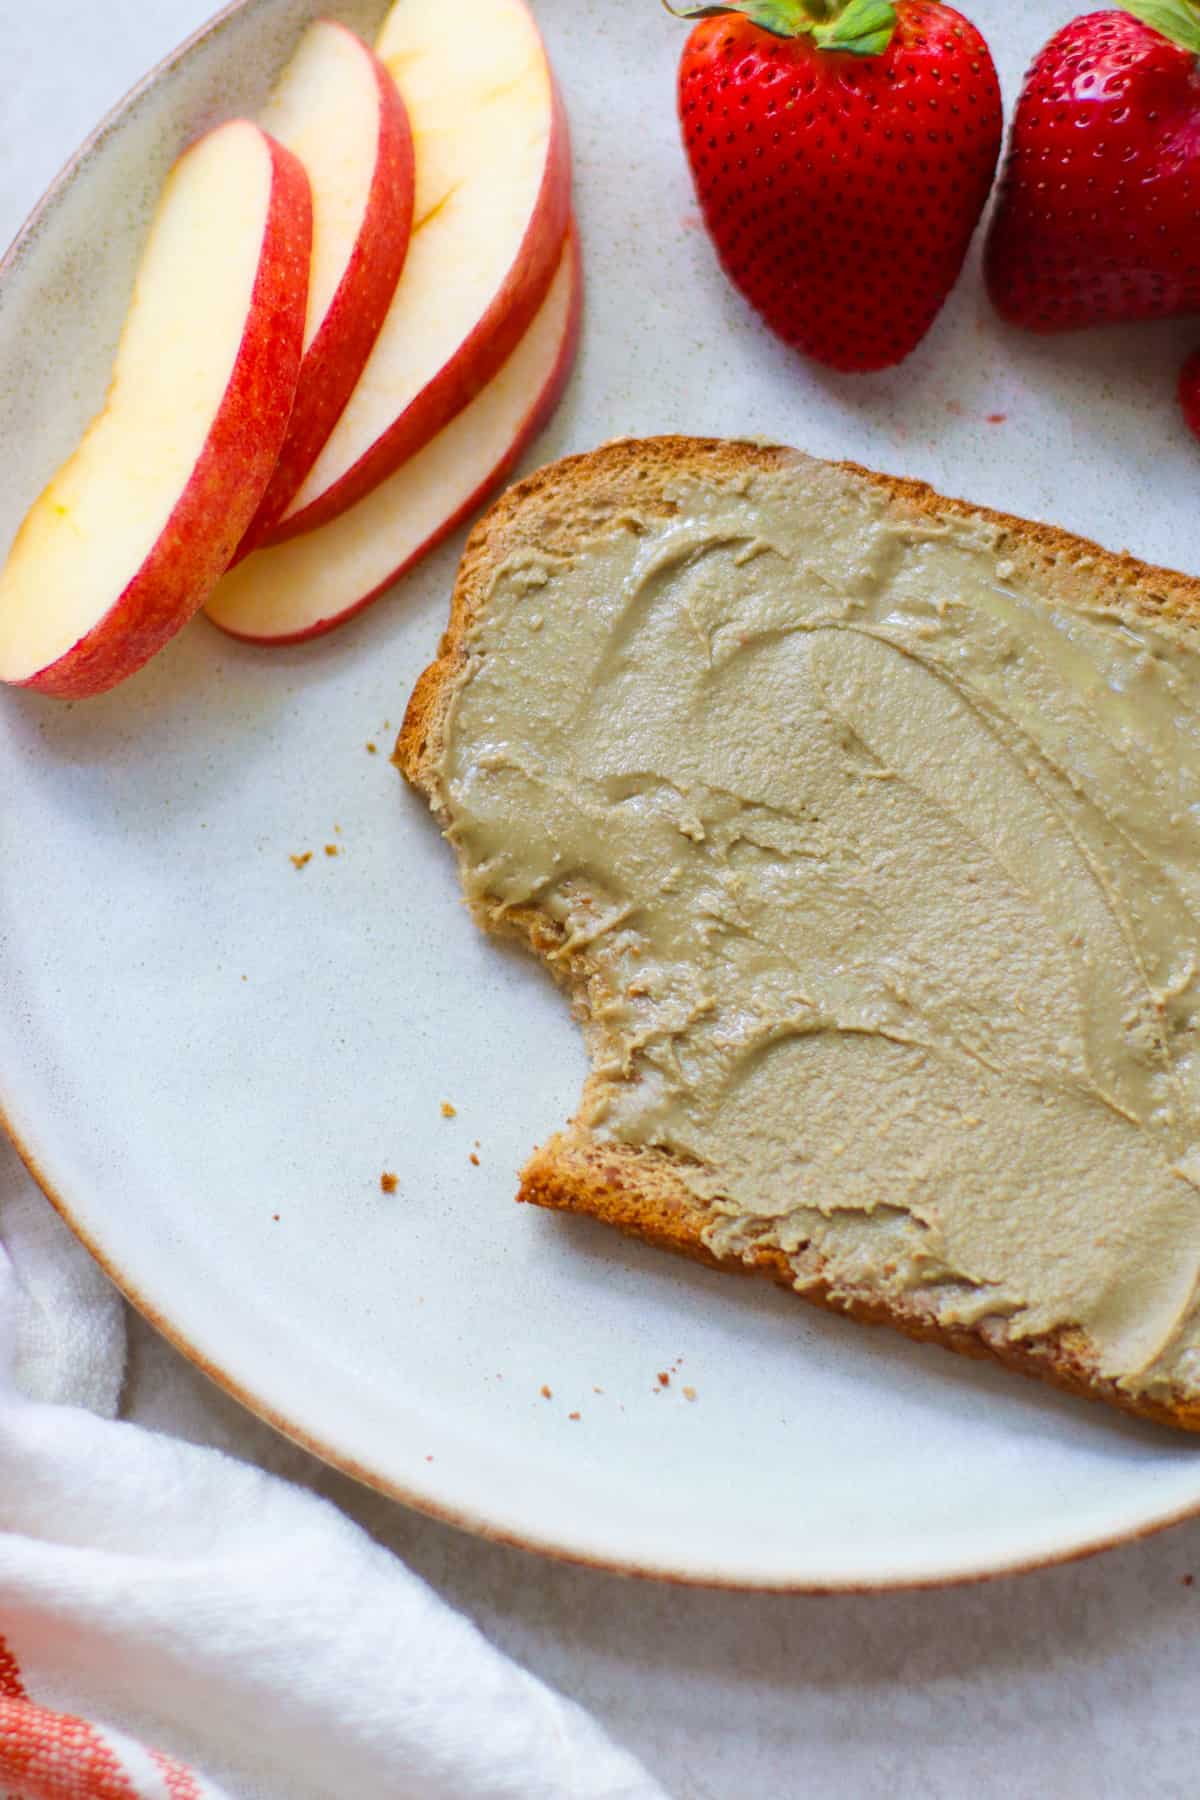
You can enjoy sun butter the same way you would a peanut butter, almond butter, or any nut butter!
Spread or drizzle onto:
- Toast
- Yogurt
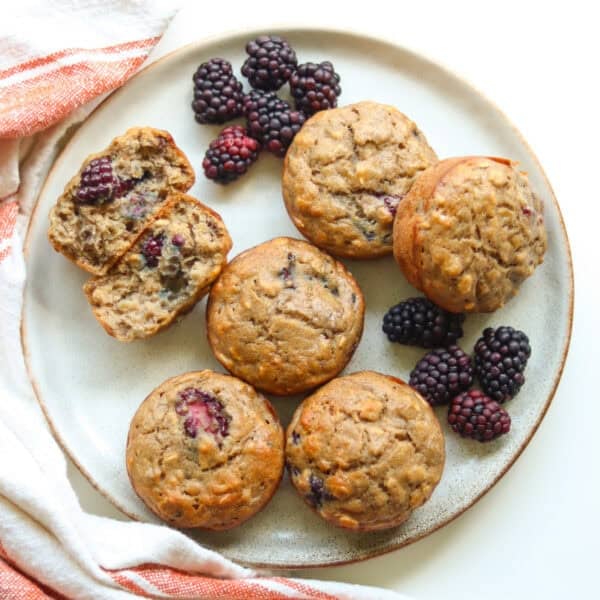
- Baby muffins
- Breads – like this banana date bread
- Baby oatmeal
- Pancakes
- Mini waffles
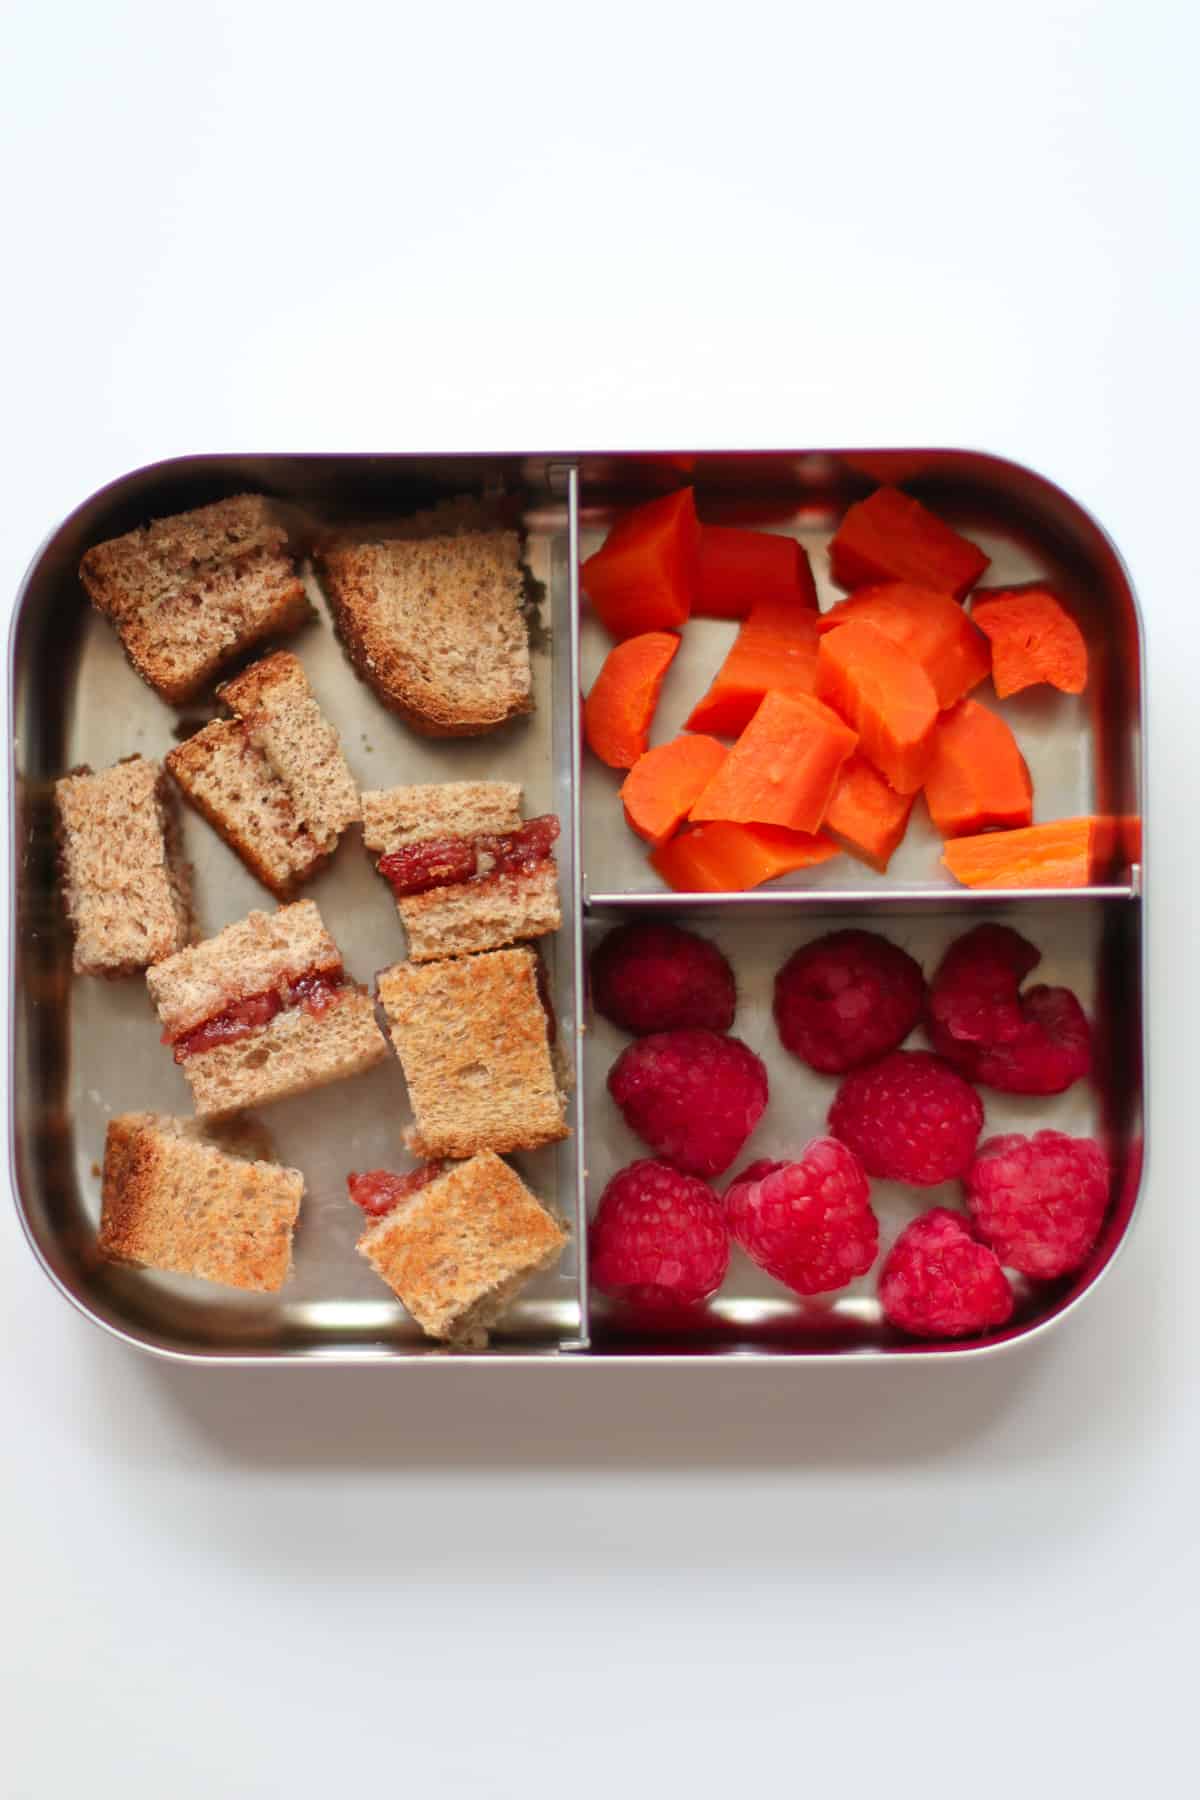
- Sandwiches for school
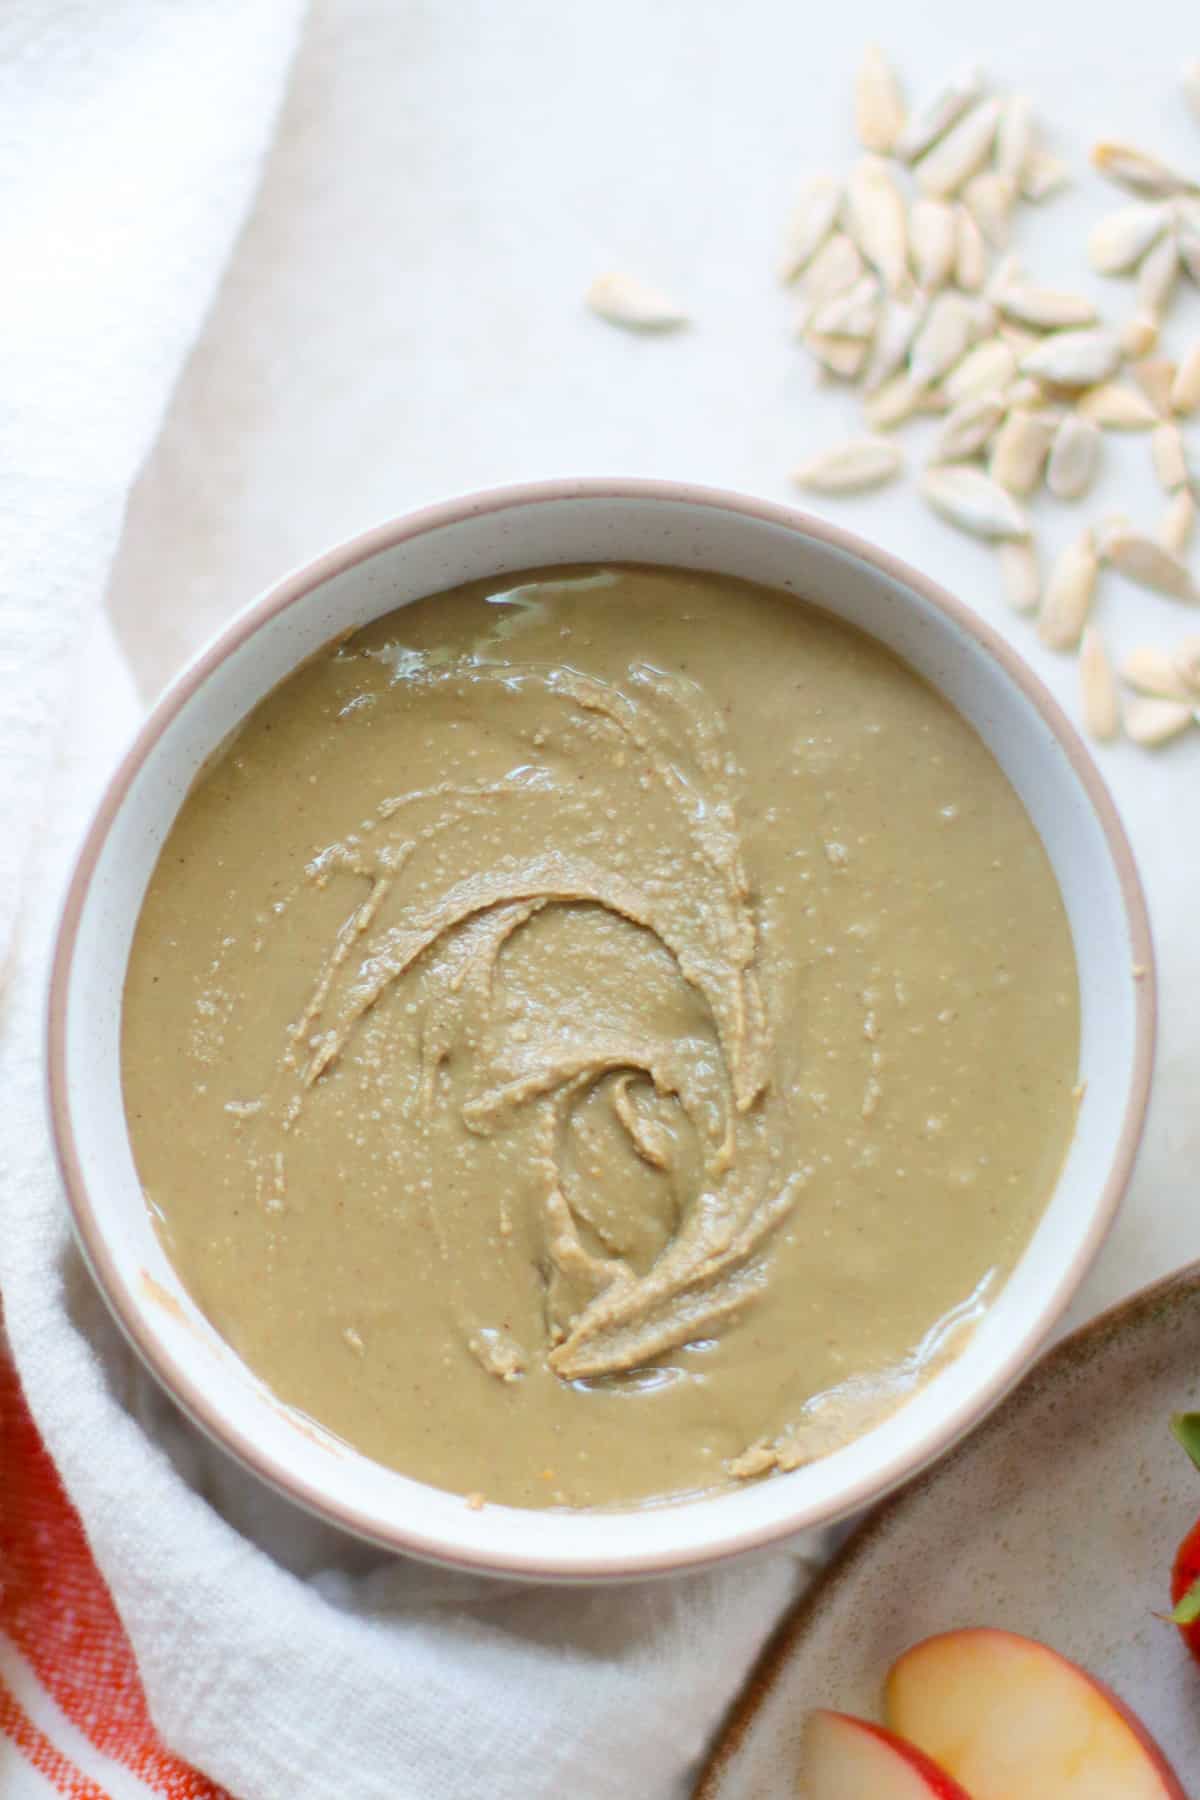
As a dip – for apples, bananas, strawberries
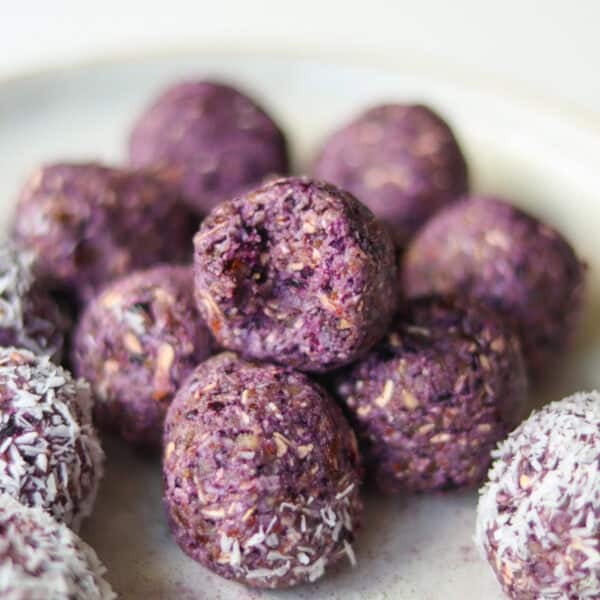
Add to energy balls – like these bliss balls or peanut butter balls
Storage
Transfer to an airtight container or jar and store in the refrigerator for 6-8 weeks. Note that the homemade sunflower seed butter may separate slightly over time with natural oils rising to the top.
Simply give it a good stir before each use to recombine the ingredients.
Frequently Asked Questions
Sunflower seed butter tastes rich, nutty, and slightly earthy. Some people also note a hint of bitterness, particularly if the seeds are roasted for a longer time.
It can be enjoyed on its own, as a creamy spread, or incorporated into various recipes to add a nutty and flavorful element.
You can try using pumpkin seeds (or pepitas). Pumpkin seeds have a similar texture and can yield a creamy and flavorful seed butter.
Did you make this recipe? Leave a rating below and let me know how you liked the recipe! Your feedback means so much to me!

Sunflower Seed Butter
Equipment
Ingredients
- 12 ounces roasted sunflower seeds
Optional (add to taste)
- 1 teaspoon vanilla extract
- 1/2 teaspoon cinnamon
- a pinch of salt
- 1 tablespoon maple syrup, honey, or date syrup
Instructions
- First roast the sunflower seeds – spread the raw seeds out into a single layer and bake in the oven at 350°F for 8-10 minutes. Stir occasionally to ensure even roasting. Remove from the oven and let the seeds cool for 5 minutes or so.
- Add the roasted sunflower seeds into the food processor and blend at 2-3 minute intervals, stopping to scrape down the sides. The process will take anywhere from 8 to 20 minutes depending on the power of your machine. The longer you blend, the smoother the consistency will be.
- The seeds will first look like a fine powder (similar to almond meal), then a crumbly-paste, a thick paste (don't be alarmed as it will ball up against the blade), and finally a smooth, drippy seed butter. Add a tablespoon of oil, if necessary.
- Once it's almost done, add your optional add-ins and blend one last time until combined. The total time will vary depending on your machine.
Notes
- Be patient! Getting the seeds into a smooth, buttery texture takes time. Blend at 2-3 minute intervals, scraping down the sides each time to help speed things along.
- Transfer to an airtight container or jar and store in the refrigerator for 6-8 weeks. Give it a good stir before each use to recombine the ingredients.