This post may contain affiliate links. Please see our disclosure policy for more details.
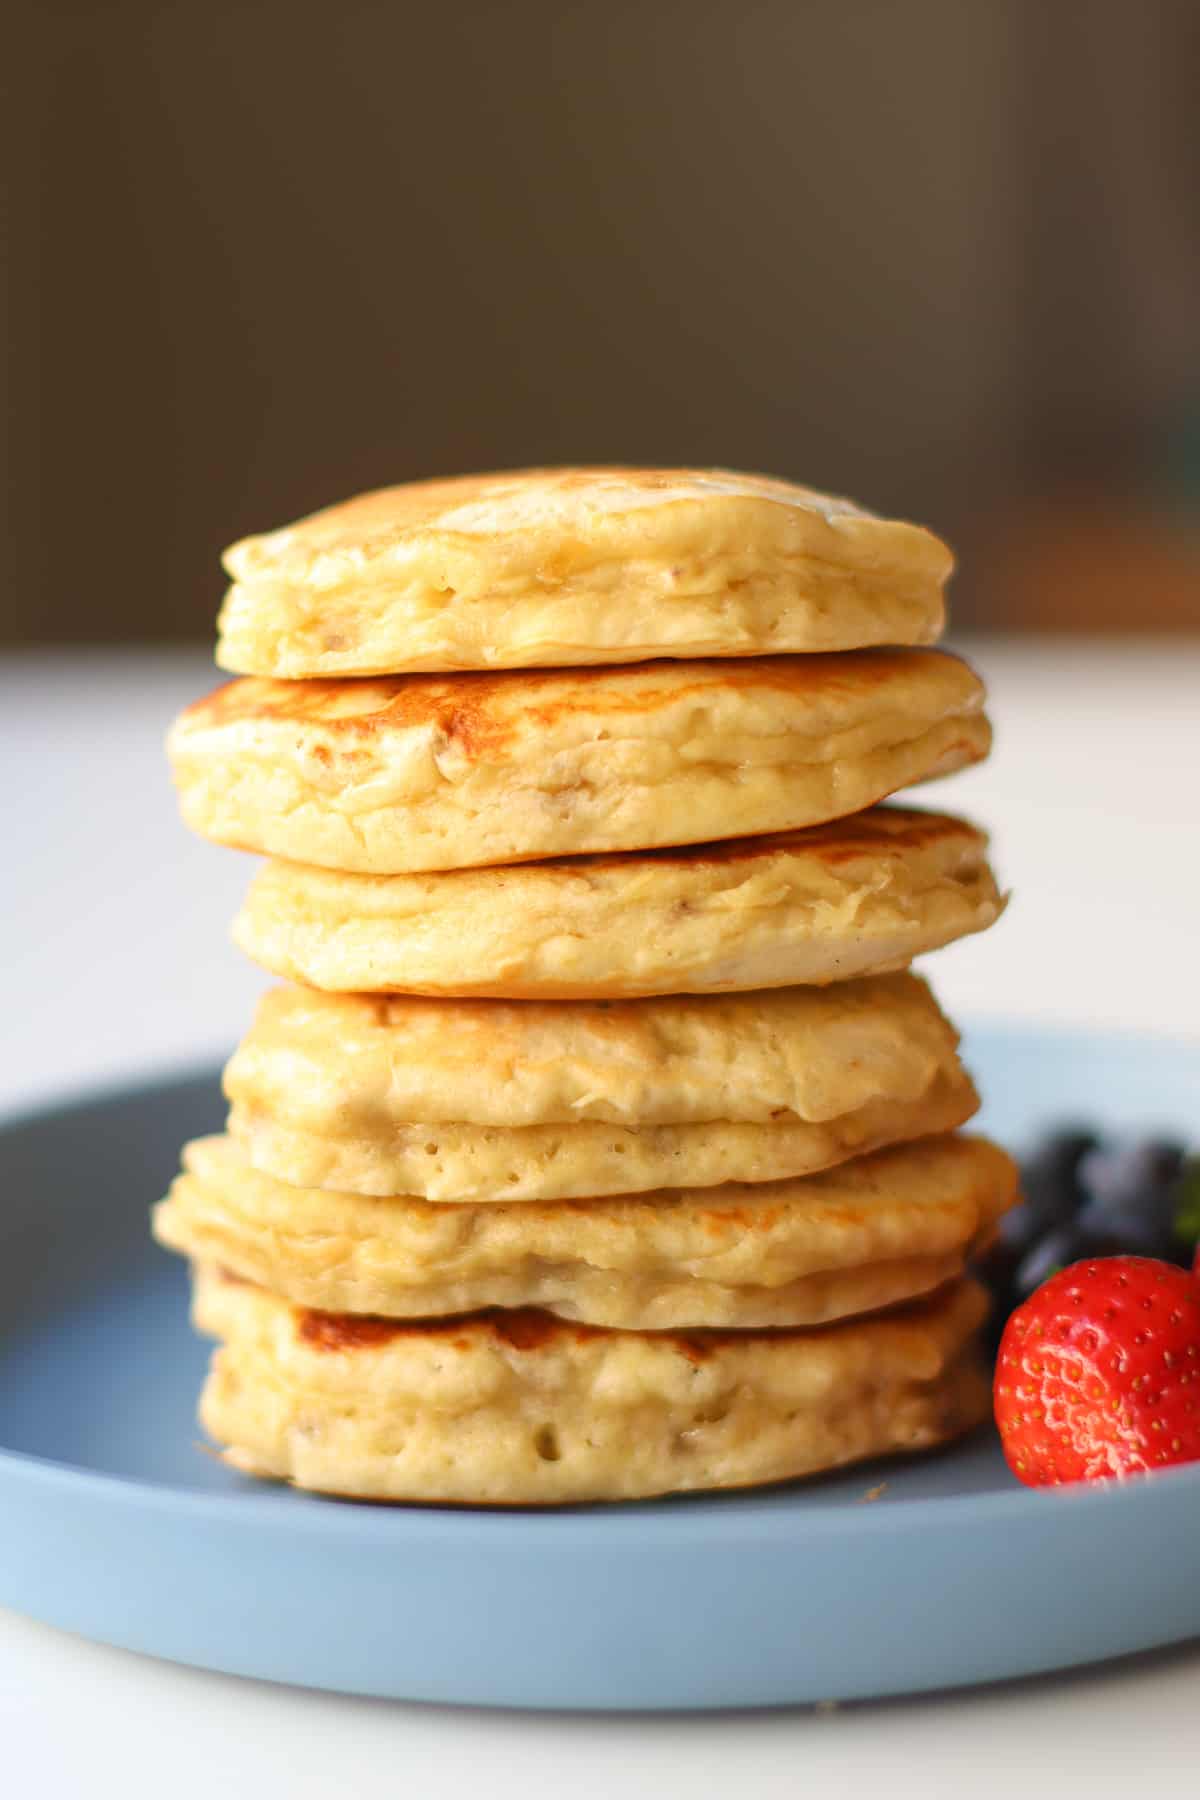
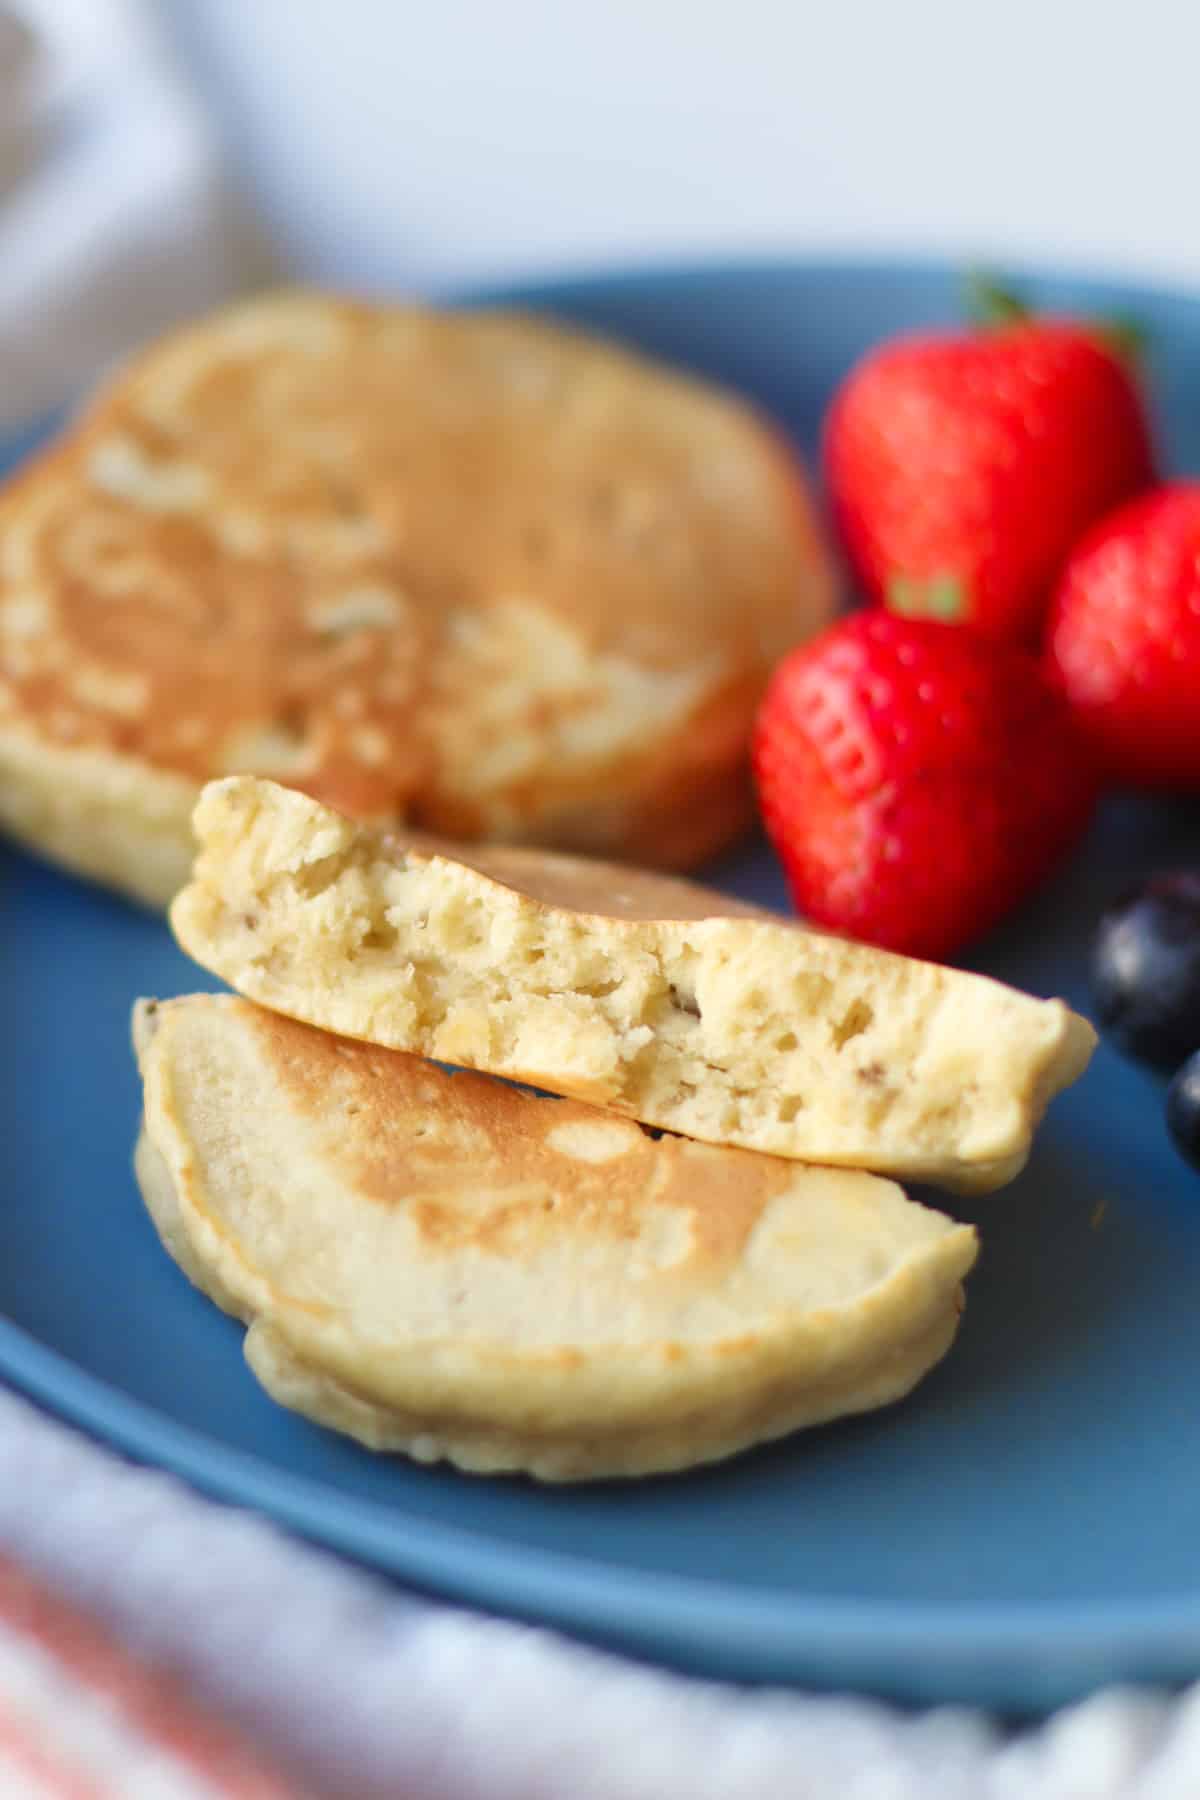
These 3-ingredient pancakes with self rising flour are soft, fluffy, naturally sweet, and comes together fast! Perfect for those mornings when you’re short on time and brainpower, just like these 3-ingredient banana oat pancakes.
Pancakes with Self Rising Flour At a Glance
- Freezer-friendly: yes, they reheat beautifully!
- Ingredients: ripe bananas, self-rising flour, eggs
- Texture: soft, fluffy, lightly sweet (no added sugar)
- Prep time: 5 minutes
- Cook time: 10–15 minutes
- Why self-rising flour: built-in baking powder + salt = consistent rise with fewer ingredients
- Perfect for: baby-led weaning, toddlers, kid breakfast, freezer stash meals
Why Make Pancakes with Self Rising Flour?
Self-rising flour is one of my favorite shortcuts for quick breakfasts. The leavening and salt are already mixed in, which means:
- Fewer ingredients to measure (always a win when you’ve got hungry kids and tired parents in the kitchen)
- Consistent fluffiness even if you’re not sure how fresh your baking powder is
- Quick, predictable batter that works every time
- A great “use-it-up” recipe if you have self-rising flour on hand
Traditional self-rising flour pancakes rely on milk, sugar, butter, and egg. This version uses mashed banana instead. No added sugar and fewer ingredients, but still fluffy and delicious.
If you’re here because you searched “pancakes with self rising flour,” this is the shortcut you’ve been looking for just with a wholesome twist.
Looking for more ideas? You must try this banana bread with self-rising flour, high-protein pizza dough!
Table of Contents
- Pancakes with Self Rising Flour At a Glance
- Why Make Pancakes with Self Rising Flour?
- Key Ingredients
- Substitutions and Variations
- How to make The BEST pancakes with self rising flour
- Expert Tips
- Equipment
- Serving Suggestions
- How to Store and Freeze Pancakes
- Pancakes with Self Rising Flour FAQs
- More Easy Pancake Recipes
- 3 Ingredient Pancakes with Self-Rising Flour Recipe
Key Ingredients
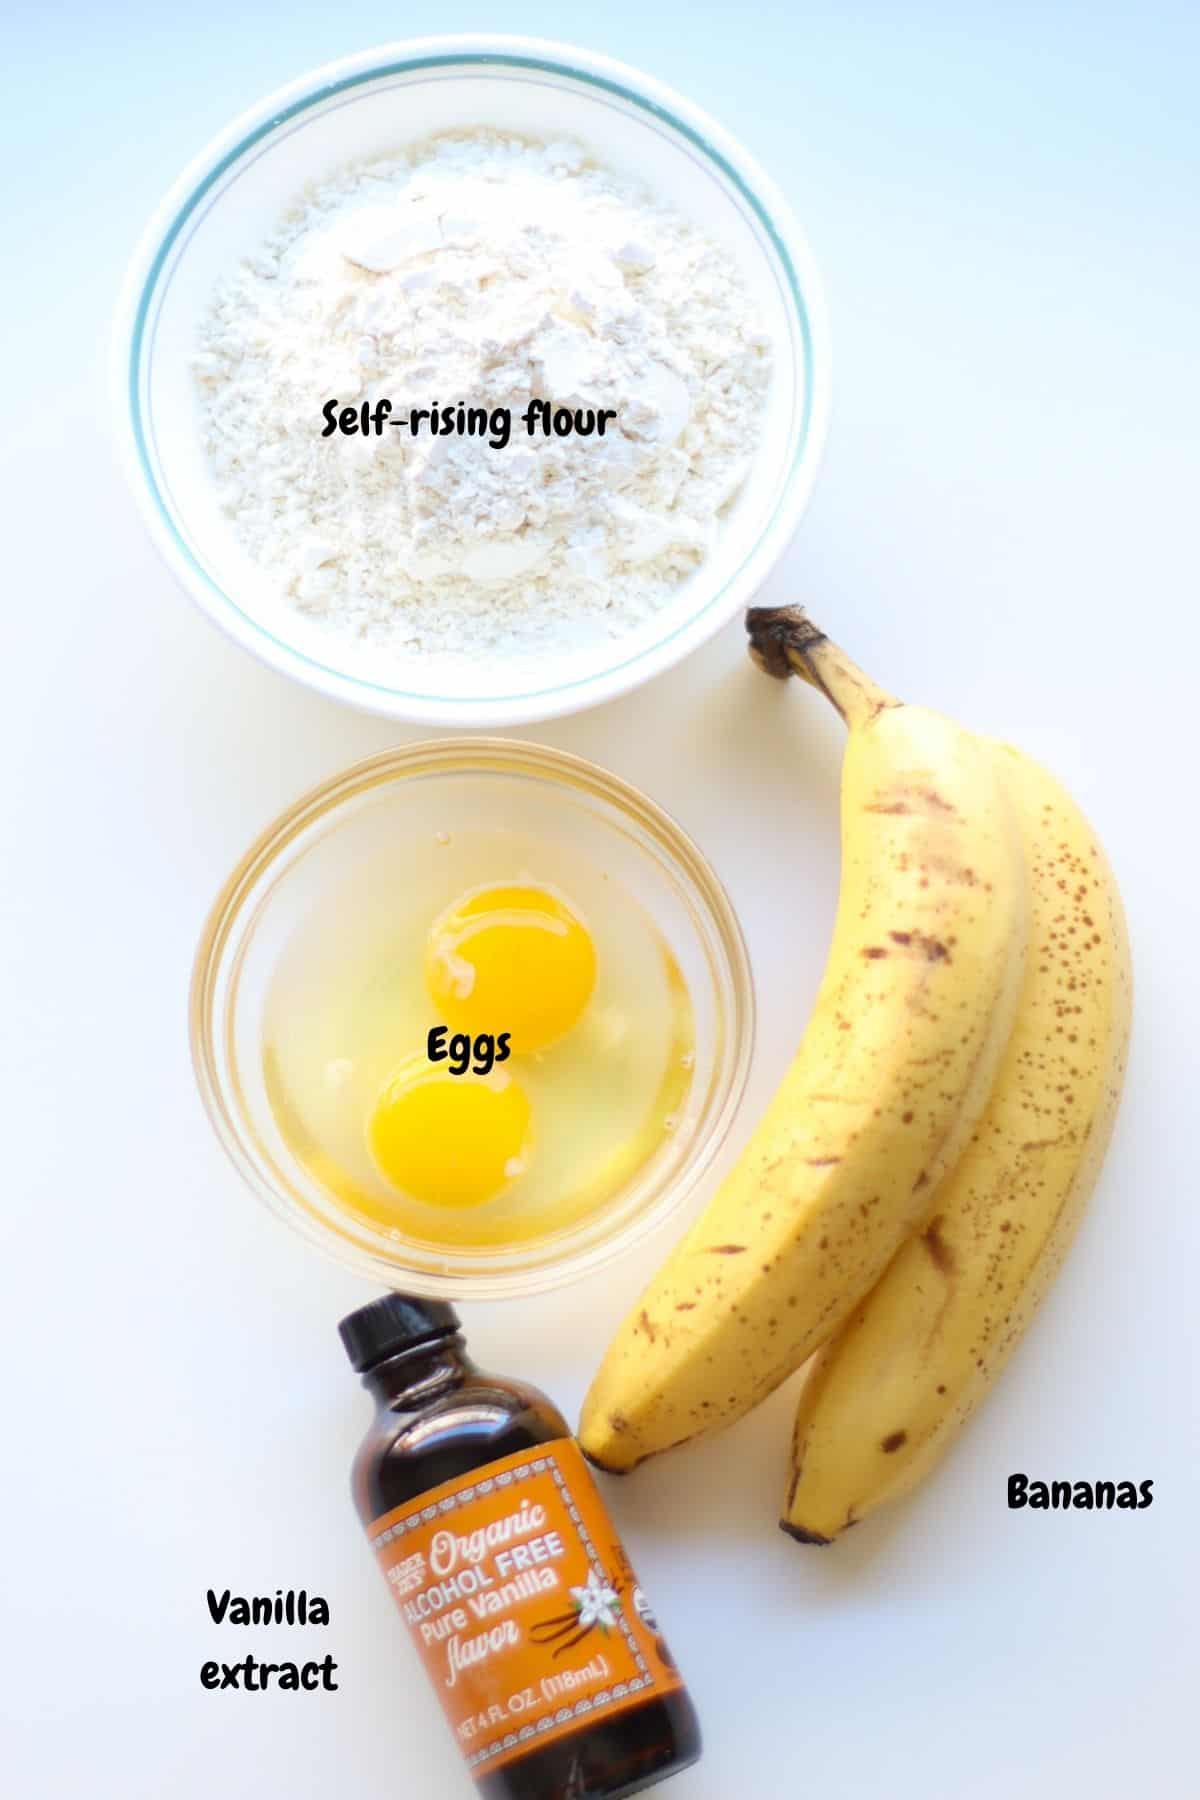
- Self-rising flour – this is a blend of all purpose flour with baking powder and salt. My personal favorite is one from King Arthur.
- Bananas – use over-ripe bananas with plenty of brown spots. And if you often have more ripe bananas than you know what to do with, here’s a collection of healthy banana recipes that you’re going to love!
- Eggs – use room temperature eggs for best results. I take them out of the refrigerator about 30 minutes prior to baking.
Substitutions and Variations
- No self-rising flour? Mix 1 cup all purpose flour with 1 1/2 teaspoons baking powder and 1/4 teaspoon salt
- Gluten-free? Use a 1:1 GF flour and add 1 ½ teaspoons baking powder + ¼ teaspoon salt.
- Egg-free? Use a flax egg, but note that the texture will be softer and less fluffy.
- Stir-in peanut butter or nut butter (sunflower seed butter if there’s an allergy), fresh fruit, like chopped strawberries, grated apples (see apples for babies for prep tips), and blueberries, chocolate chips, or grated carrots
How to make The BEST pancakes with self rising flour
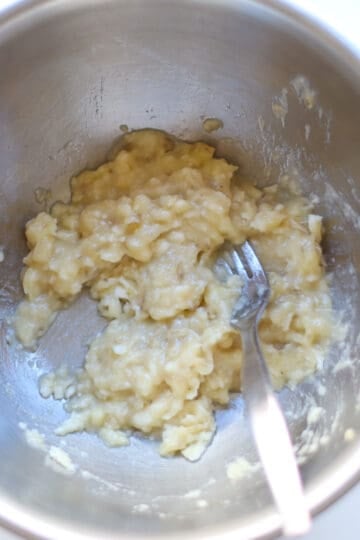
Step 1: In a large mixing bowl, peel and mash the bananas using the back of a fork or a potato masher. Try to get it as smooth as possible but small lumps are fine.
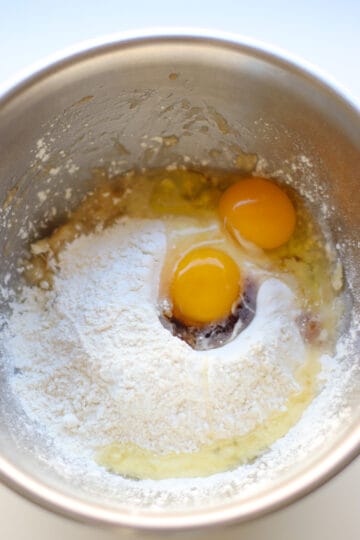
Step 2: Add the self-rising flour, eggs, vanilla, and cinnamon. Gently mix the pancake batter with a spatula until it’s just combined. There will be small lumps and that’s OK! do NOT over mix!!
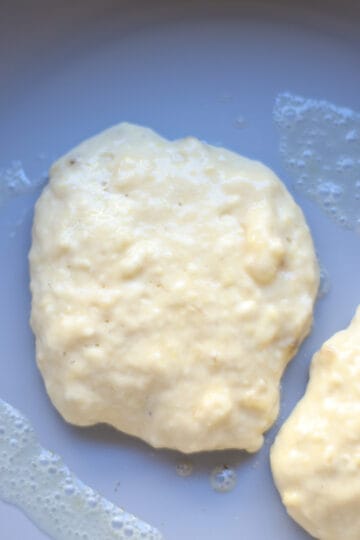
Step 3: Heat a large non-stick pan or griddle over medium heat. Add batter and cook on medium-low heat. You will start to see air bubbles appear on the surface.

Step 4: Carefully flip the pancakes and cook for another minute or two, until golden brown.
Expert Tips
- Do not over mix! Otherwise you will end up with tough and dense pancakes.
- Low heat is key. These brown faster than traditional pancakes.
- Let the batter sit 2–3 minutes after mixing — it helps the flour hydrate.
- If the batter seems too thick, add 1–2 tablespoons of milk.
- If the batter seems too thin, sprinkle in 1–2 tablespoons of self-rising flour.
- Use very ripe bananas for the best texture and sweetness.
- Wipe out the pan between batches, especially if you are using butter, which tends to burn easily.
- Don’t rush it! You will know when they are ready when the bubbles form and the edges look set. To get that perfect flip, shove your spatula all the way underneath and turn them over quickly and confidently.
Equipment
I honestly didn’t think I needed an electric griddle until the husband gifted me one for Christmas two years ago, and I’m SO glad he went against my wishes :).
It definately saves me time, and I love that this one holds a consistent temperature (so less chance of burning the pancakes) and is super easy to clean.
I’ve also been using it to make eggs, cheese quesadillas, grilled cheese, quinoa wraps, tofu…it’s amazing.
Serving Suggestions
While delicious as is, you can top these 3 ingredient pancakes with:
- Maple syrup or honey
- Fresh fruit (e.g. more banana slices or fresh blueberries)
- Fruit jam (try this no added sugar strawberry jam or mango chia jam )
- Date syrup
- Yogurt
- Peanut/nut/seed butter (thinned out for babies)
- Unsweetened applesauce
How to Store and Freeze Pancakes
These pancakes are freezer gold. I almost always double the batch.
Store
- Refrigerate up to 3 days in an airtight container.
Freeze
- Here’s how to freeze pancakes as well as reheat them so they taste just as good as the day you made them.
- Transfer to a freezer bag for up to 3 months.
Reheat
- Microwave 20–30 seconds
- Toaster oven or air fryer at 350°F for 3–4 minutes
- Skillet on low heat until warm
Pancakes with Self Rising Flour FAQs
Yes. Self-rising flour already contains baking powder + salt, so the pancakes rise without adding extra leavening.
According to epicurious, Self-rising flour is not exactly the same as self-raising flour, which is commonly found outside of the United States. Self-raising flour doesn’t contain salt and has more baking powder.
These pancakes are freezer gold. I almost always double the batch.
Refrigerate up to 3 days in an airtight container.
Here’s how to freeze pancakes as well as reheat them so they taste just as good as the day you made them. Transfer to a freezer bag for up to 3 months.
You can microwave 20–30 seconds, reheat in the taster oven or air fryer at 350°F for 3–4 minutes or in the skillet on low heat until warm.
More Easy Pancake Recipes


Did you make this recipe? Leave a rating below and let me know how you liked the recipe! Your feedback means so much to me!

3 Ingredient Pancakes with Self-Rising Flour
Equipment
Ingredients
- 2 medium bananas (230g without peel)
- 1 cup self-rising flour
- 2 eggs, preferably at room temperature
- 1 teaspoon vanilla extract (optional)
- 1 teaspoon cinnamon (optional)
Instructions
- In a large mixing bowl, peel and mash the bananas using the back of a fork or a potato masher. Try to get it as smooth as possible but small lumps are fine.
- Add the self-rising flour, eggs, vanilla, and cinnamon. Gently mix the pancake batter with a spatula until it's just combined. There will be small lumps and that's OK! do NOT over mix!!
- Heat a large skillet or griddle over medium heat. Add batter and cook on medium-low heat. You will start to see bubbles appear on the surface.
- Carefully flip the pancakes and cook for another minute or two, until golden brown.
Notes
- Store in an airtight container for 3-4 days in the fridge or cool completely on a wire rack and freeze for up to 3 months.


Kids love it