This post may contain affiliate links. Please see our disclosure policy for more details.

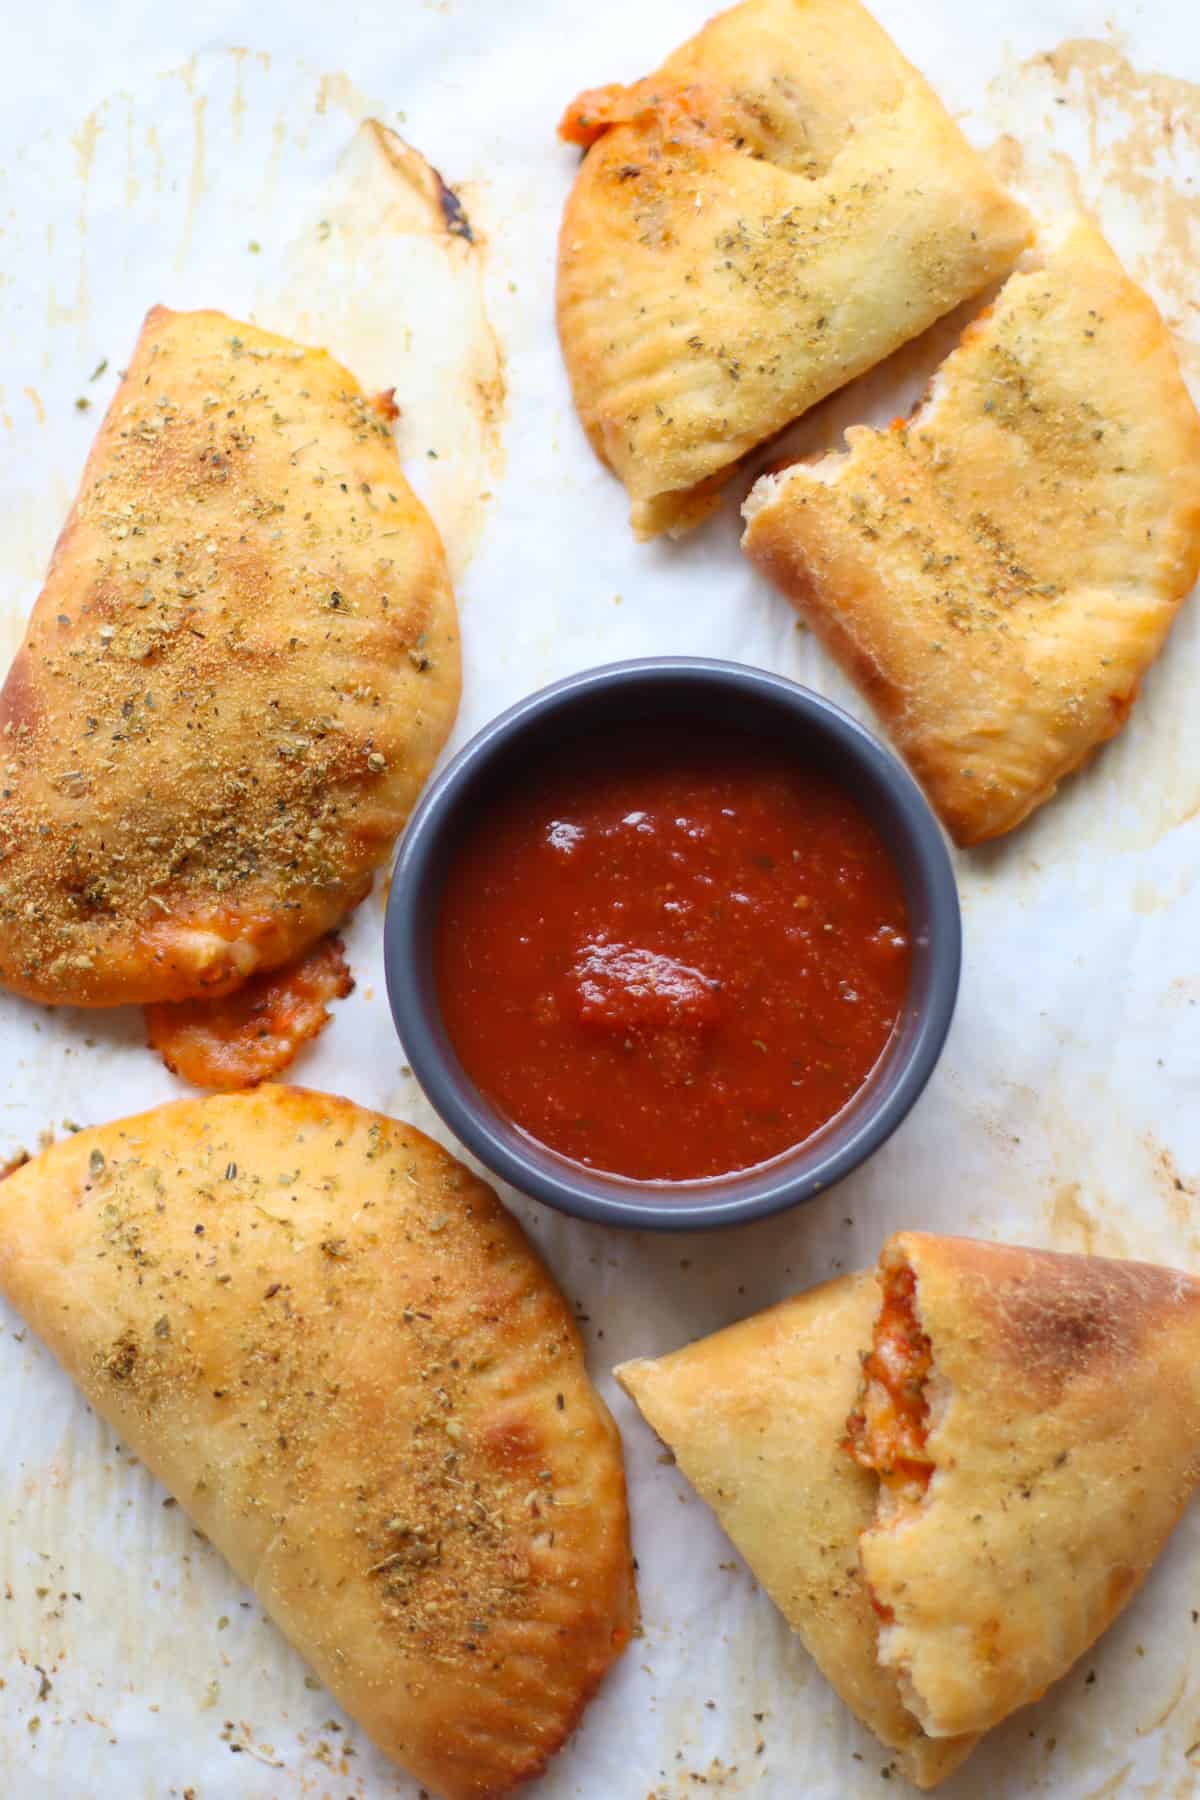
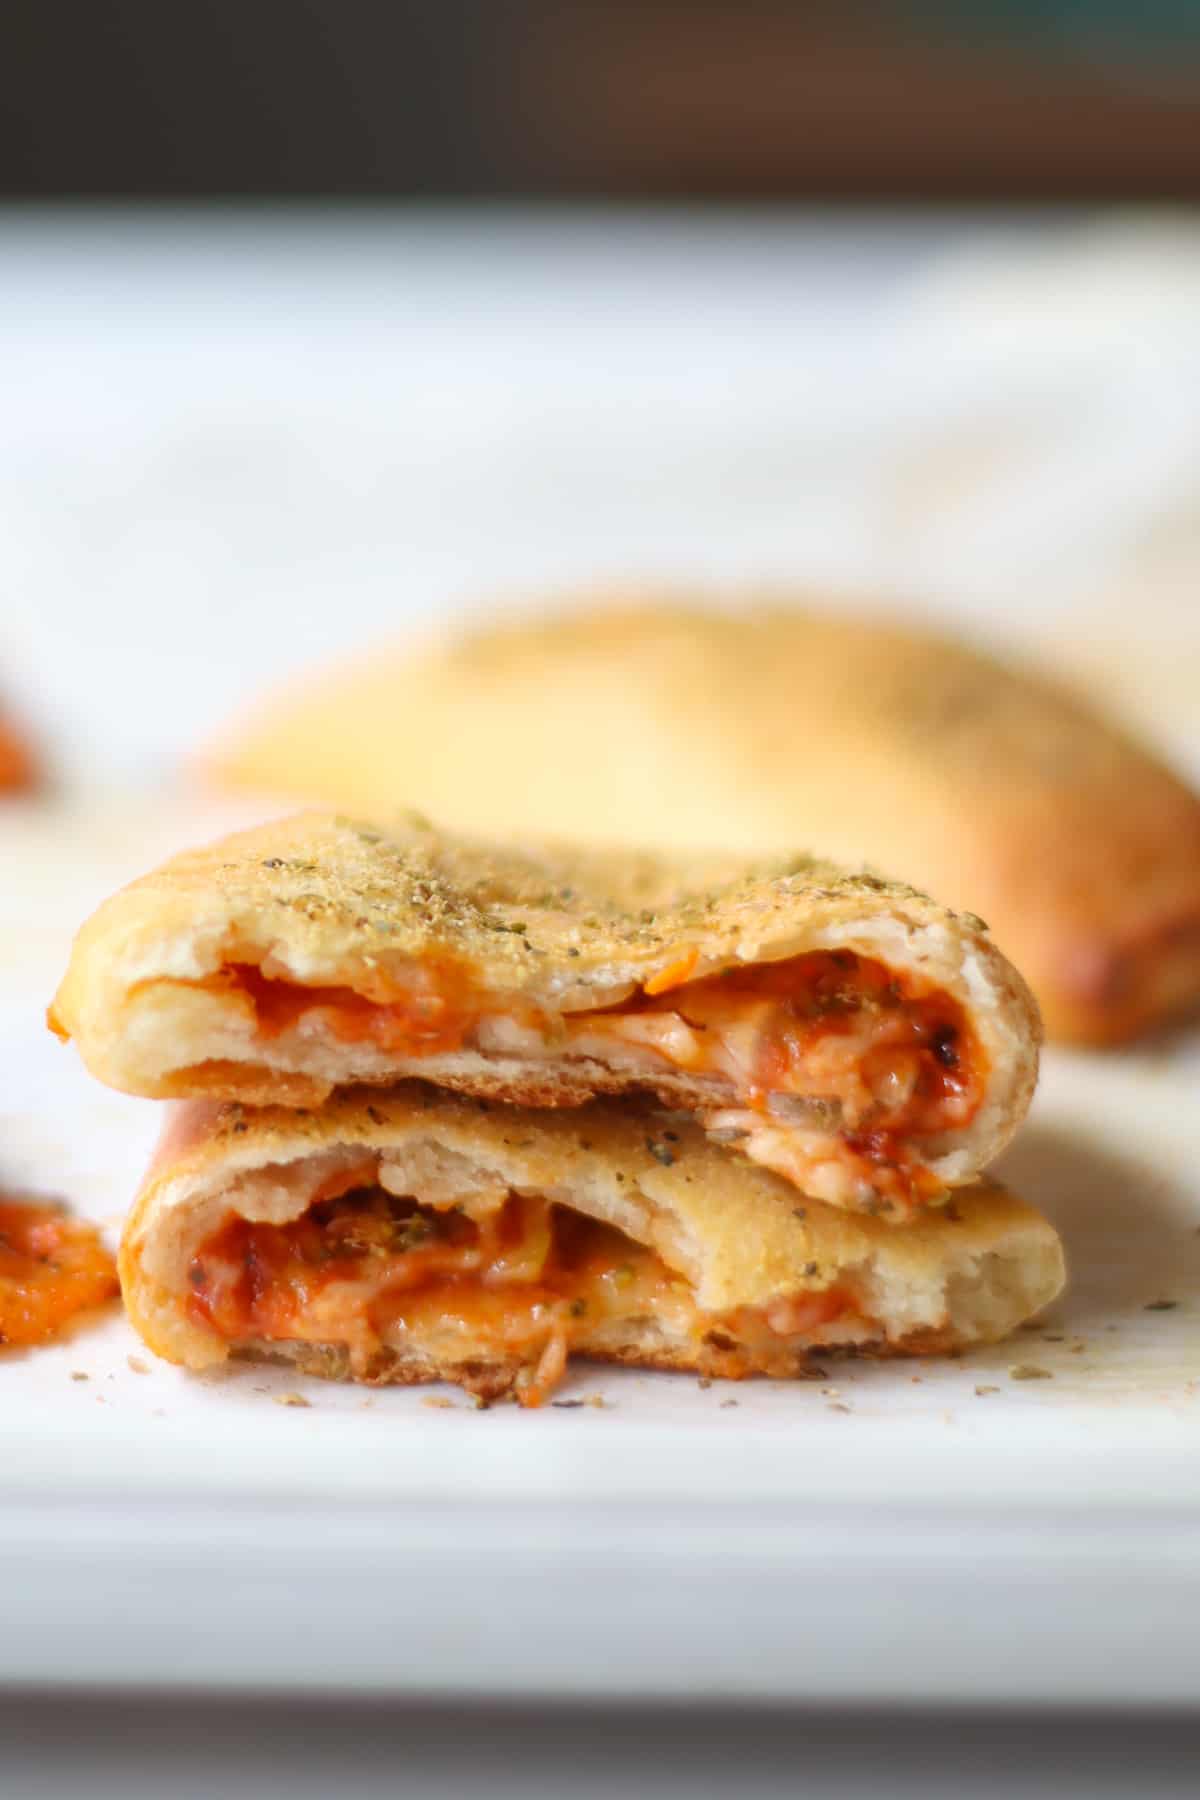
These easy homemade pizza pockets are like mini-calzones bursting with gooey cheese, savory sauce, and your favorite toppings, all wrapped up in a golden crust.
Pizza Pockets
When I moved from Korea to the States in fourth grade, I was introduced to a whole new world of food, including frozen pizza pockets, and they quickly became my go-to snack after school.
Once I became a mom, I started whipping up healthier twists on my and my kids’ favorite snack foods, like graham crackers and cheese crackers (cheez-its). And I must say, this homemade version of pizza pockets tastes even better than the frozen kinds at the grocery store.
Make your own pizza dough (this protein pizza dough is SO easy to make) or use store-bought for convenience, either way these pizza pockets are sure to steal the show.
I give you lots of ideas for ways to personalize these so your kids can help you make them again and again!
Table of Contents
Key Ingredients
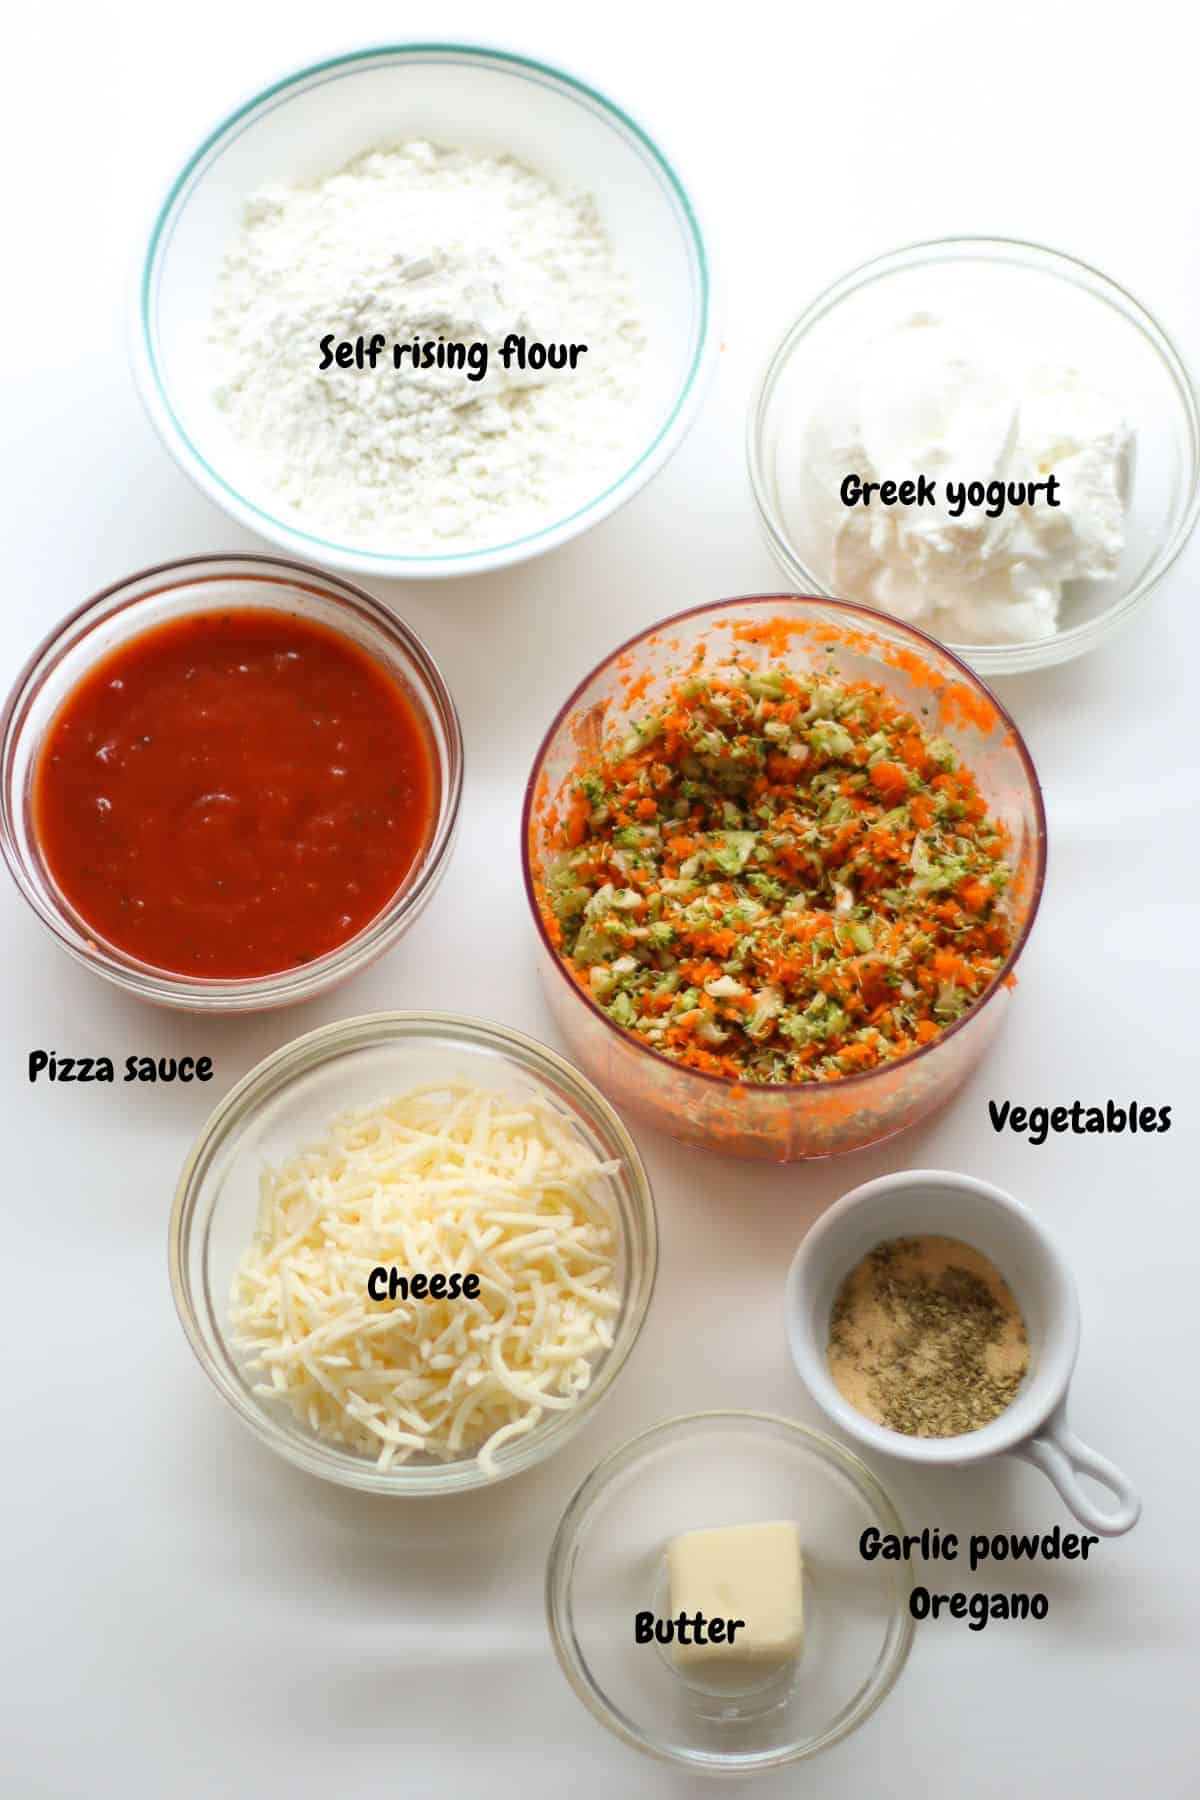
I am highlighting just the ones that need further explanation. The complete list is in the recipe card below.
- Self-rising flour – this ingredient is key in achieving a nicely risen dough without the need for yeast. You can also use it to make banana bread and 3 ingredient pancakes with self rising flour!
- Greek yogurt – You may be skeptical about adding this to your pizza dough but it’s absolutely delicious! It also adds a healthy dose of protein and healthy fats. Do NOT use plain yogurt for this.
- Pizza sauce – use your favorite store-bought or homemade sugar free pizza sauce.
- Low-moisture mozzarella cheese – you can use any of your favorite cheeses, like cheddar cheese, ricotta, parmesan cheese, gouda, etc.
- Toppings of choice – See more on the many options for favourite toppings below.
How to make the BEST Pizza Pockets at Home
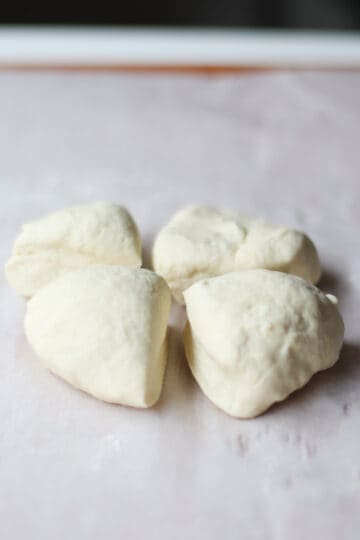
Step 1: Preheat oven to 400°F. In a mixing bowl combine flour and yogurt and mix using a spoon first then hands. At first, dough will seem dry and crumbly, but keep mixing until it forms into a ball. Transfer it onto a lightly floured surface. Knead the dough for a few minutes until it’s smooth and elastic. If the dough feels too sticky, you can add a little extra flour as needed. Divide the dough into 4 or 6 balls.
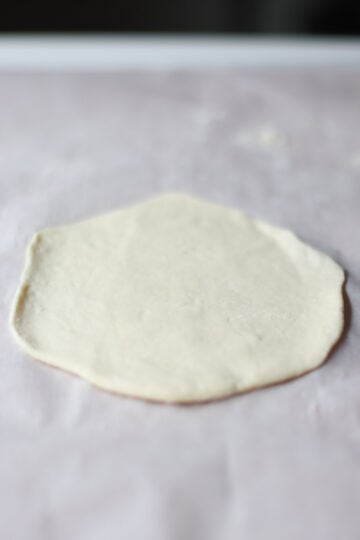
Step 2: Using a rolling pin dusted with flour, roll the dough out to about 1/4 inch thickness. Transfer to a baking sheet lined with parchment paper.

Step 3: Spread a spoonful of pizza sauce onto one half of each dough, leaving a small border around the edges. Sprinkle shredded mozzarella cheese over the sauce, then add the vegetables or any of your favorite pizza toppings.
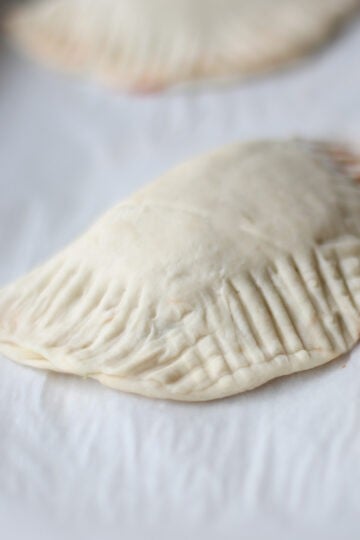
Step 4: Fold the other half of the dough over the toppings, creating a pocket. Use your fingers or the tines of a fork to press the edges together firmly, sealing the pocket shut.
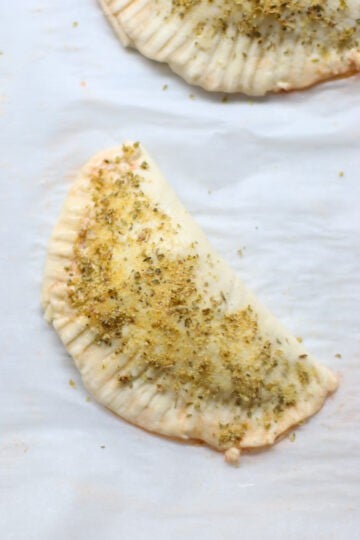
Step 5: Brush the tops of the pizza pockets with melted butter (or oil). Sprinkle oregano and garlic powder.
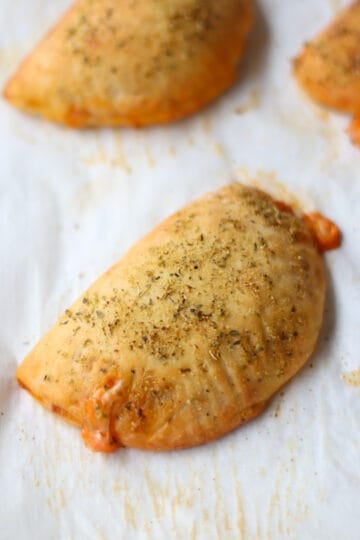
Step 6: Bake the pizza pockets in the preheated oven for about 18-20 minutes, or until the crust is golden brown.
Tips for Success
- You can divide the dough into 4 or 6 balls, depending on desired size.
- Your dough may be sticky depending on the brand of yogurt you use as they vary in moisture levels. If you find that your dough is too hard to work with, add more flour, 1 tablespoon at a time. Also, be sure to flour your work surface AND your rolling pin well.
- Brush the pizza pockets with butter – this will help them brown nicely in the oven for that golden brown perfection.
Variations and Substitutions
- Dough – Don’t want to make the dough? You can use store-bought dough, refrigerated pizza crust, or even biscuit dough for convenience. You can also use gluten-free dough to make this a gluten-free pizza pocket recipe.
- Seasonings – This recipe calls for garlic powder and dried oregano, but you could use Italian seasoning instead.
- Dairy-free – To make this recipe without dairy, use a dairy-free cheese in the pizza pockets, and brush with olive oil instead of butter.
Favorite Pizza Toppings
This is an easy recipe to customize with your whole family’s favorite pizza toppings! And since these are individual pizza pockets, you can adjust each one to cater to each of your kiddos’ preferences. Here are some suggestions to get you started:
- Green peppers – I recommend sauteeing these lightly before adding them so that they are softer.
- Cheese – If your child loves cheese pizza, use a medley of cheeses to make melted cheese pockets.
- Chopped vegetables – I used finely chopped broccoli and carrots in this recipe and it was DELICIOUS!
- Diced pepperoni – For the classic pepperoni pizza pockets.
- Meat lovers – Add browned hamburger, Italian sausage, ground turkey, ham, or any other meats your family likes.
Equipment
Even though I use my sheet pans ALL the time, whether it’s roasting vegetables (like these roasted cauliflower and chickpeas), or making baked goods, I never thought to look into a high-quality one, partly because I didn’t think it’d make that much difference.
Turns out it makes ALL the difference in the world!
These are seriously my favorite sheet pans, and I can’t live without them now! They are super durable and conducts heat efficiently and evenly. It also doesn’t warp, unlike all the other pans I’ve tried where one side becomes raised higher than the other, resulting in uneven cooking.
And this is the rolling pin that I’ve been using for several years now and it’s great for rolling pizza dough, sugar cookies, graham crackers, or even cheese crackers!
Storage
Transfer the cooled pizza pockets into an airtight container or resealable plastic bag and store in the refrigerator for up 3-4 days.
To freeze, I recommend using the flash freeze method that I use for freezing muffins. Once frozen solid, transfer to a freezer safe container or freezer bag and freeze for up to 2 months.
How to Reheat Pizza Pockets
Feel free to make extra batches by doubling or even tripling the recipe. This way, you’ll have plenty to freeze for future meals, making life a bit easier when you need a quick bite.
To reheat, first thaw in the fridge overnight. Then choose any of these options:
- Microwave: Place the pizza pockets on a microwave-safe plate and cover them with a damp paper towel to prevent them from drying out. Microwave on high for about 1-2 minutes, or until heated through.
- Oven: Preheat your oven to 350°F (175°C). Place the pizza pockets on a baking sheet lined with parchment paper and bake for 10-15 minutes, or until they are heated through and the cheese is melted and bubbly.
- Air Fryer: Preheat your air fryer to 375°F (190°C). Place the pizza pockets in the air fryer basket in a single layer, leaving some space between each one. Air fry for 5-7 minutes, or until they are crispy and heated through.
- Stovetop (Pan Fry): Heat a skillet over medium heat and add a small amount of oil or cooking spray. Place the pizza pockets in the skillet and cook for 2-3 minutes on each side, or until they are golden brown and heated through.
Pizza Pockets FAQs
Absolutely! If you’re short on time, store-bought pizza dough works perfectly fine for this recipe. Just make sure to roll it out into thin circles before adding the fillings and sealing.
For a vegan version, use dairy-free cheese and substitute any meat fillings with veggies or plant-based alternatives. For gluten-free options, use gluten-free pizza dough or make your own gluten-free dough from scratch.
More Pizza Flavored Recipes


Pizza Pockets
Equipment
Ingredients
- 1 1/4 cups self-rising flour (160g)
- 3/4 cup Greek yogurt (180g), see note
- 1/4 cup pizza sauce
- 1/2-3/4 cup shredded cheese
- 1/2 cup finely chopped vegetables of choice
- 1 tablespoon unsalted butter, melted
- 1/2 teaspoon dried oregano
- 1/2 teaspoon garlic powder
Instructions
- Preheat oven to 400°F. In a mixing bowl combine the flour and yogurt and mix using a spoon first then hands. At first, dough will seem dry and crumbly, but keep mixing until it forms into a ball.
- Once the dough comes together, transfer it onto a lightly floured surface. Knead the dough for a few minutes until it's smooth and elastic. If the dough feels too sticky, you can add a little extra flour as needed.
- Divide the dough into 4 or 6 balls. Using a rolling pin dusted with flour, roll the dough out to about 1/4 inch thickness. Transfer to a baking sheet lined with parchment paper.
- Spread a spoonful of pizza sauce onto one half of each dough, leaving a small border around the edges. Sprinkle shredded mozzarella cheese over the sauce, then add the vegetables or any of your favorite pizza toppings.
- Fold the other half of the dough over the toppings, creating a pocket. Use your fingers or a fork to press the edges together firmly, sealing the pocket shut.
- Brush the tops of the pizza pockets with melted butter (or oil). Sprinkle oregano and garlic powder.
- Bake the pizza pockets in the preheated oven for about 18-20 minutes, or until the crust is golden brown.
- Once baked, remove the pizza pockets from the oven and allow them to cool for a few minutes before serving. Be careful, as the filling will be hot! Serve with extra pizza sauce for dipping, if desired, and enjoy!
Notes
- Your dough may be sticky depending on the brand of yogurt you use as they vary in moisture levels. If you find that your dough is too hard to work with, add more flour, 1 tablespoon at a time. Also, be sure to flour your work surface AND your rolling pin well.
- Don’t have time or want to make the dough? You can use store-bought dough, refrigerated pizza crust, or even biscuit dough for convenience.
- Brushing the pizza pockets with butter will help them brown nicely in the oven for that golden brown color.
- You can reheat in the microwave, in the oven or air fryer, or even on the stove in a skillet.


This are AWESOME!